While tidying the engine bay, I’ve had all suspension components, engine brackets etc soaking in citric acid to remove the rust. This was my first time using citric acid and I was really impressed with the results:
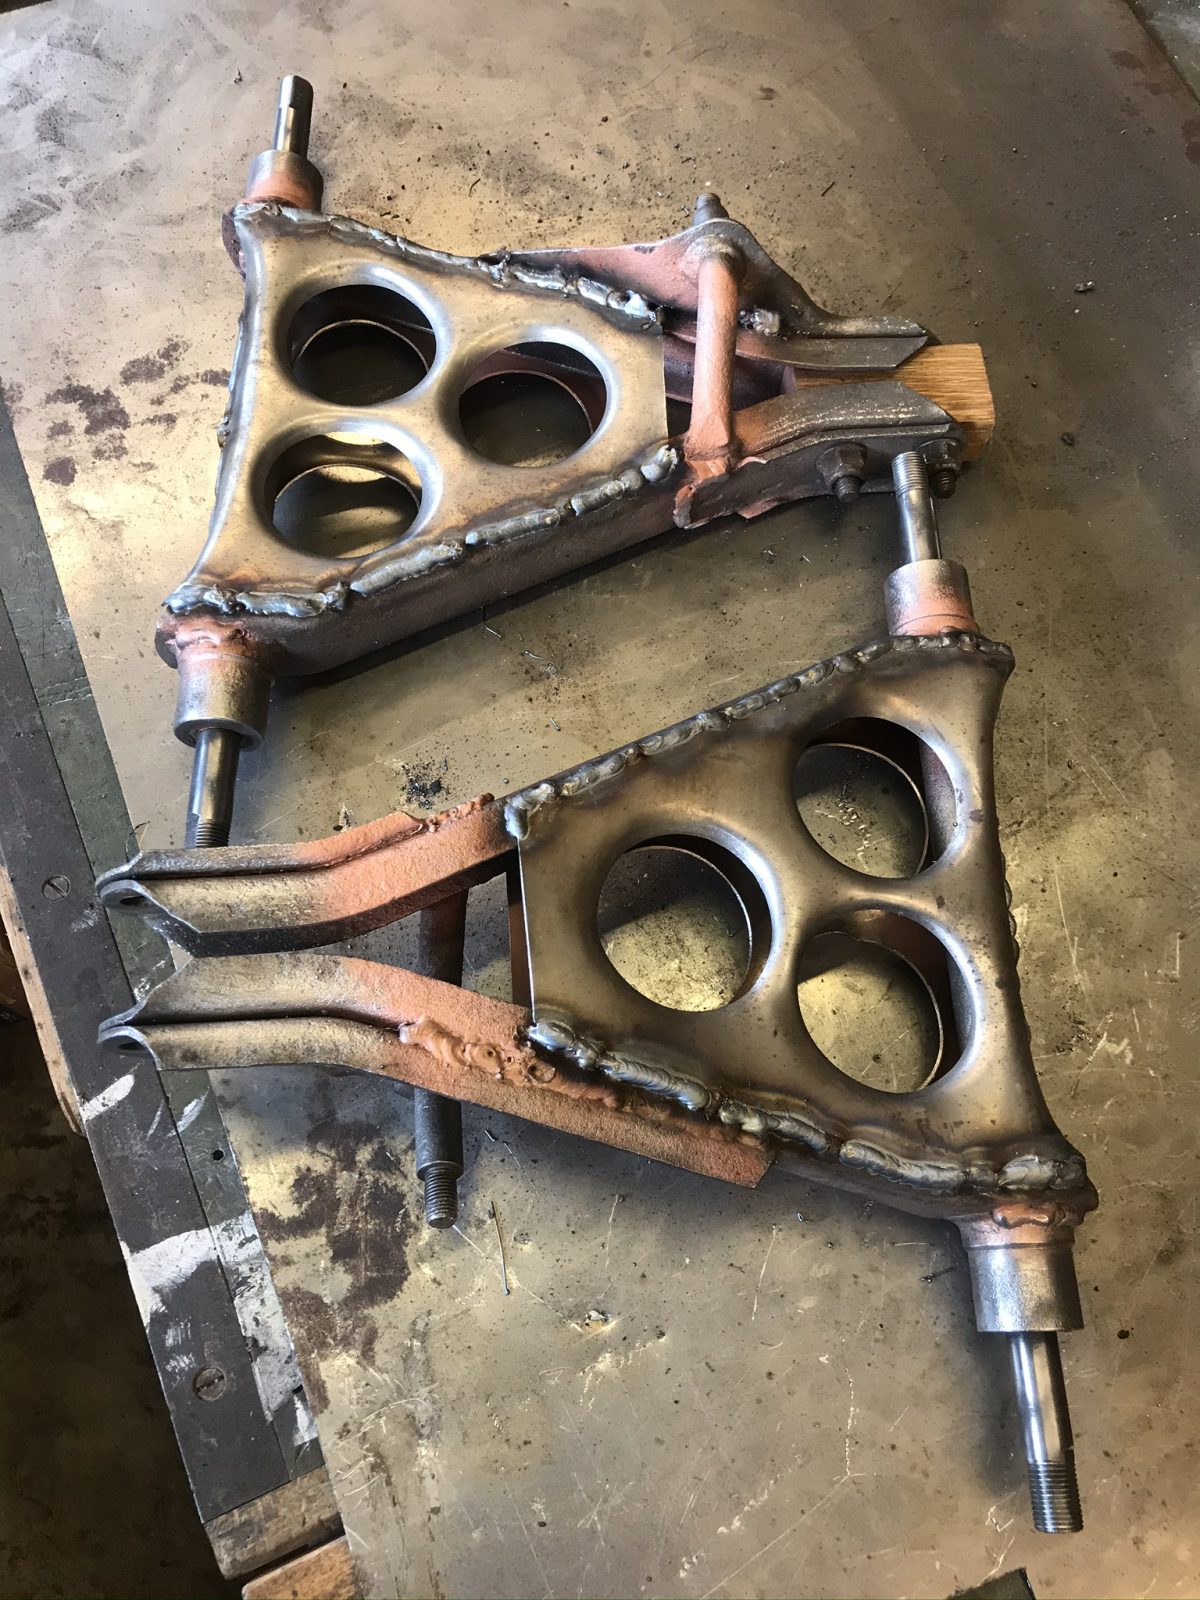
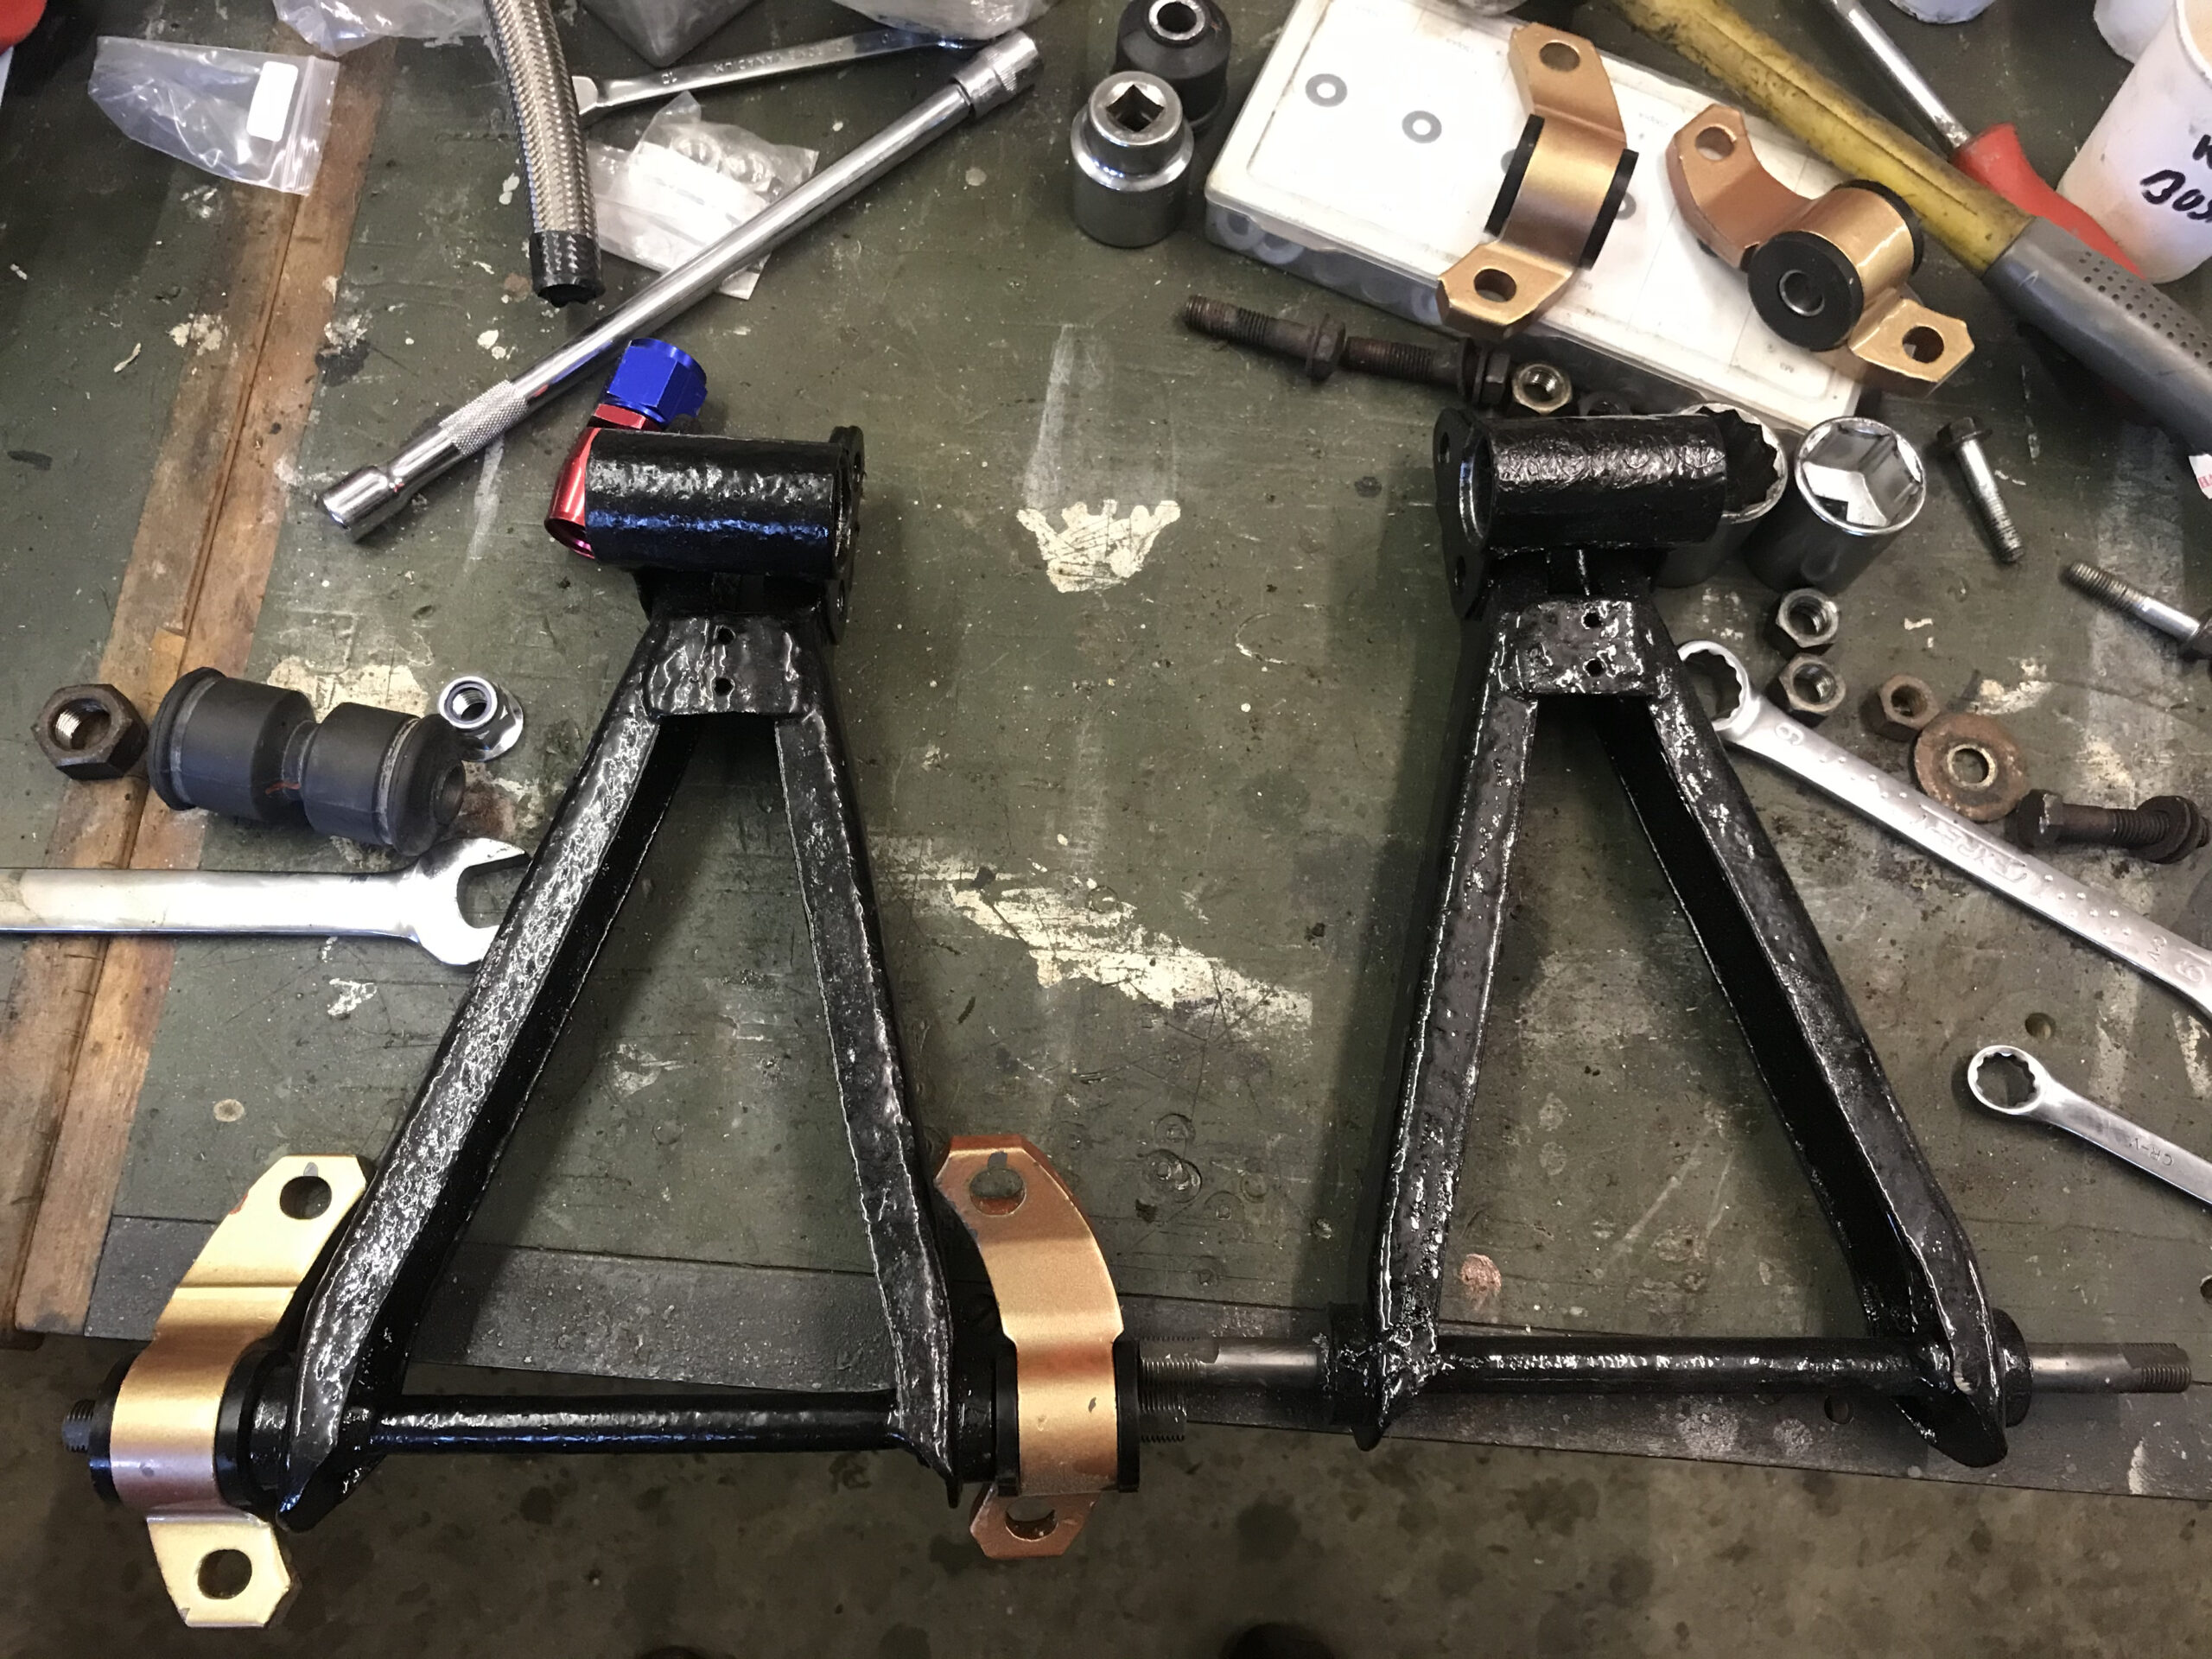
Apparently the rally guys like to reinforce the lower wishbones, so I couldn’t resist having a go myself:
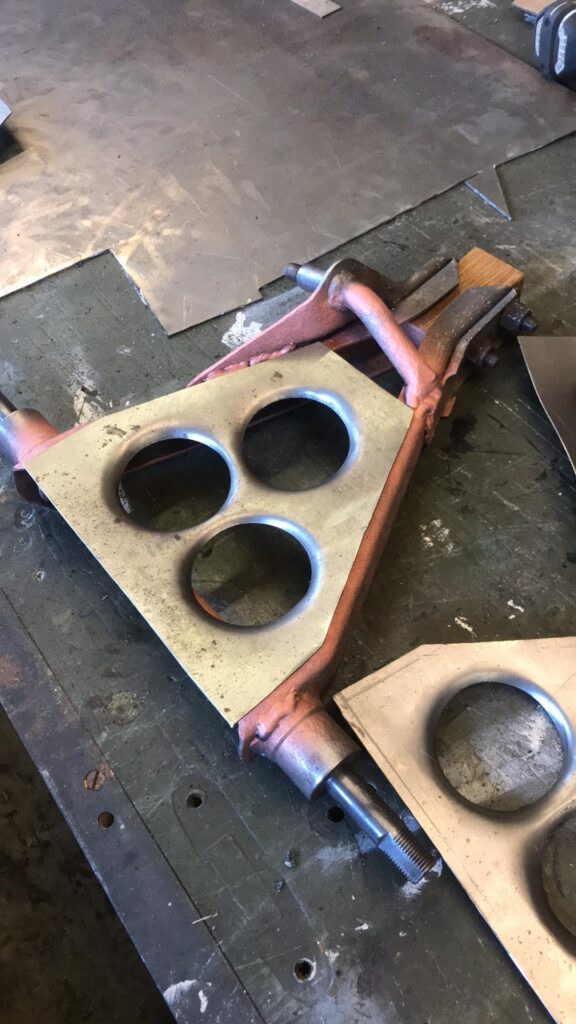
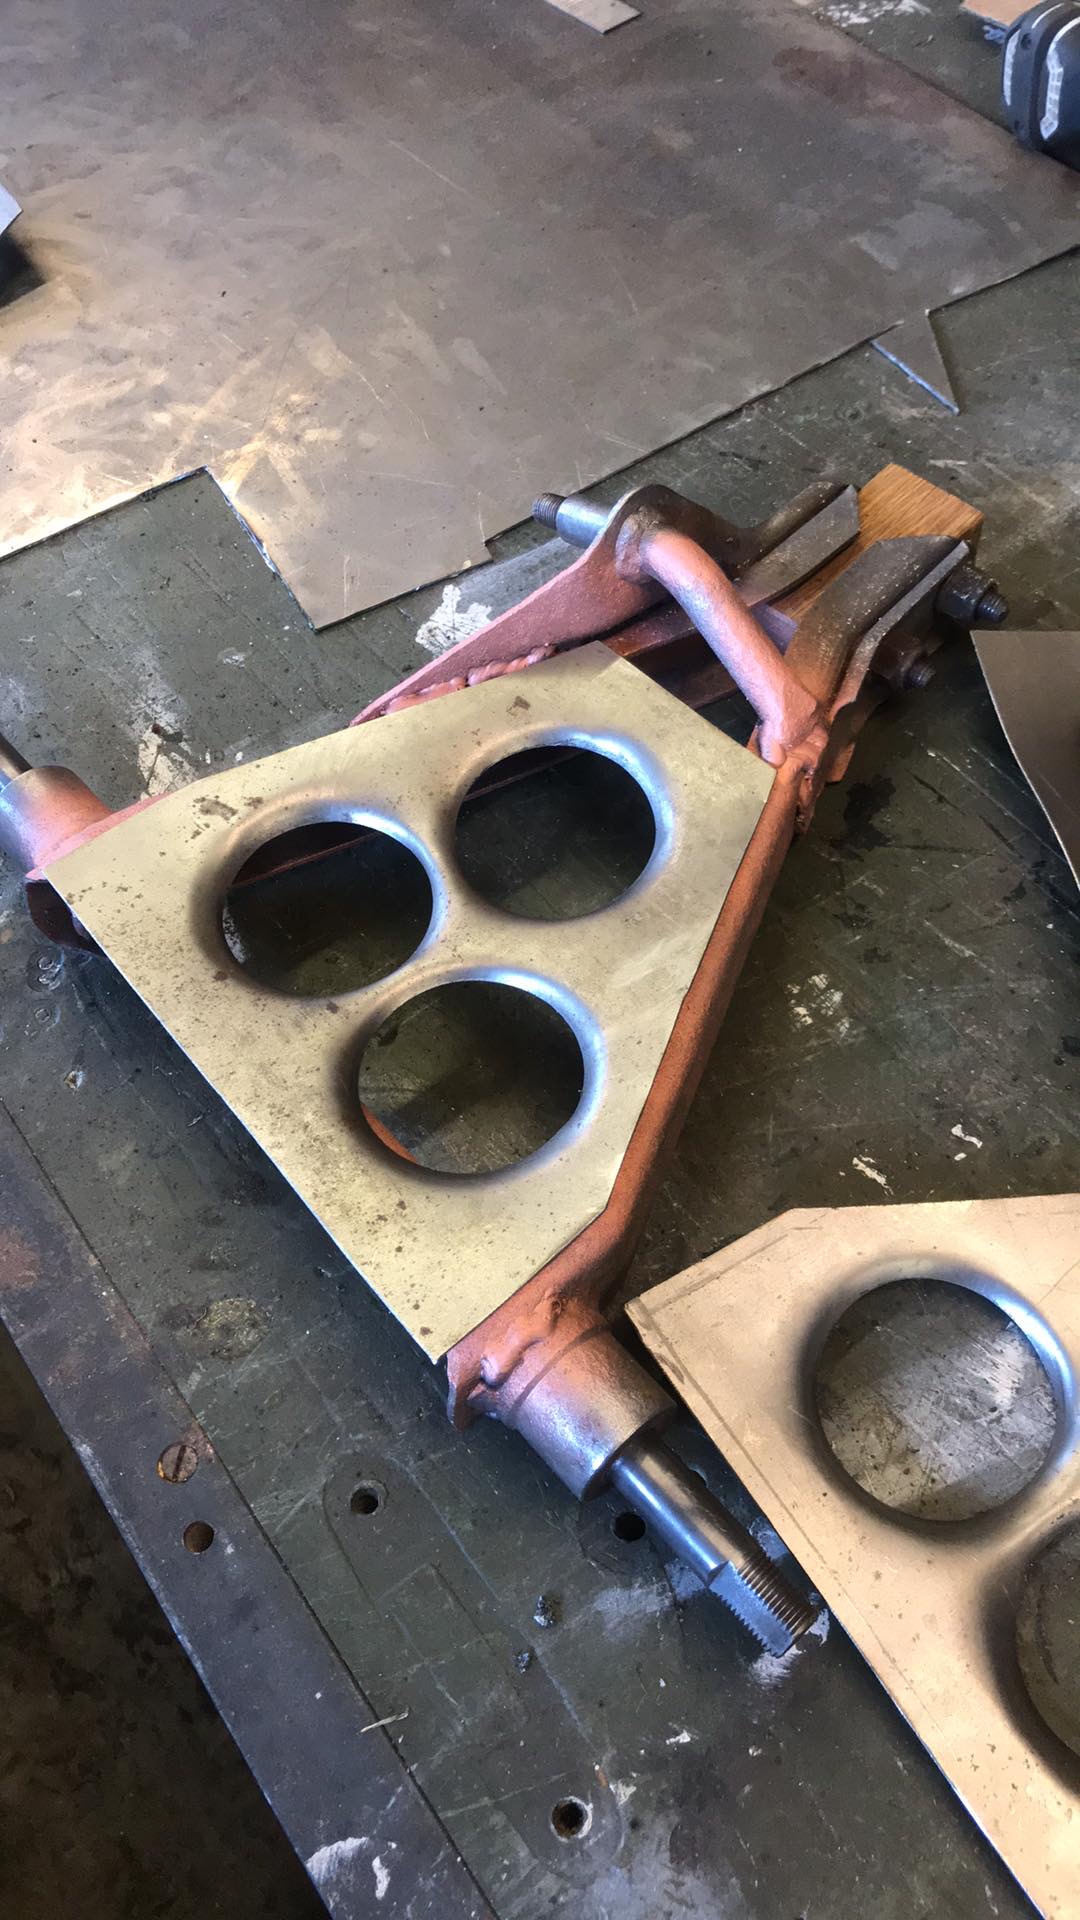
Four plates made…
And fitted to both sides of the wishbones
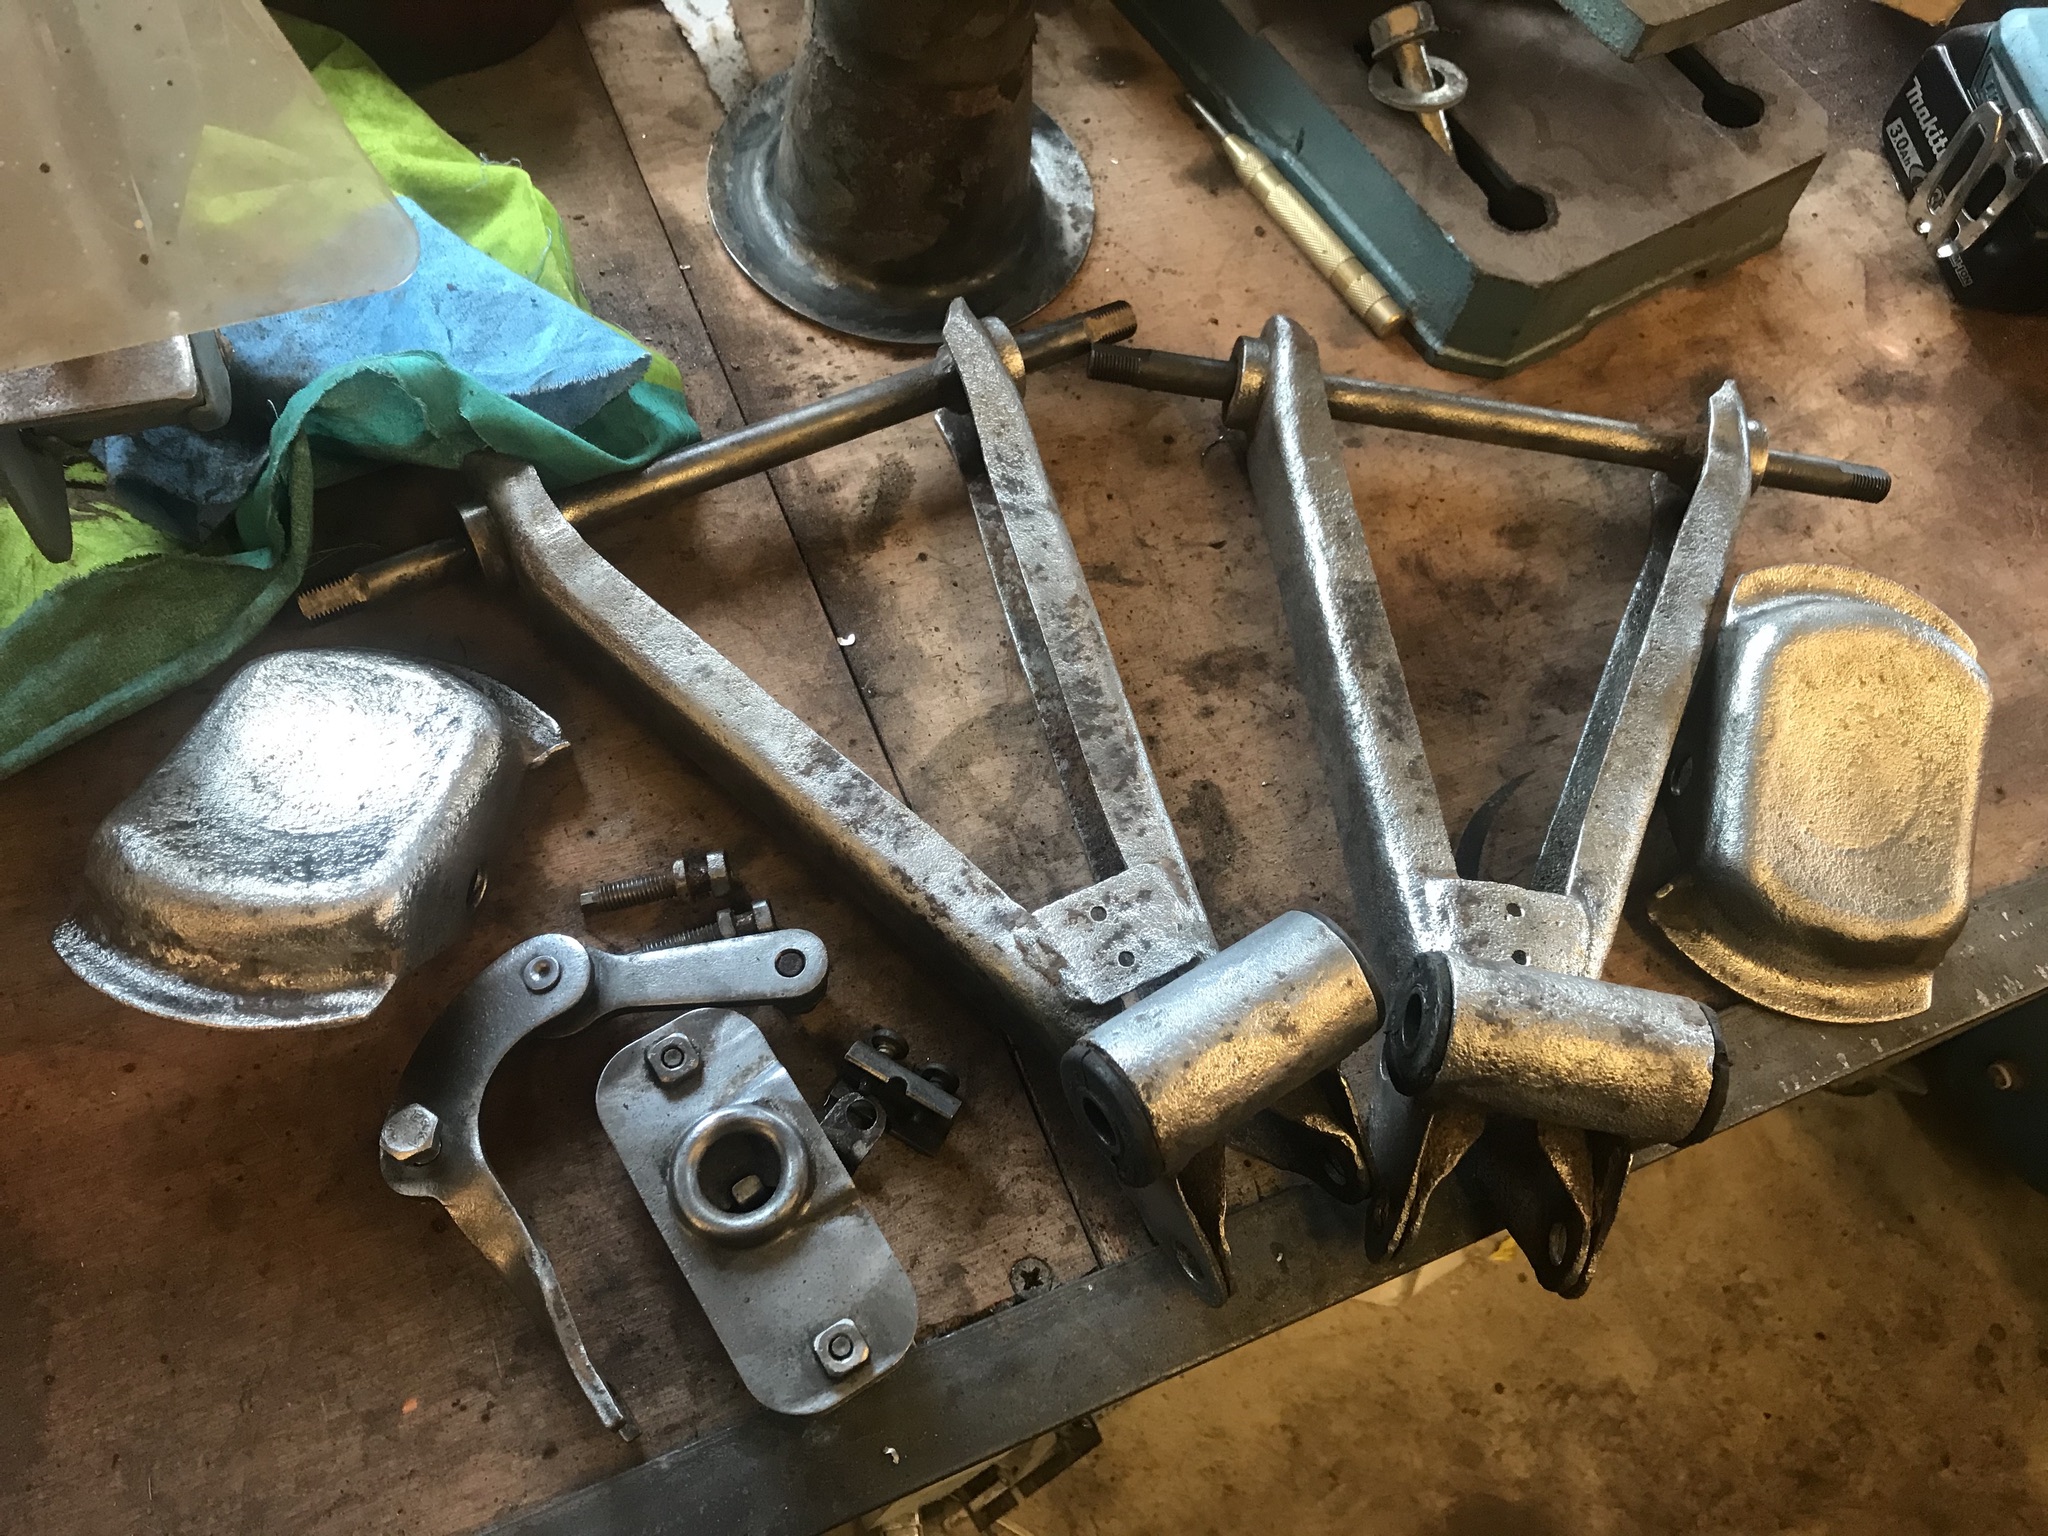
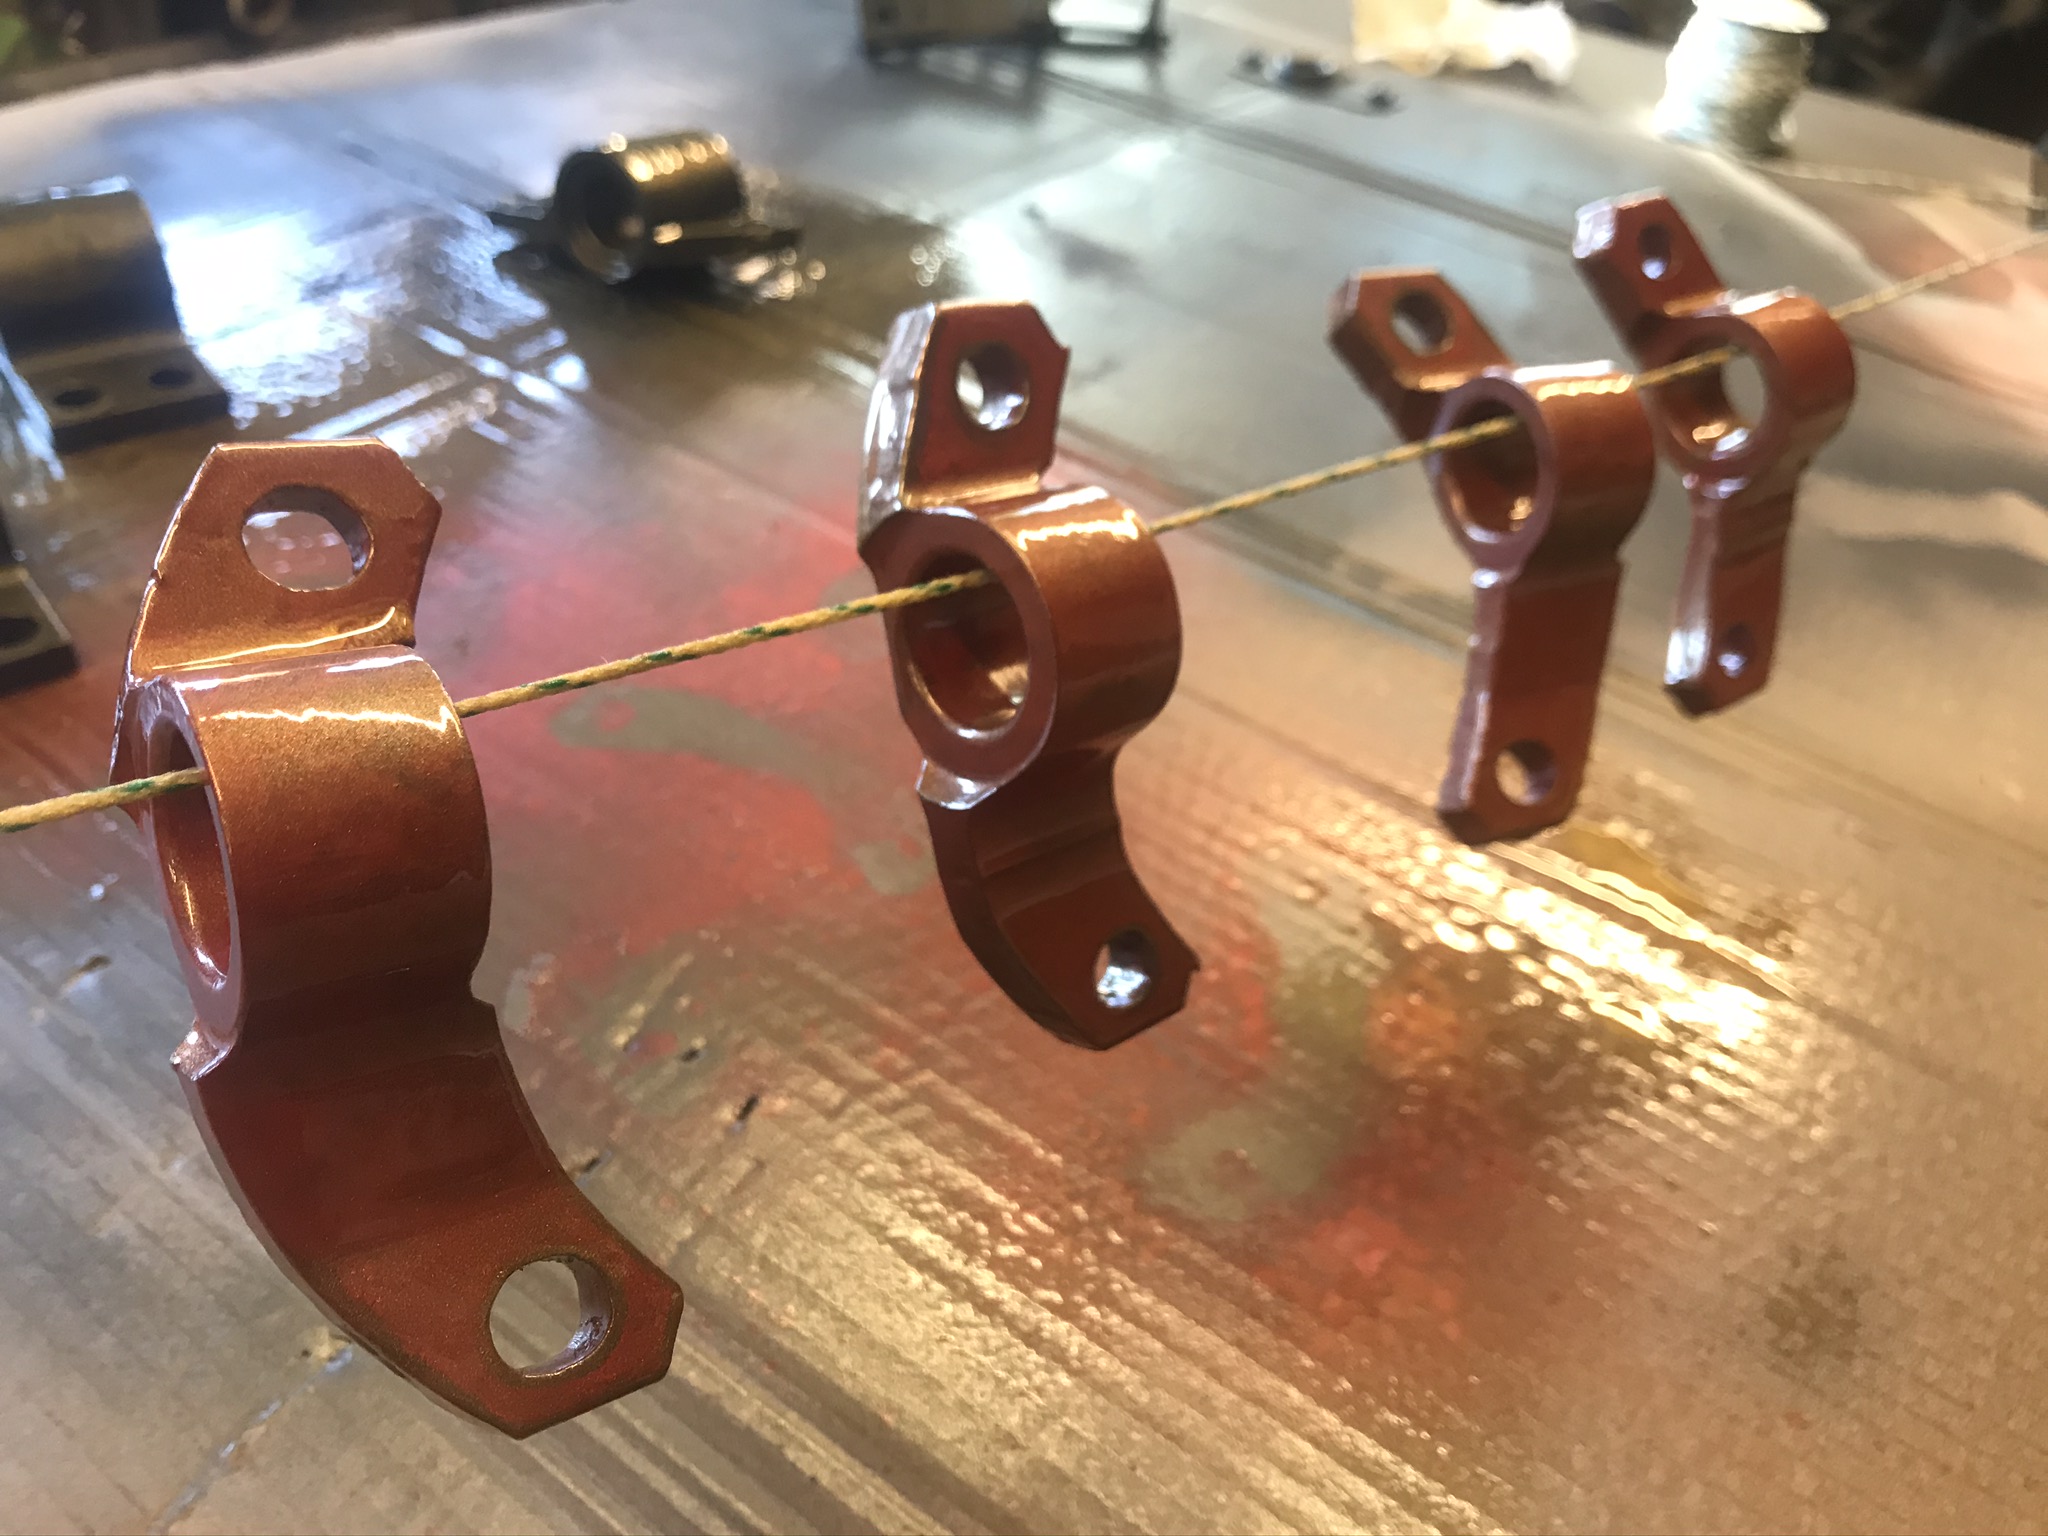
Cleaned up the aluminium wishbone mounting blocks and painted in the cheesiest colour possible:
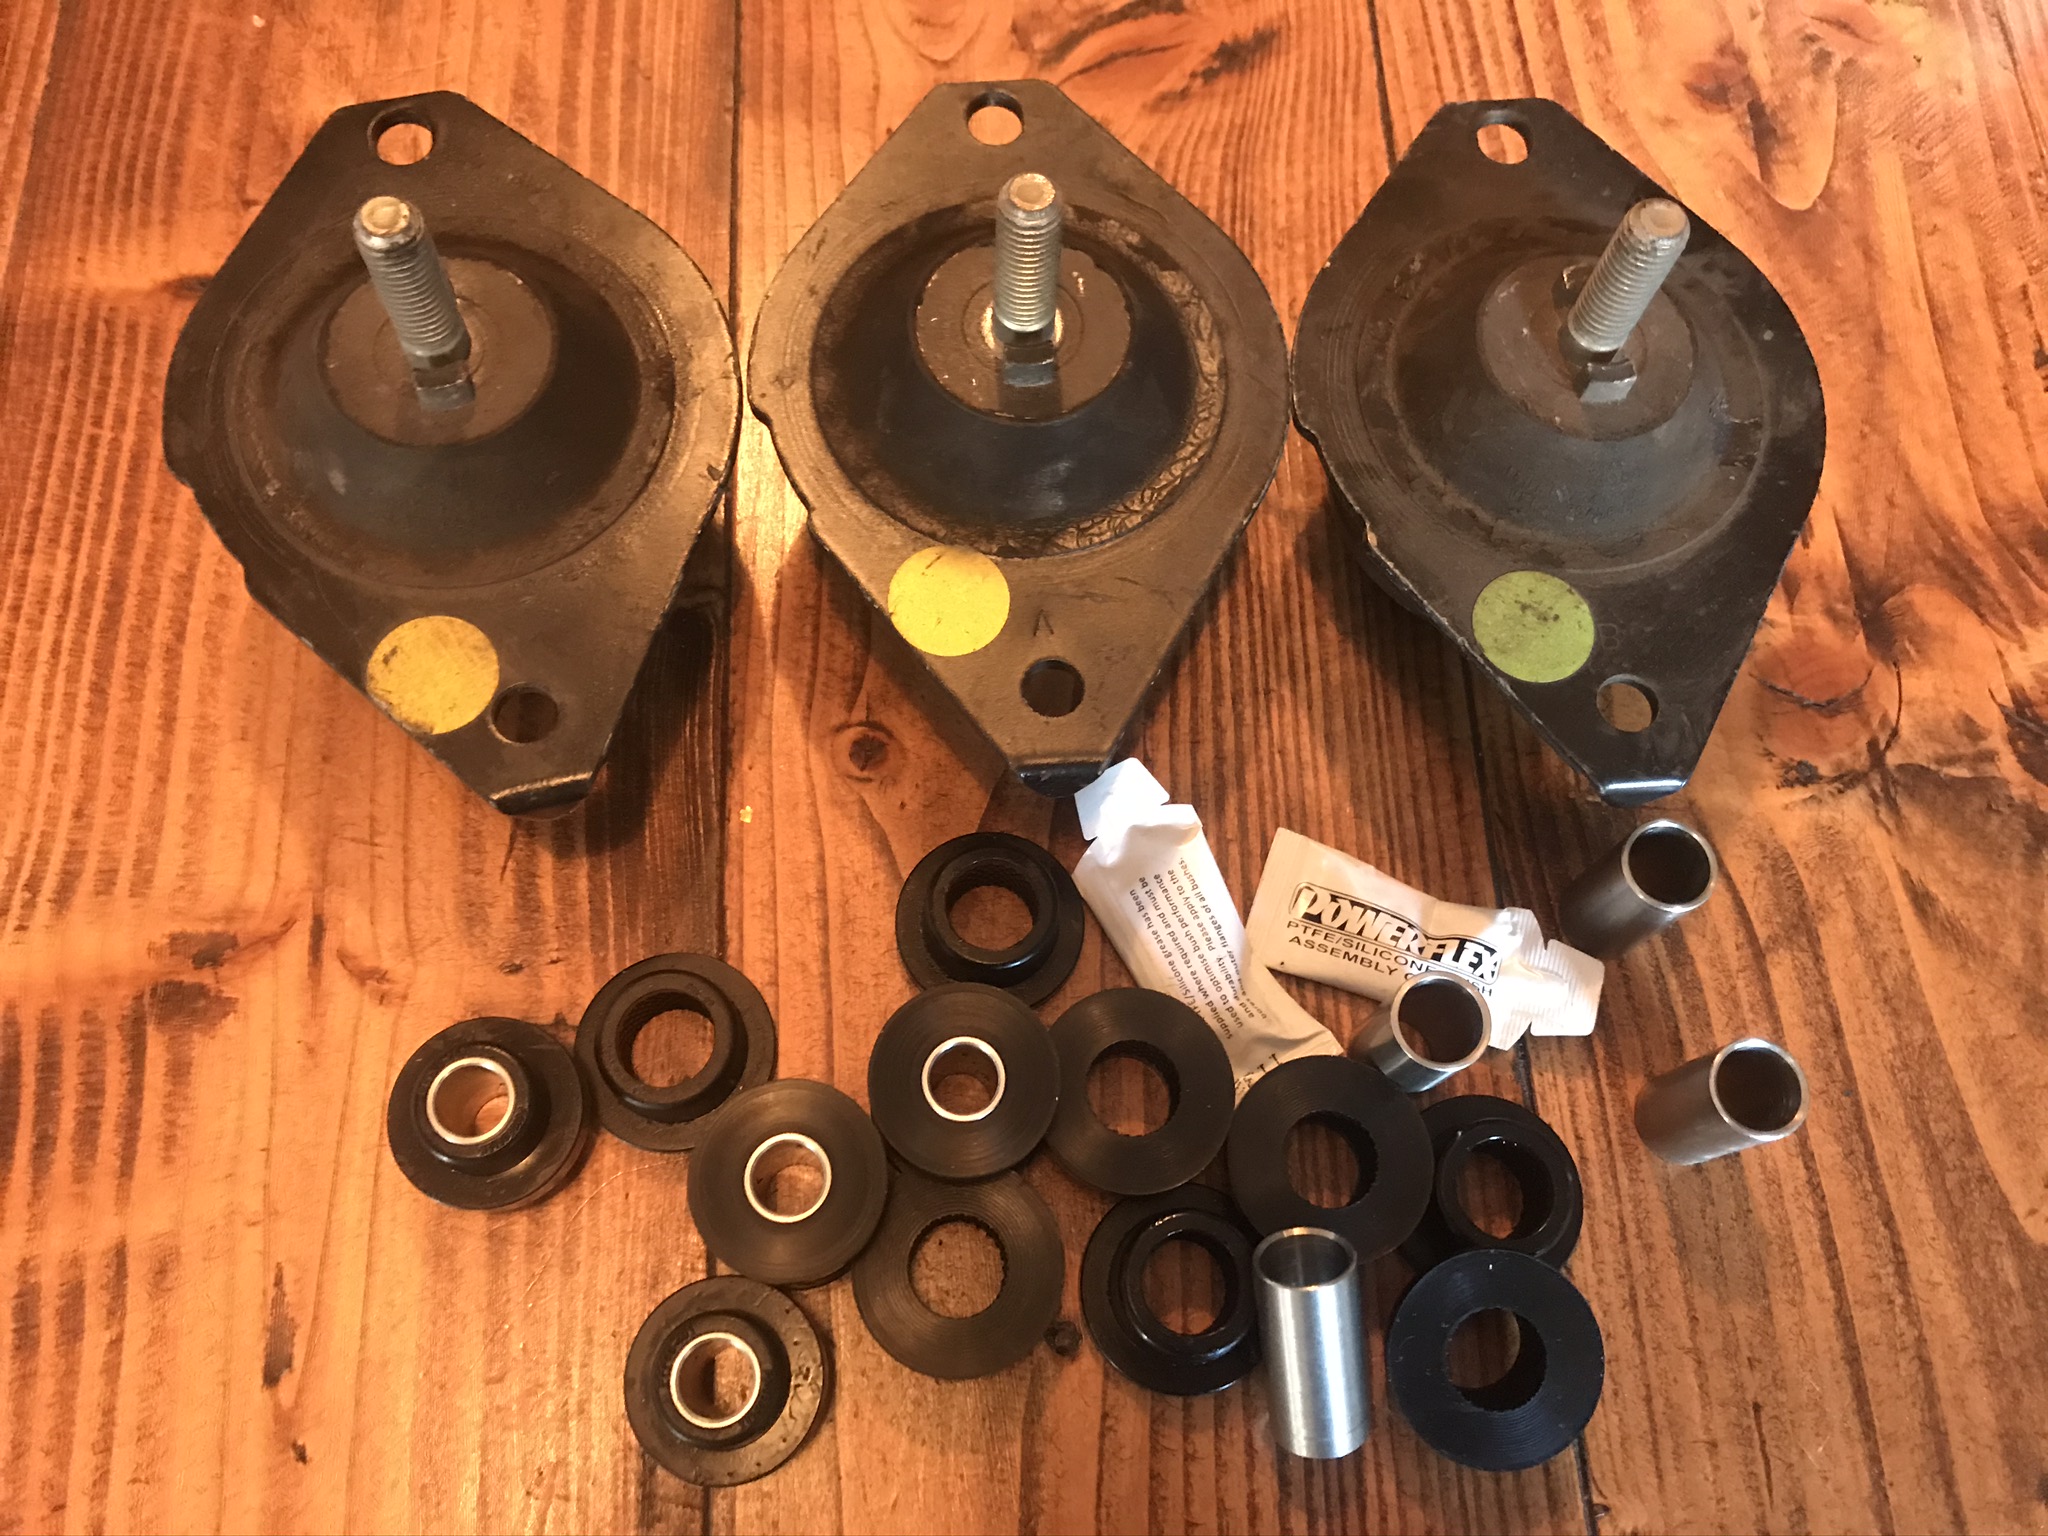
And an obscene amount of money was spent on new old stock genuine SAAB engine mounts and Powerflex poly bushes.
Since pulling the engine out, progress has been a bit slower than I’d hoped during lockdown but I’ve still got a fair chunk done.
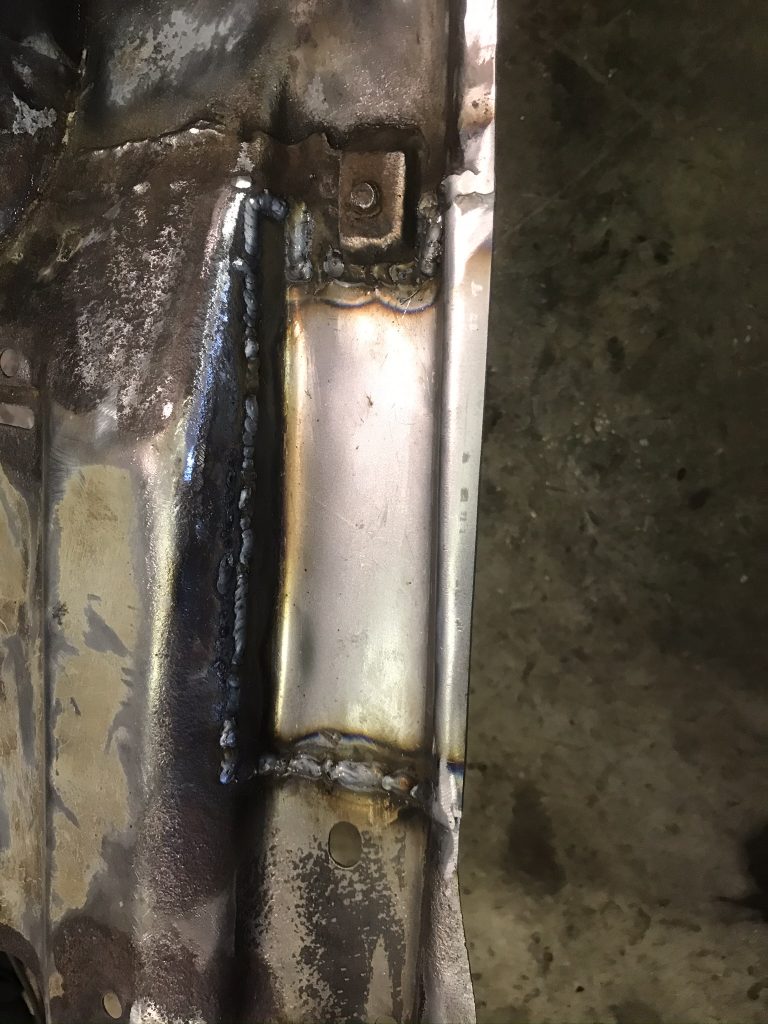
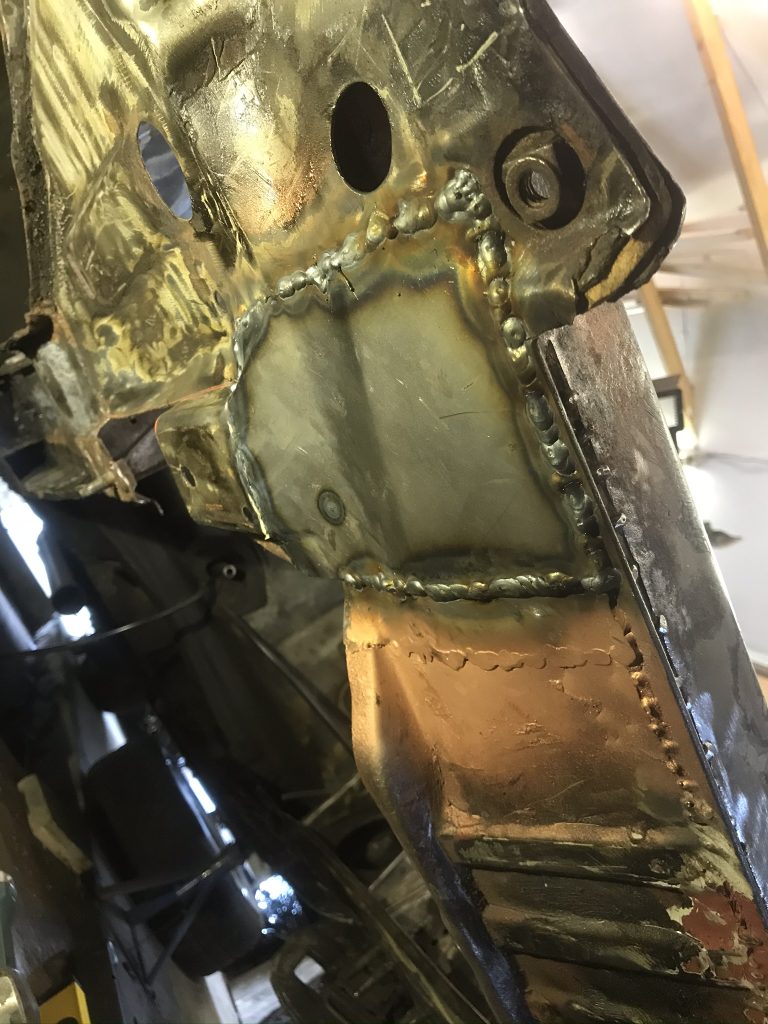
The right driveshaft tunnel has had a repair patch before but now the arch above was pretty thin…
Joggle out a patch
Tacking in
And done
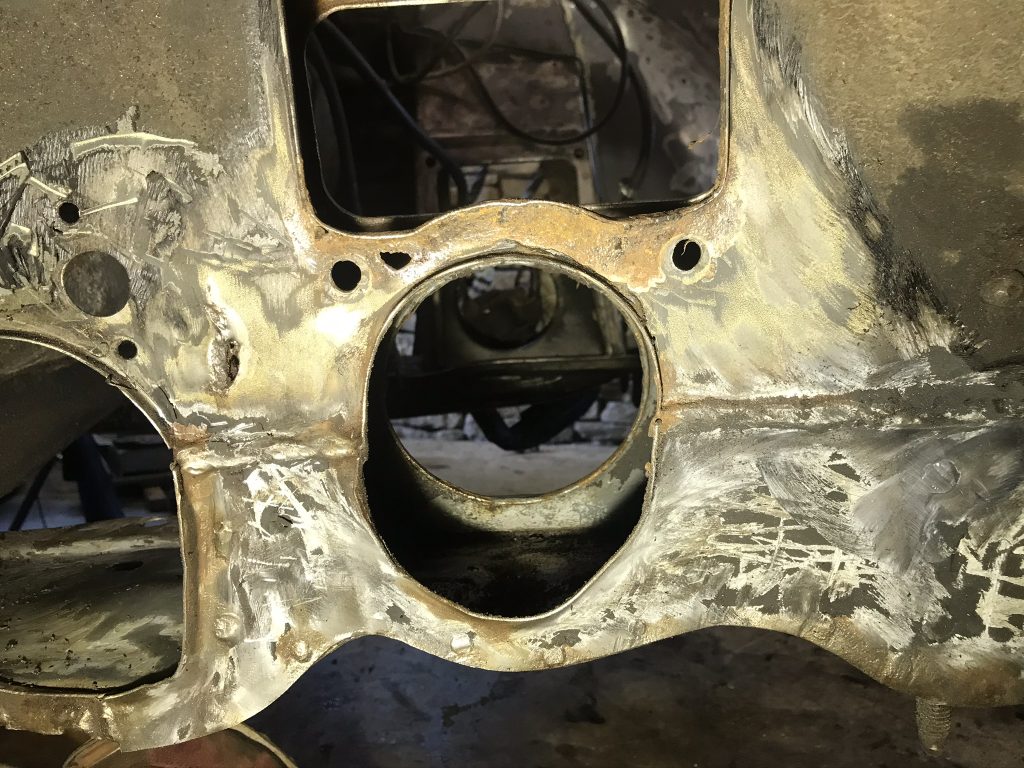
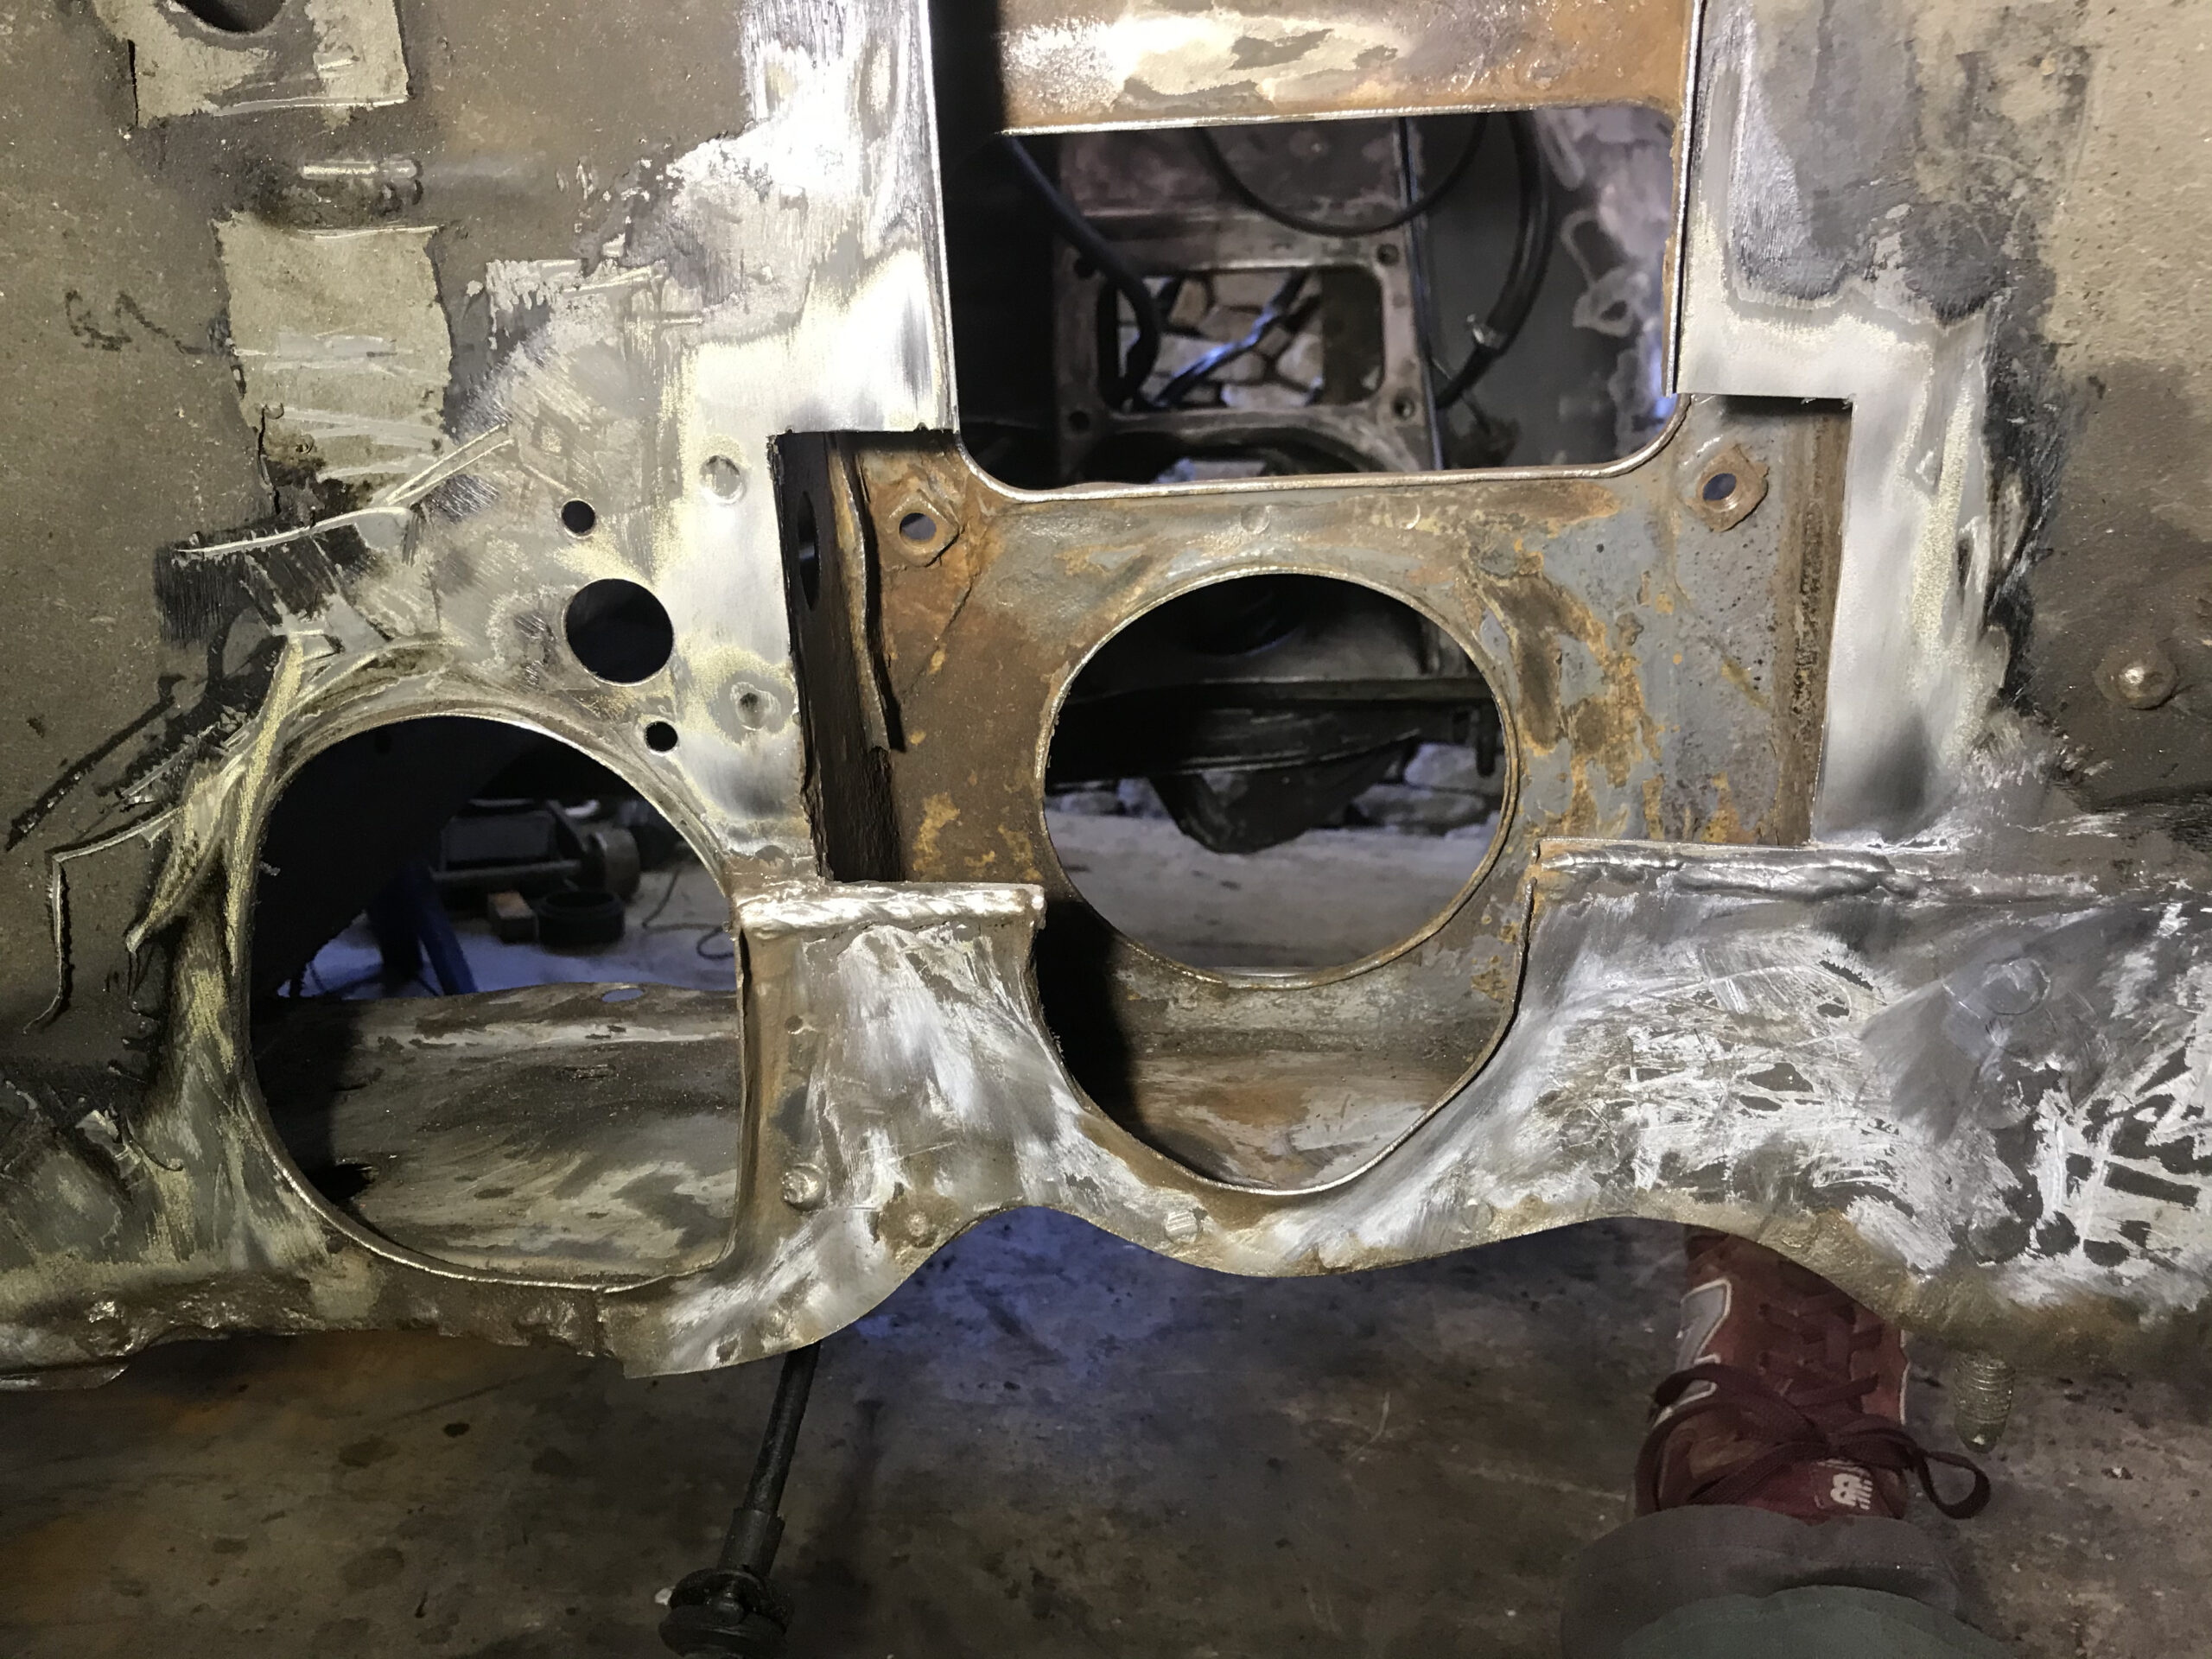
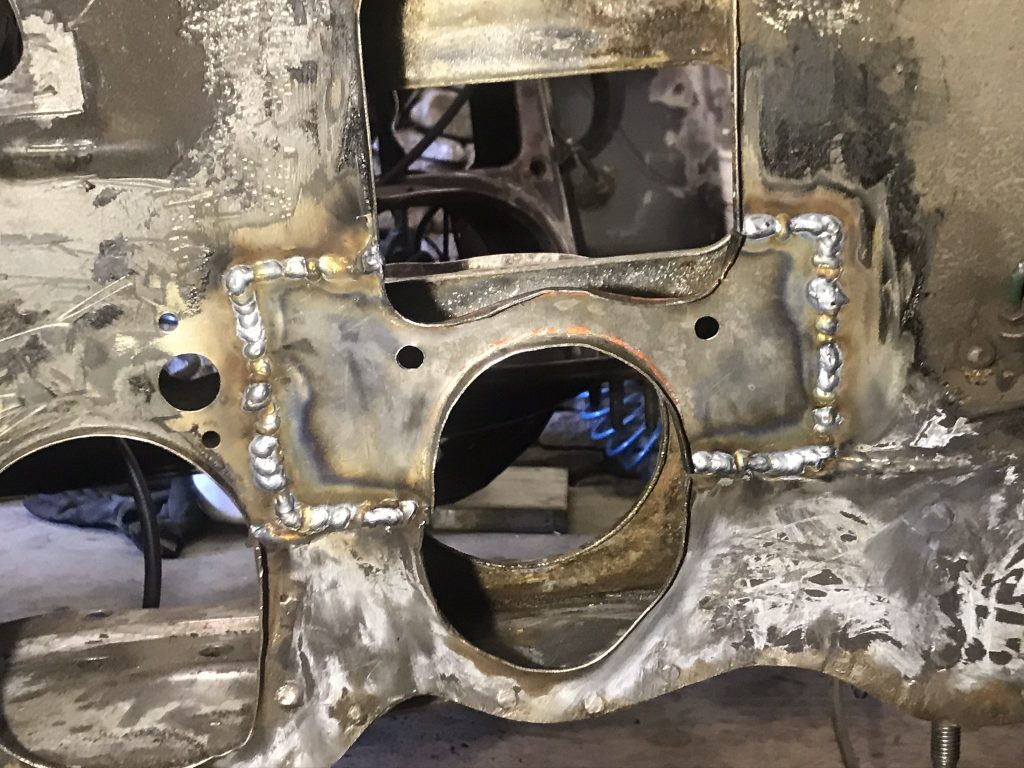
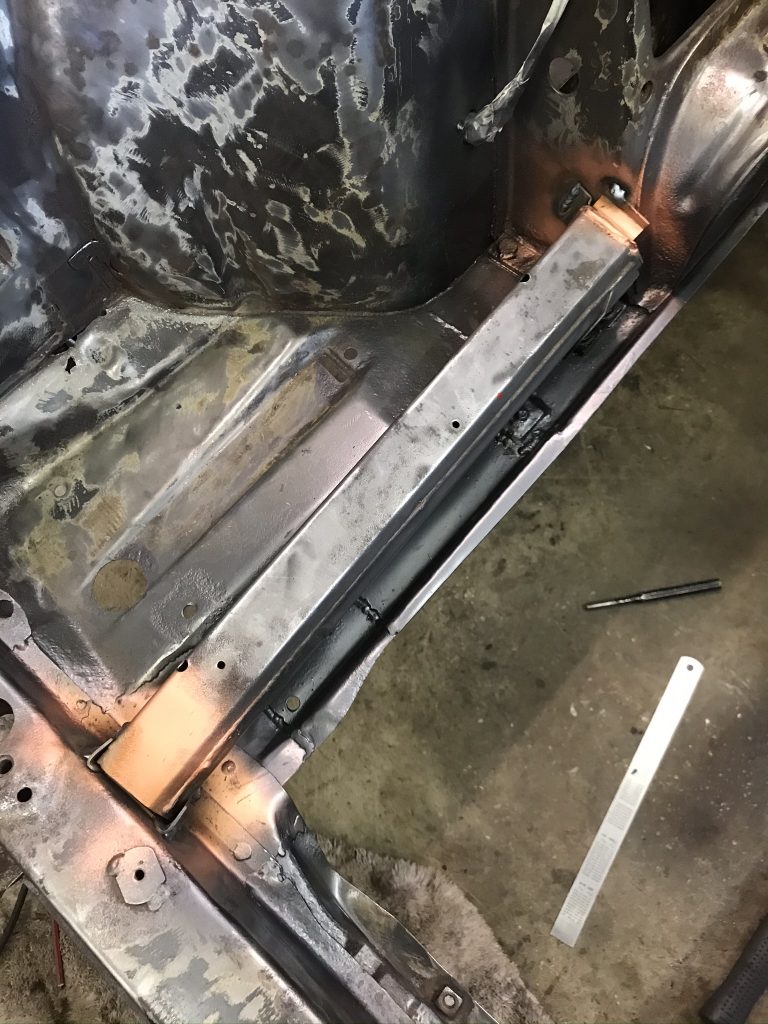
Then I cut out the battery tray since I’ve relocated it to the other side (before realising I could have simply unbolted it) which revealed quite a lot of thin metal. Decided I’d be best to cut out the box crash structure to do the repairs, so took a lot of measurements and did this:
Cut out the box section
Crusty
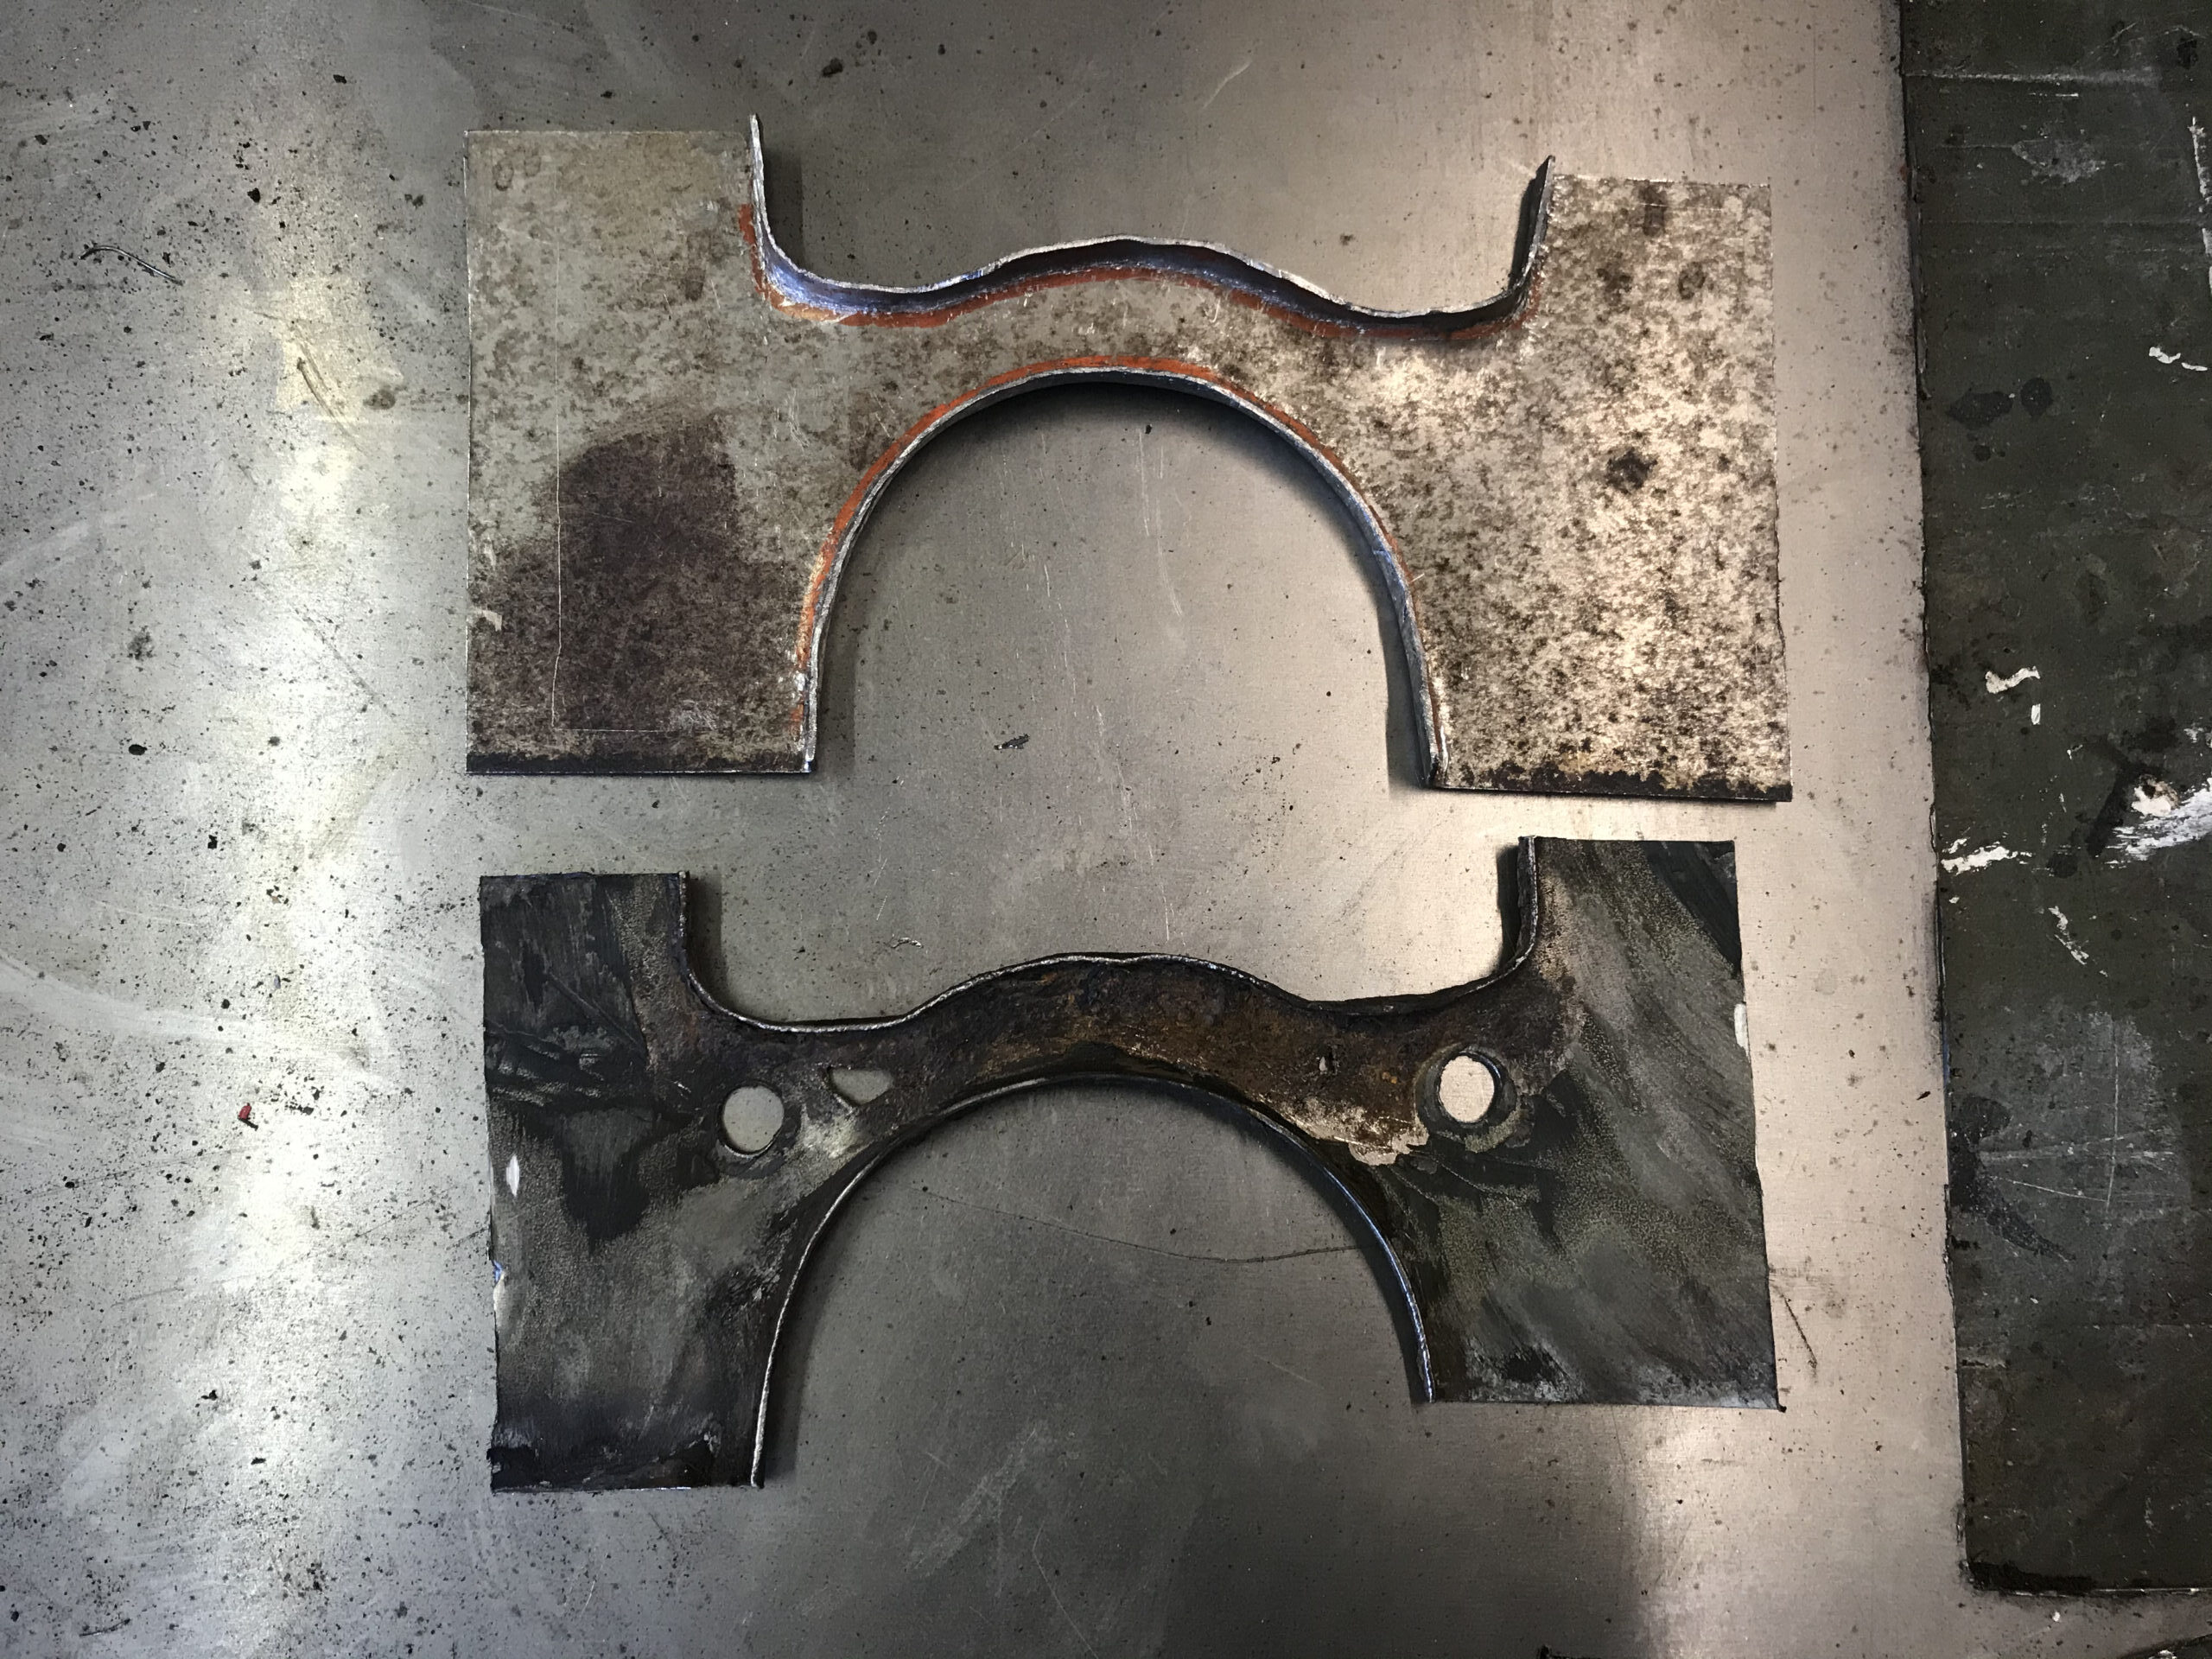
Three different patches combine
Another patch
Underneath
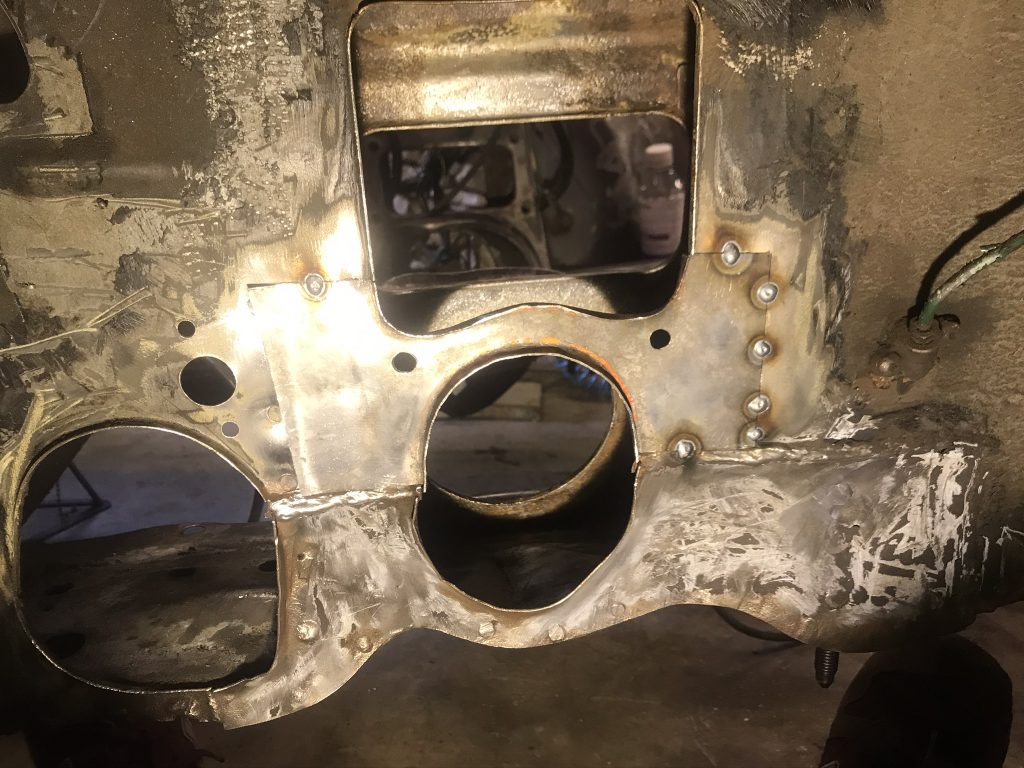
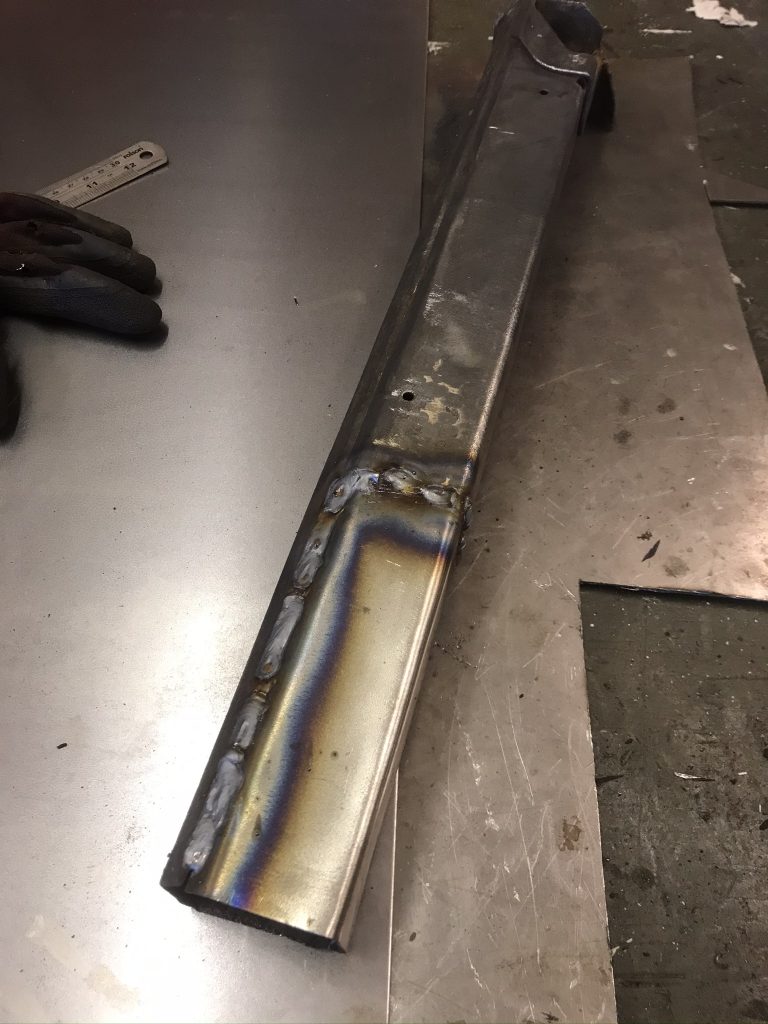
A repair to the box section
And back together
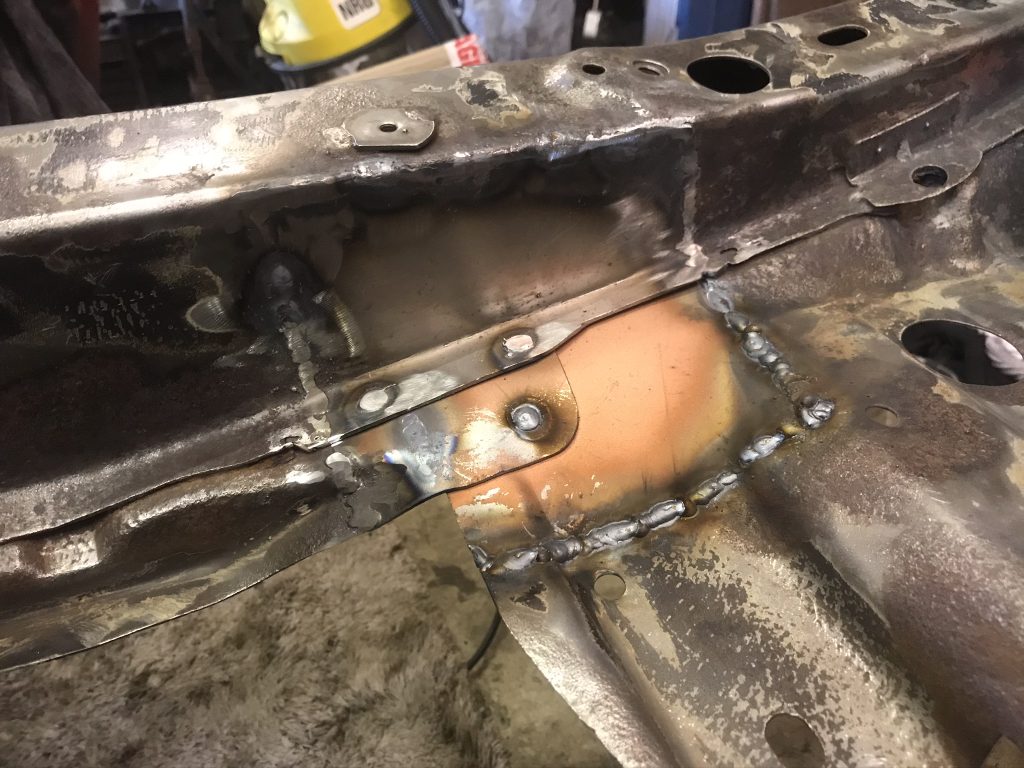
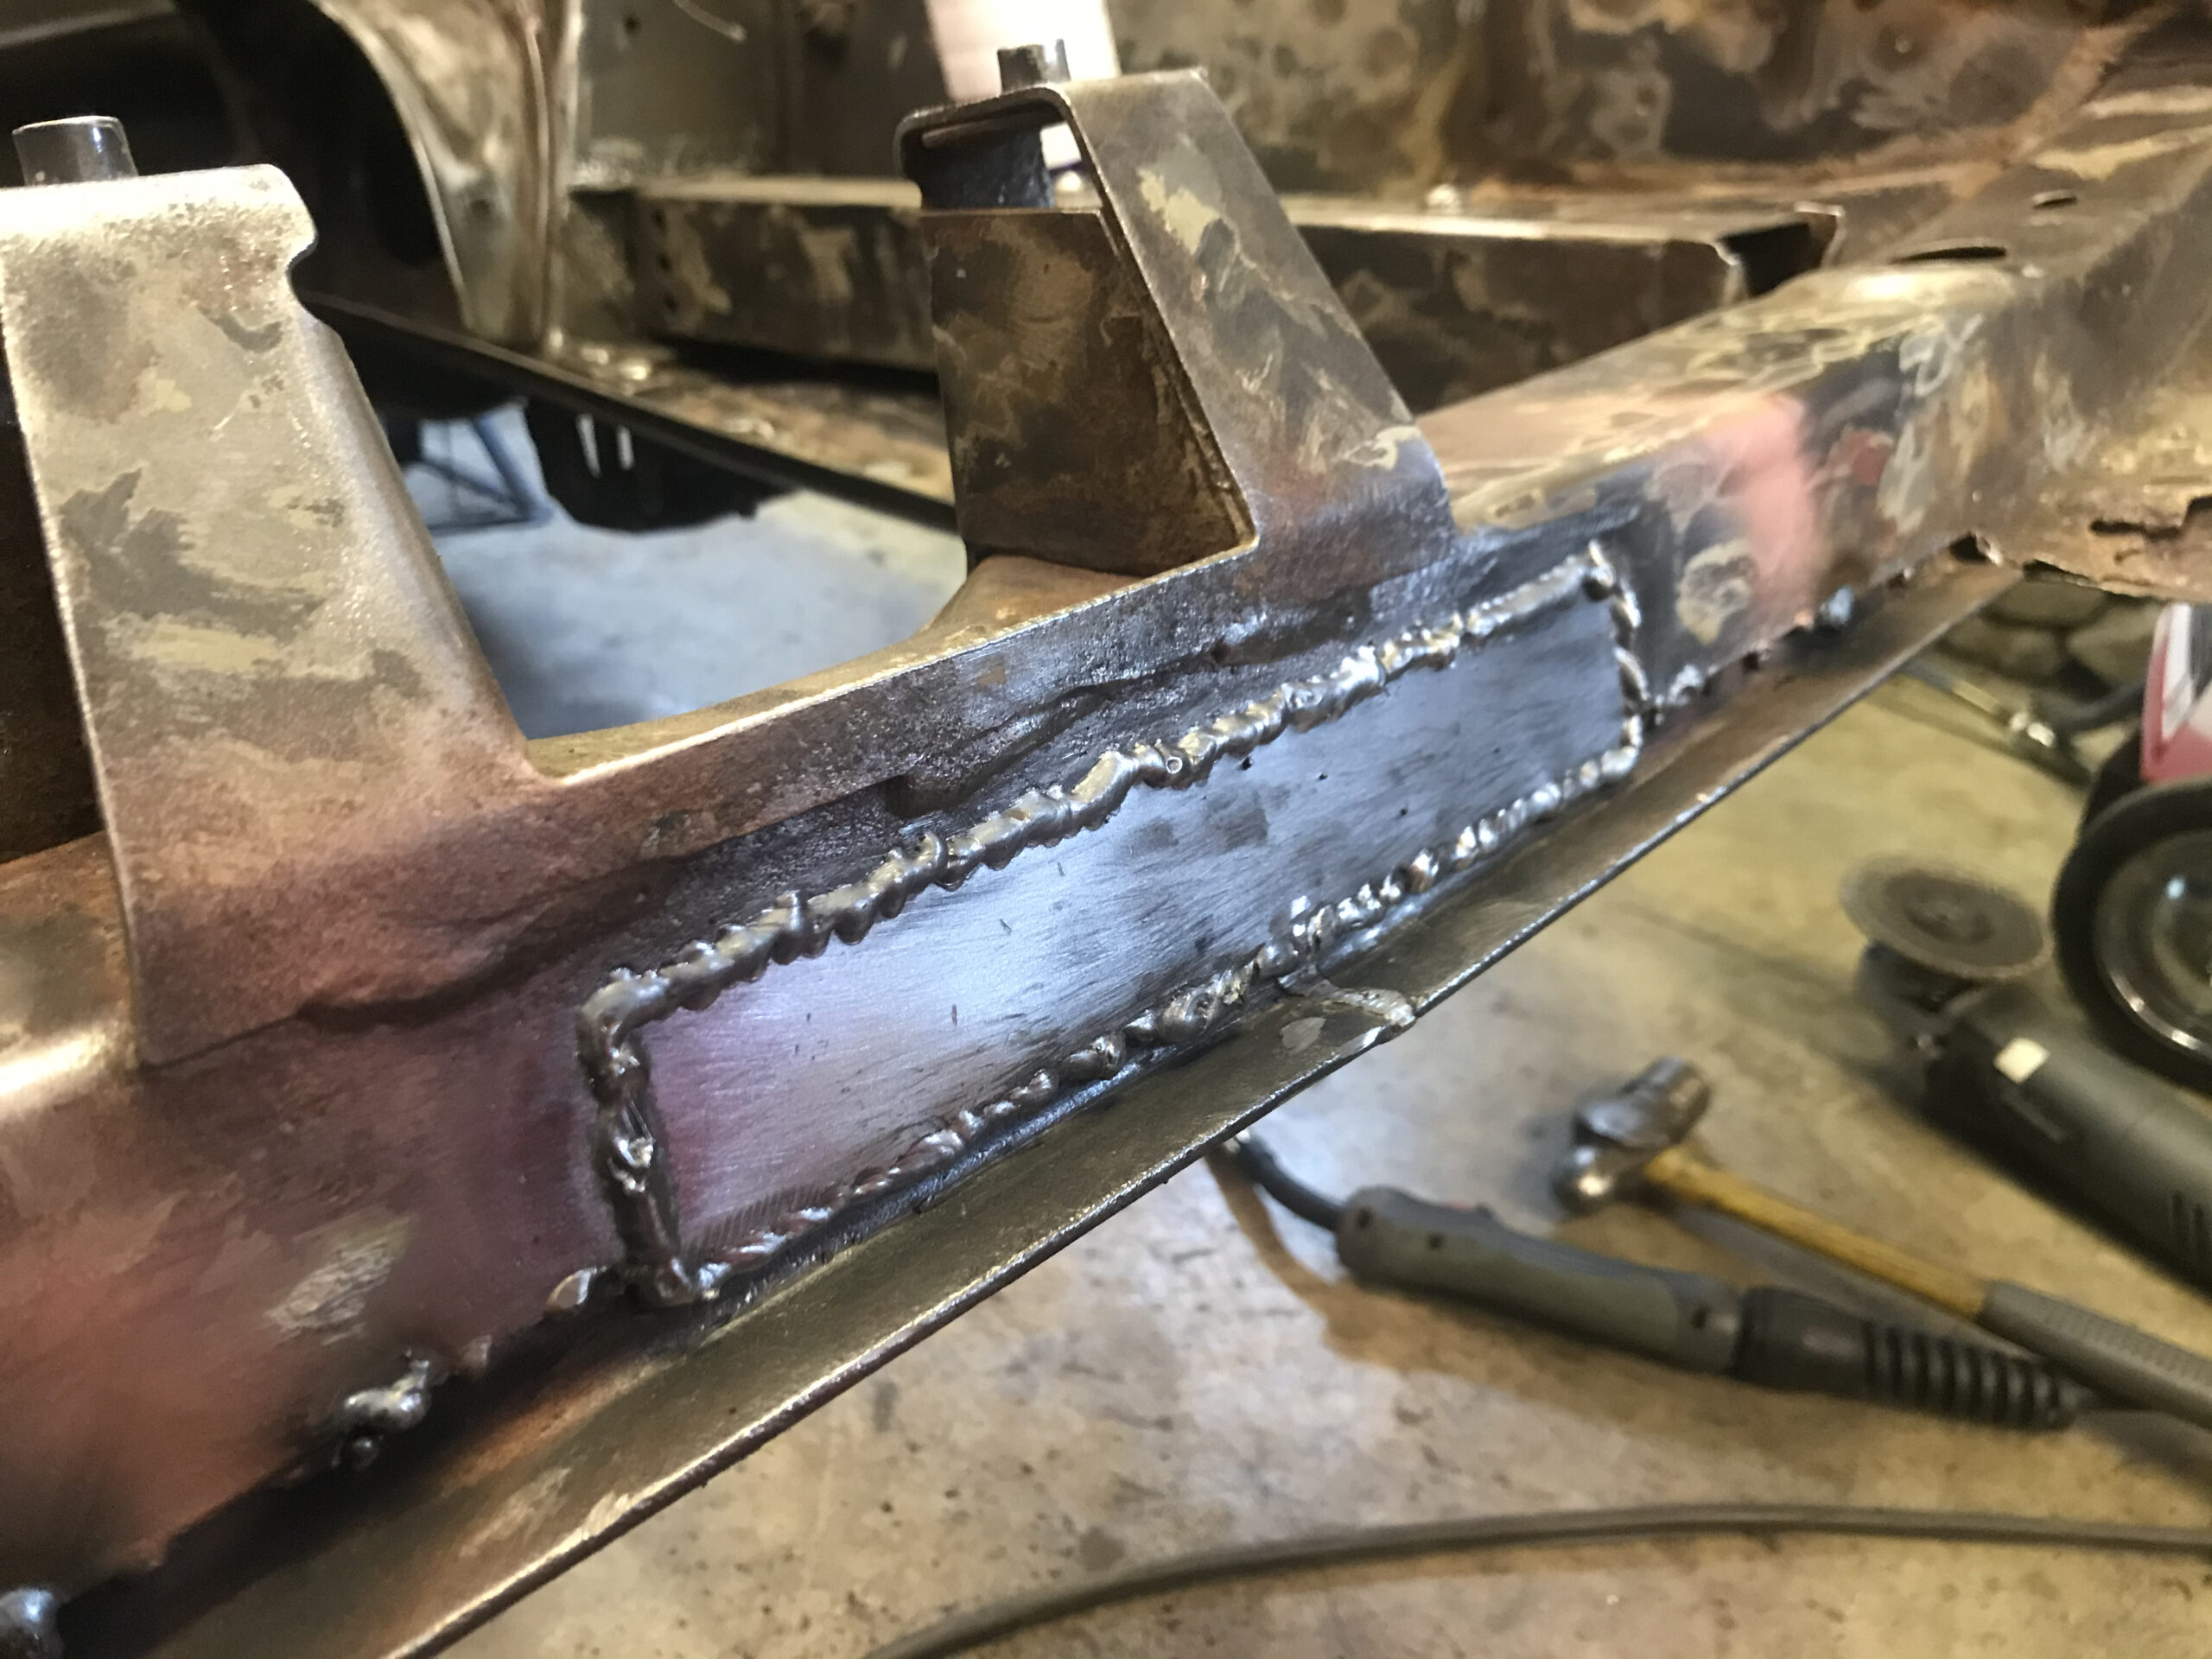
There were a couple of other patches around the bay, such as the front crossmember:
You can see here the angle iron added for strength where metal was cut away for the front mount intercooler.
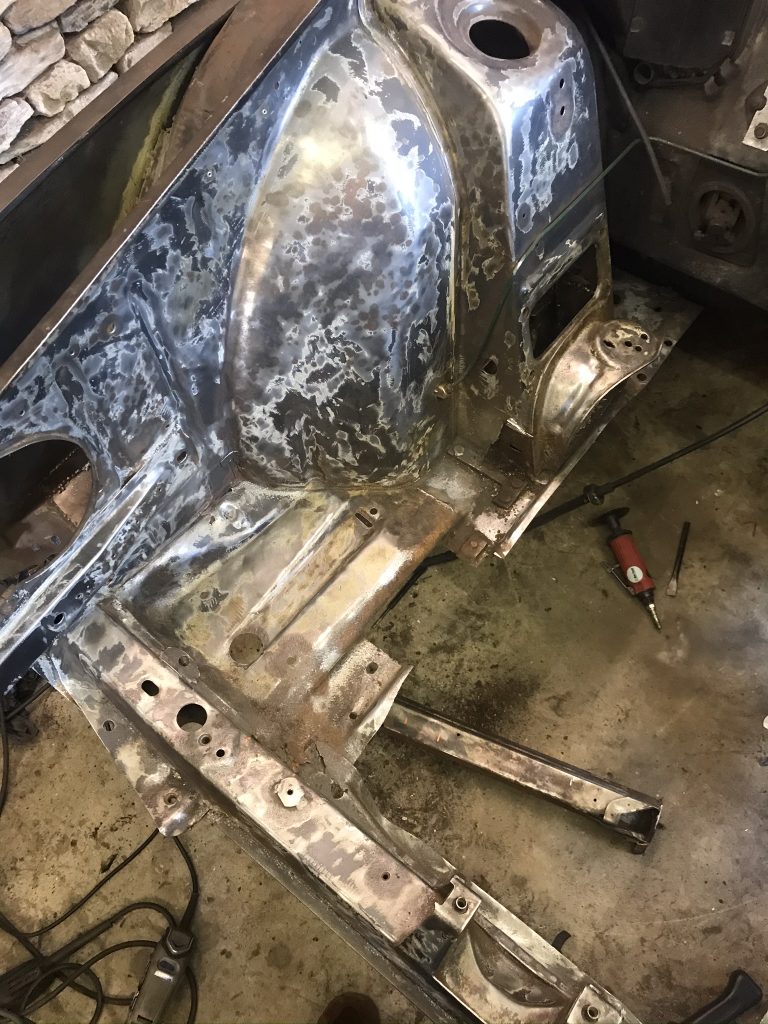
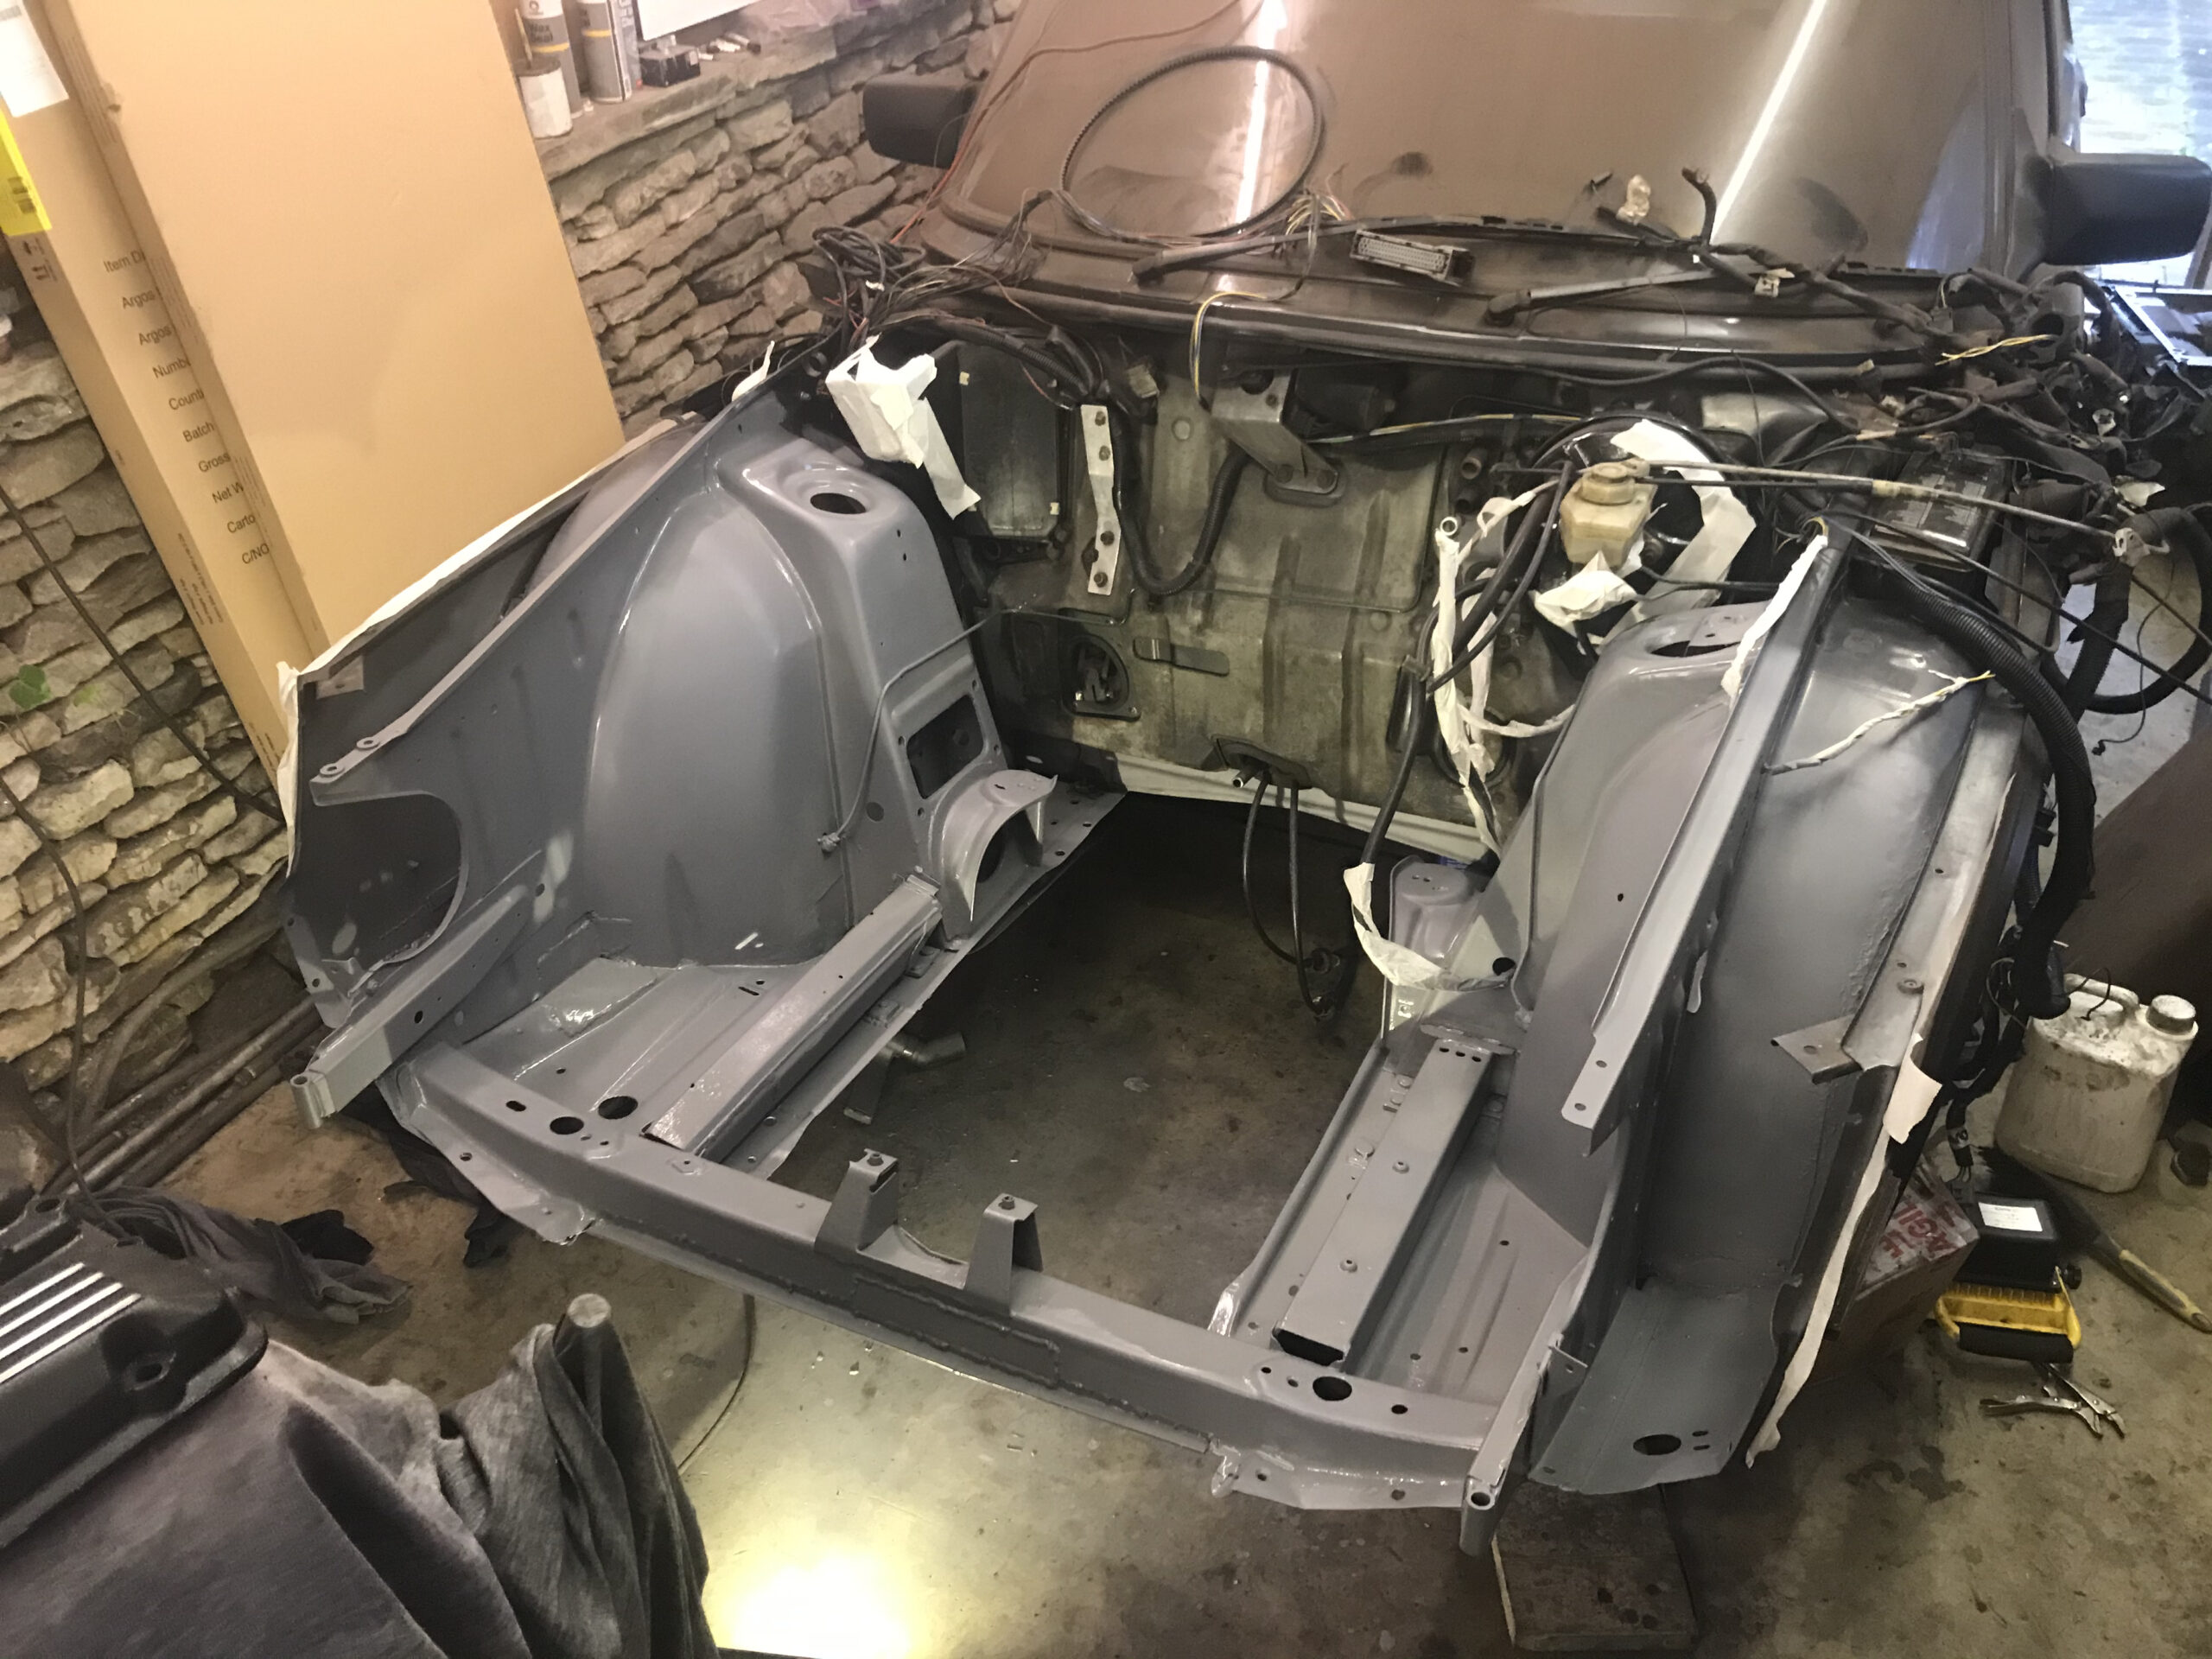
After that, time for paint!
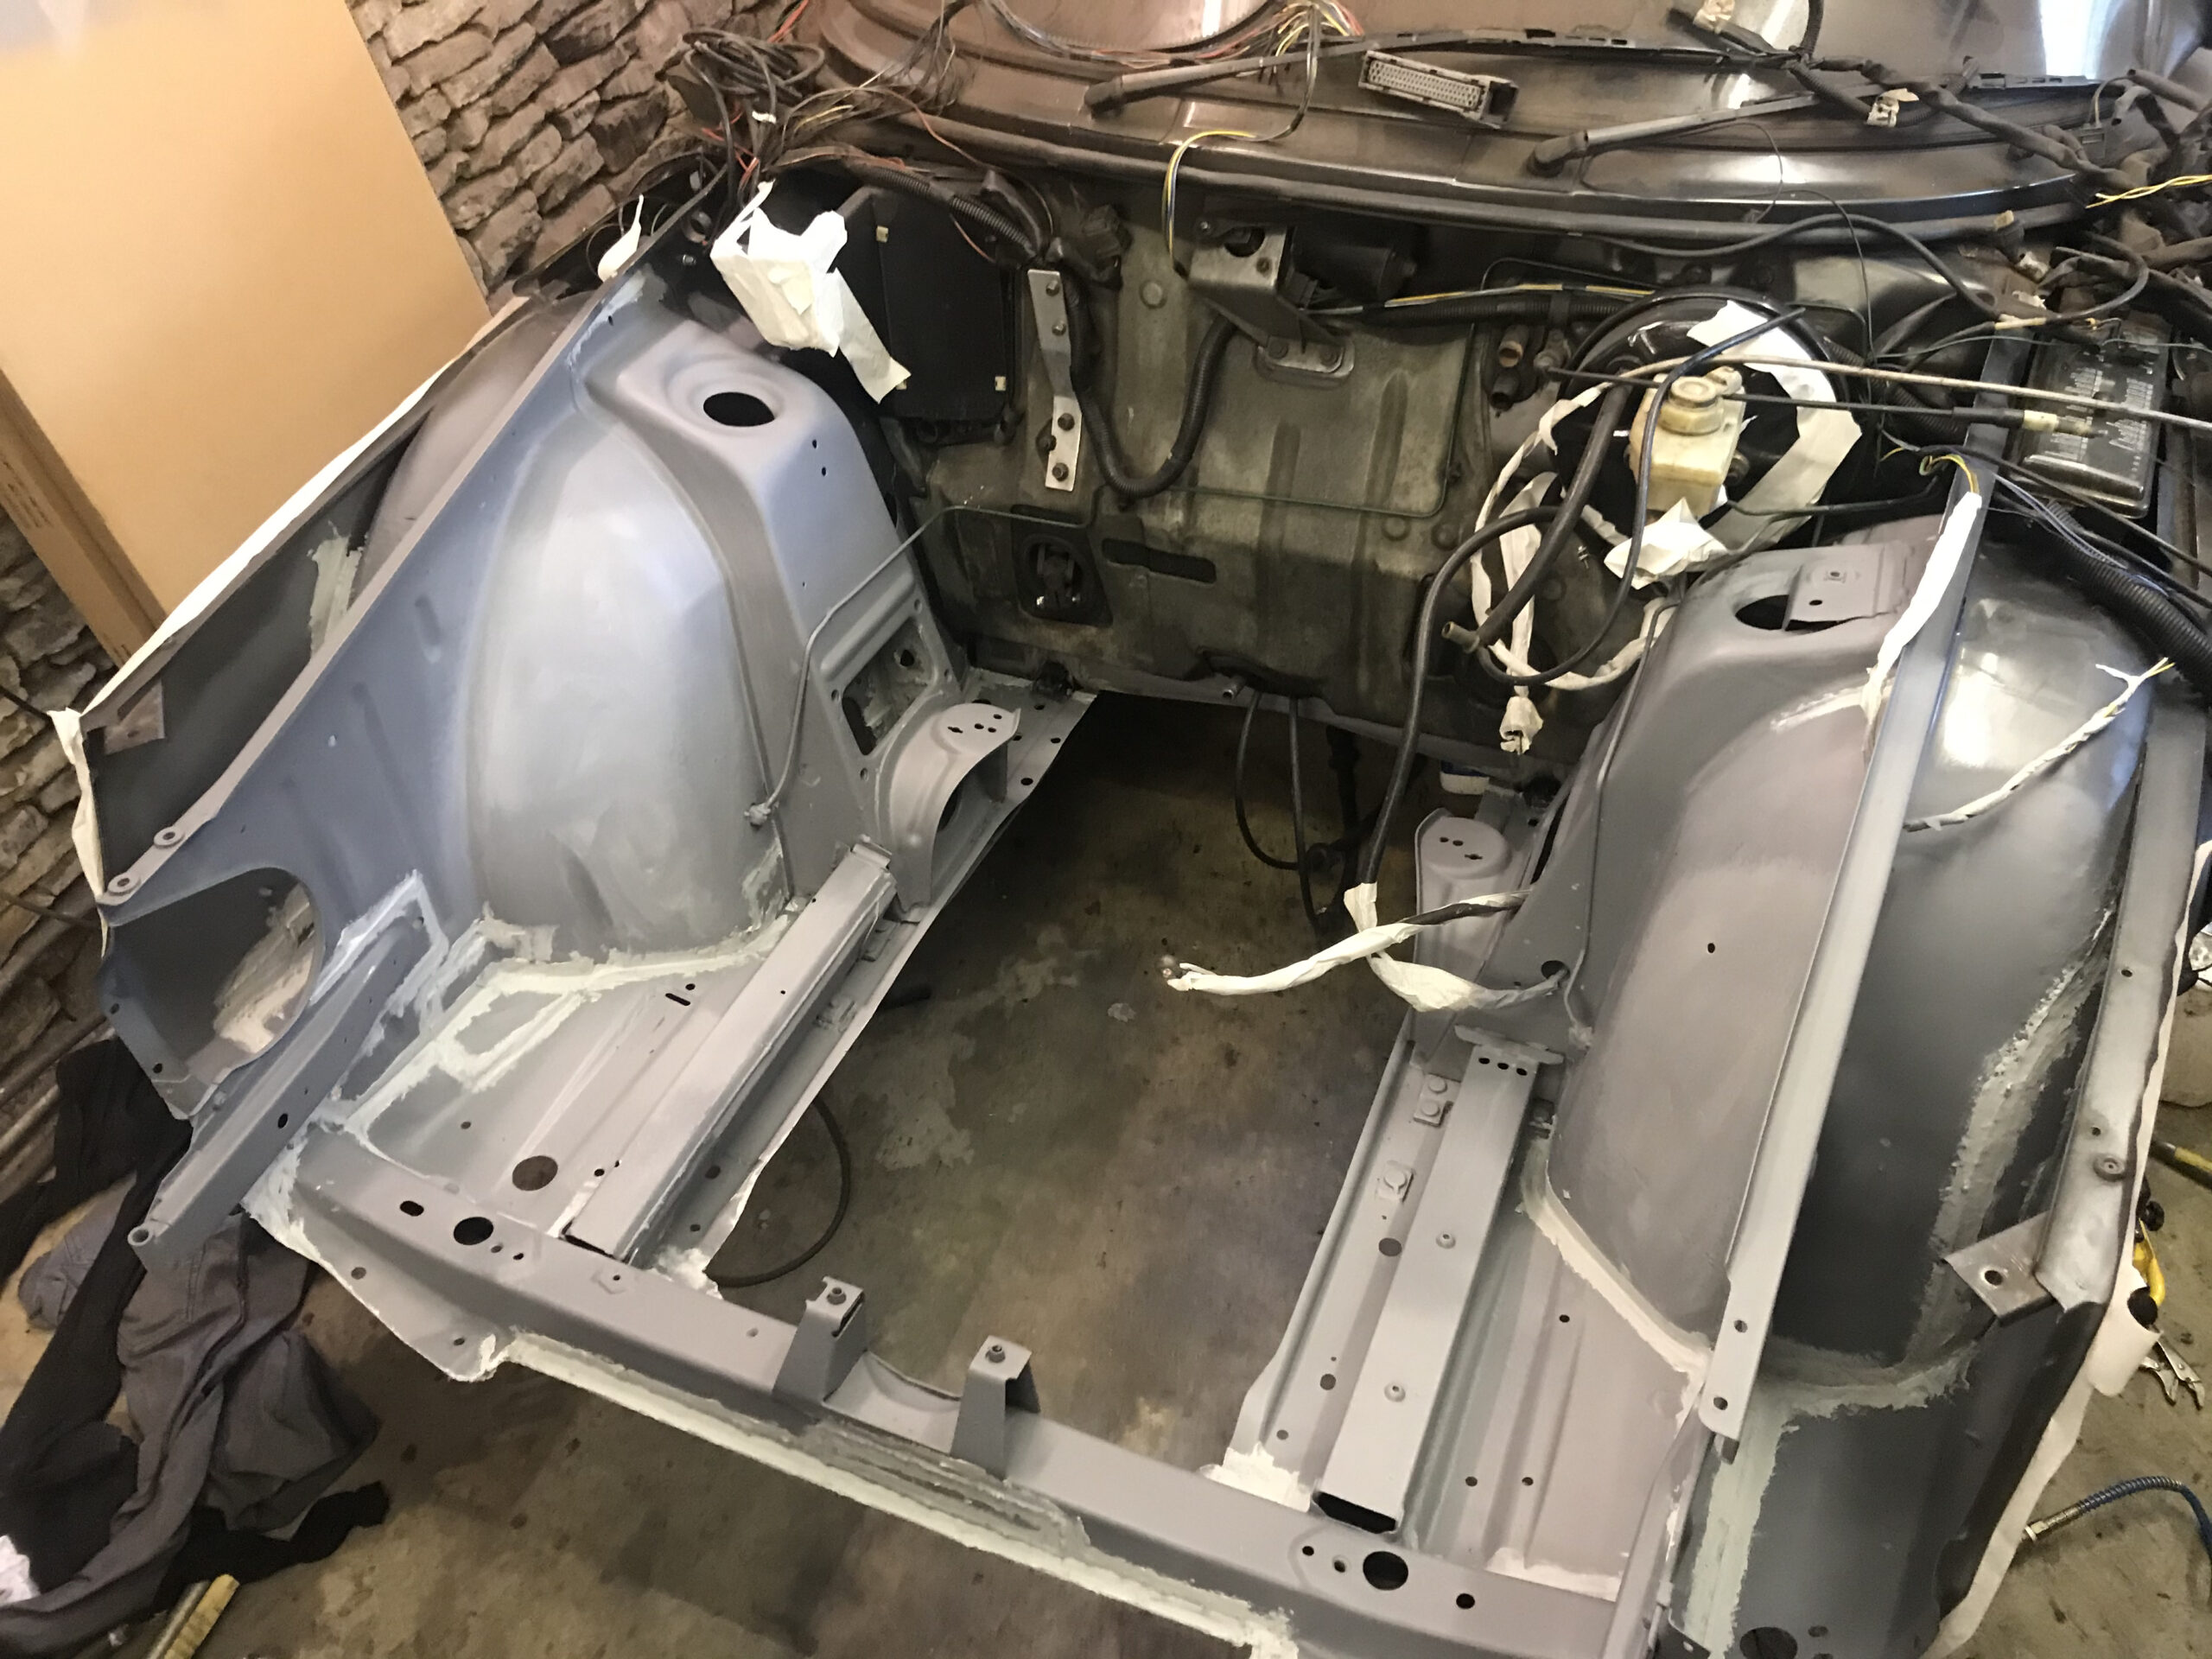
Primed
Seam sealer
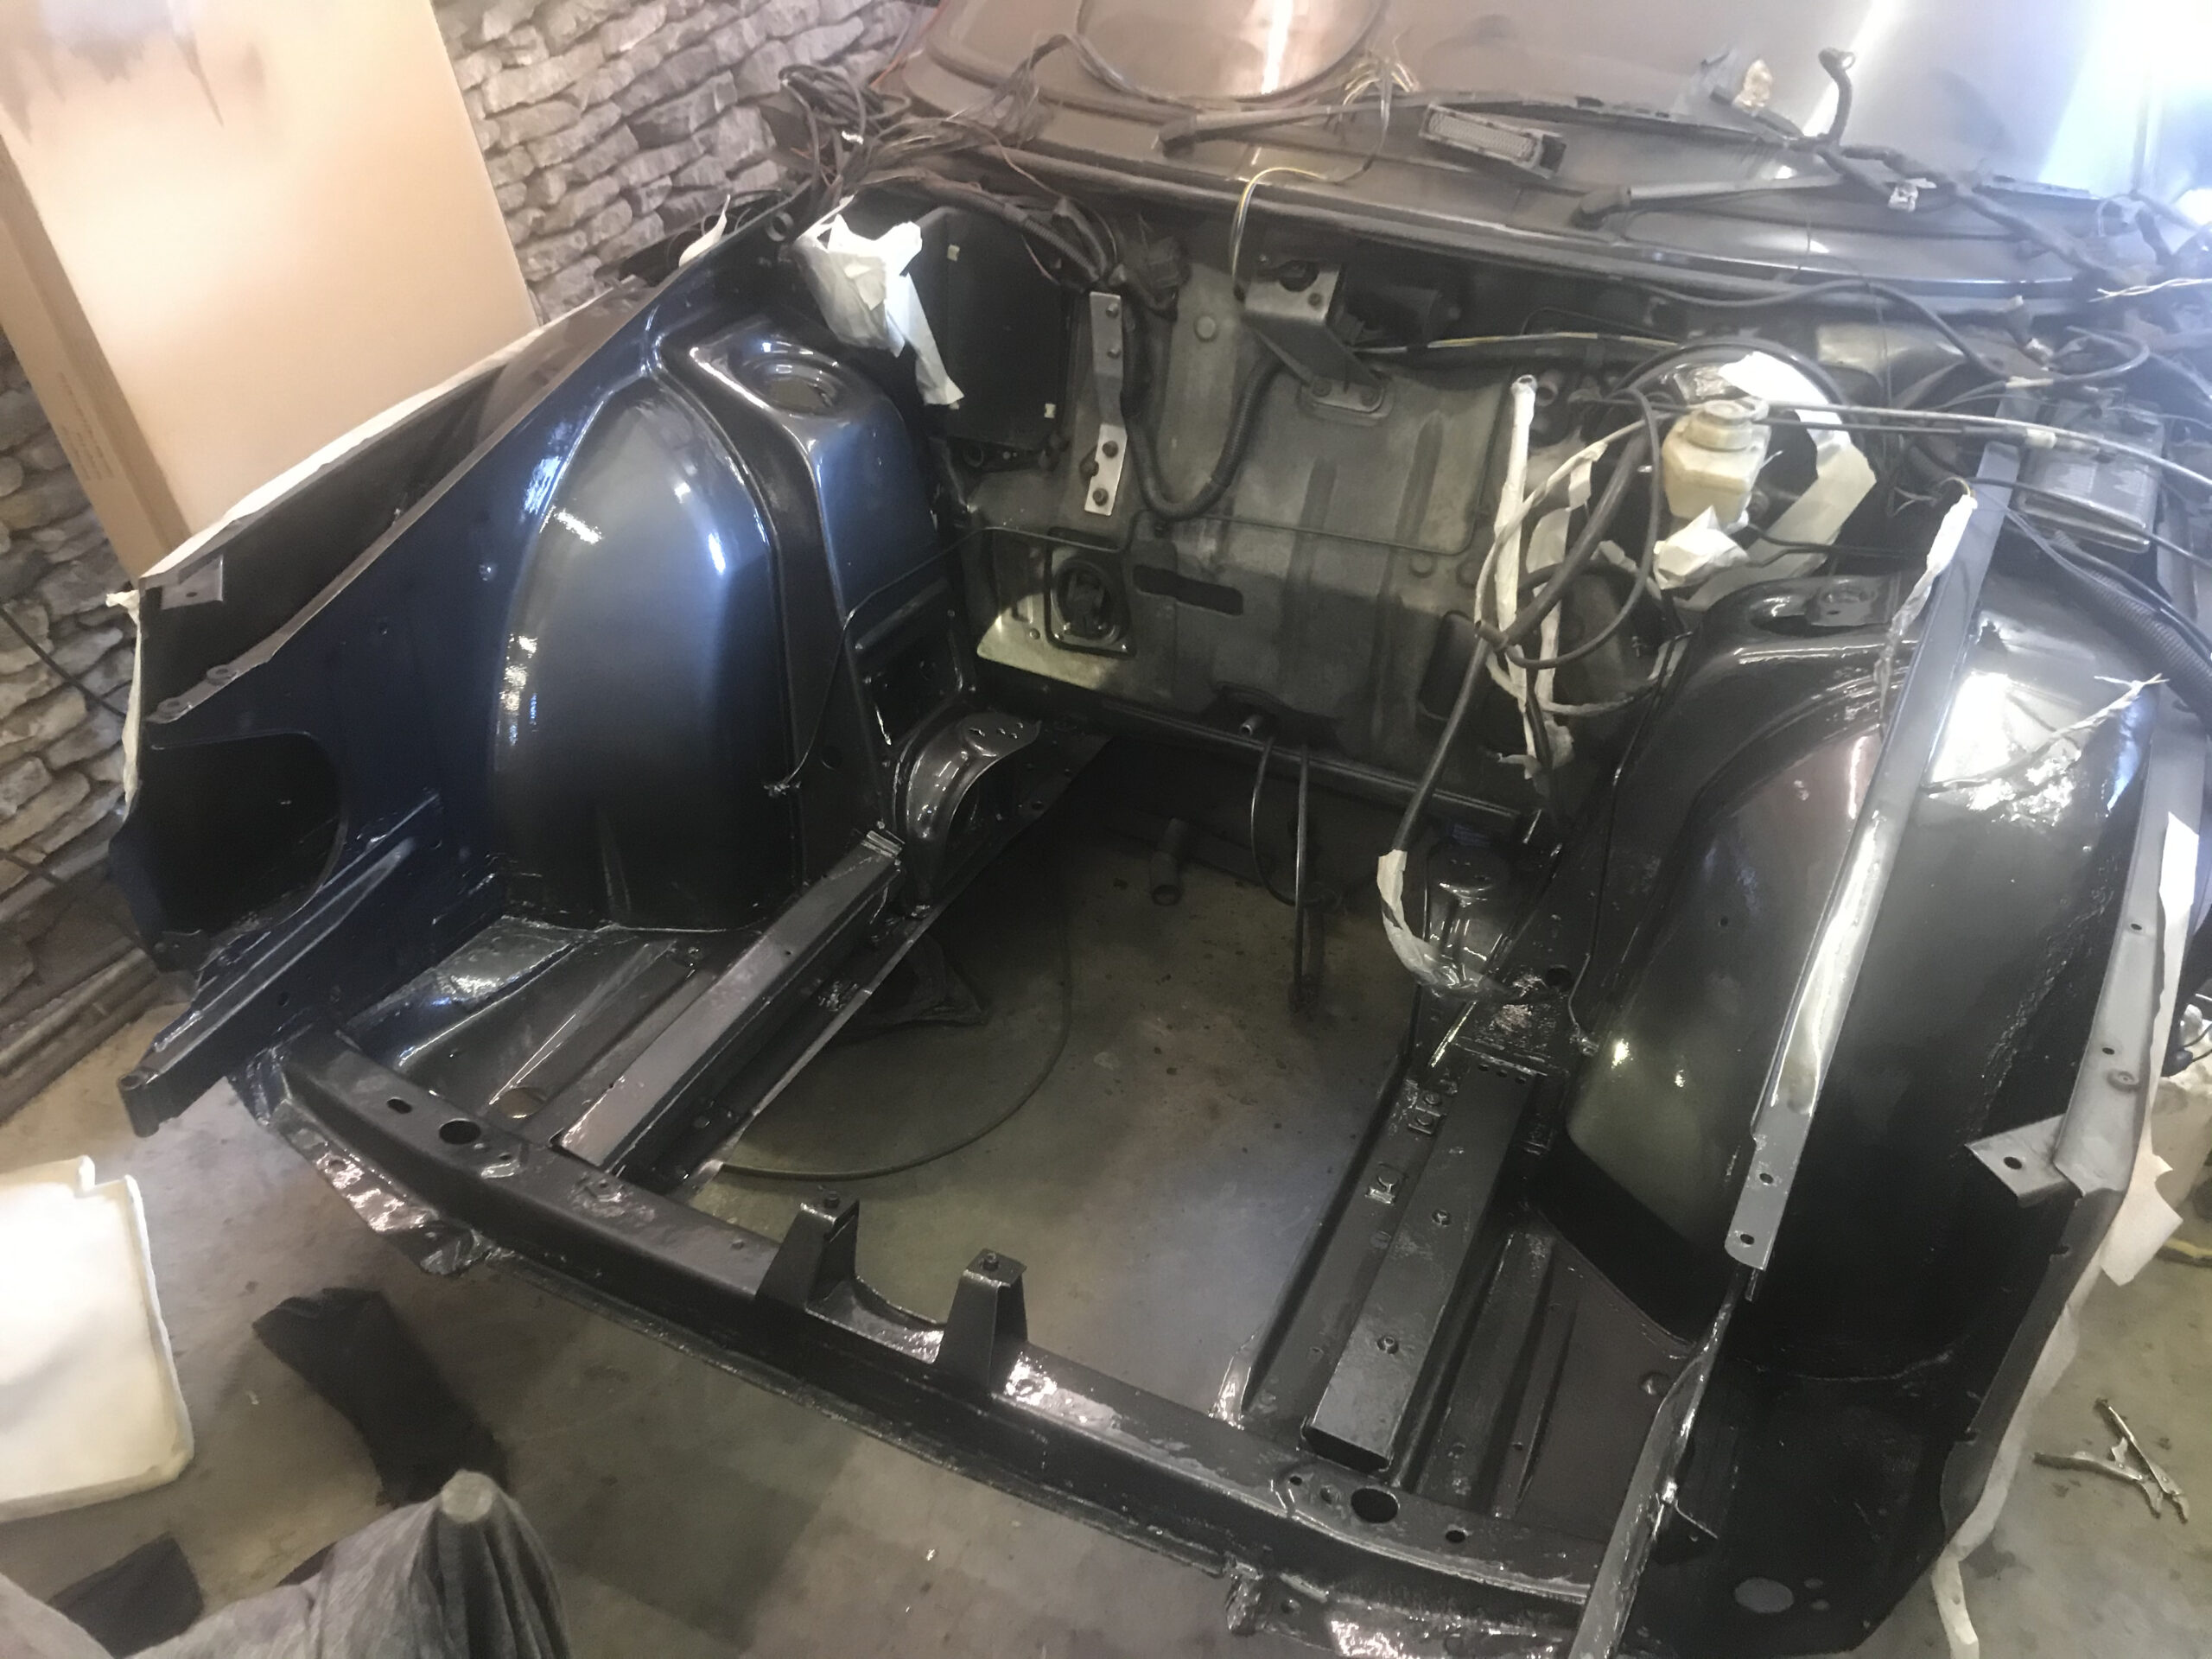
And basecoat and lacquer
I’ve also coated the underneath and arches with Bilt Hamber Dynax UB, which is a thick black wax, and injected their Dynax S-50 wax into the box sections, which is a much thinner consistency.
So, just before lockdown, I found a little more sludge on the coolant cap. Out came the borescope…
1 and 4 looked fine…
But 2 and 3 were wet
Seems like head gasket failure then.
Funnily enough a compression test turned out fine – in fact 2 and 3 had slightly more compression. I guess the water was helping the rings to seal.
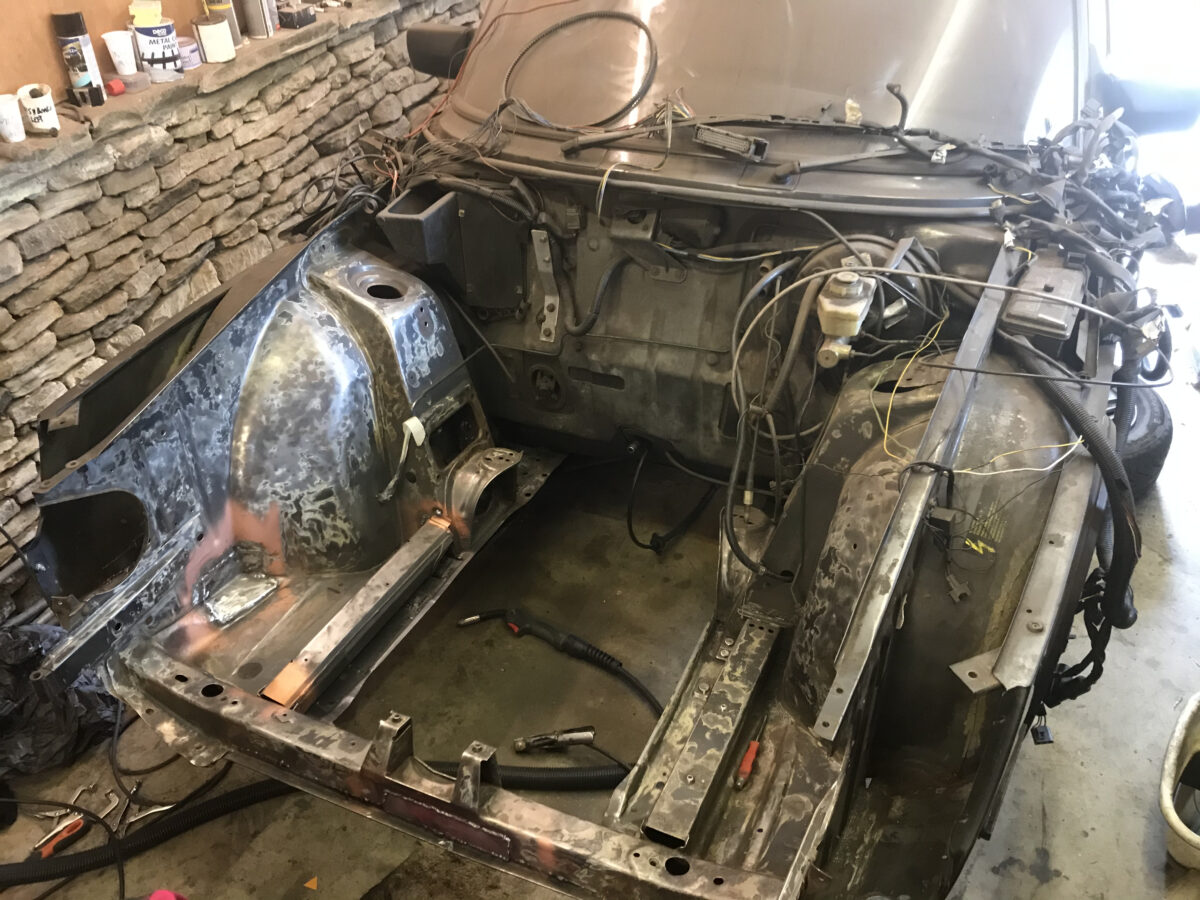
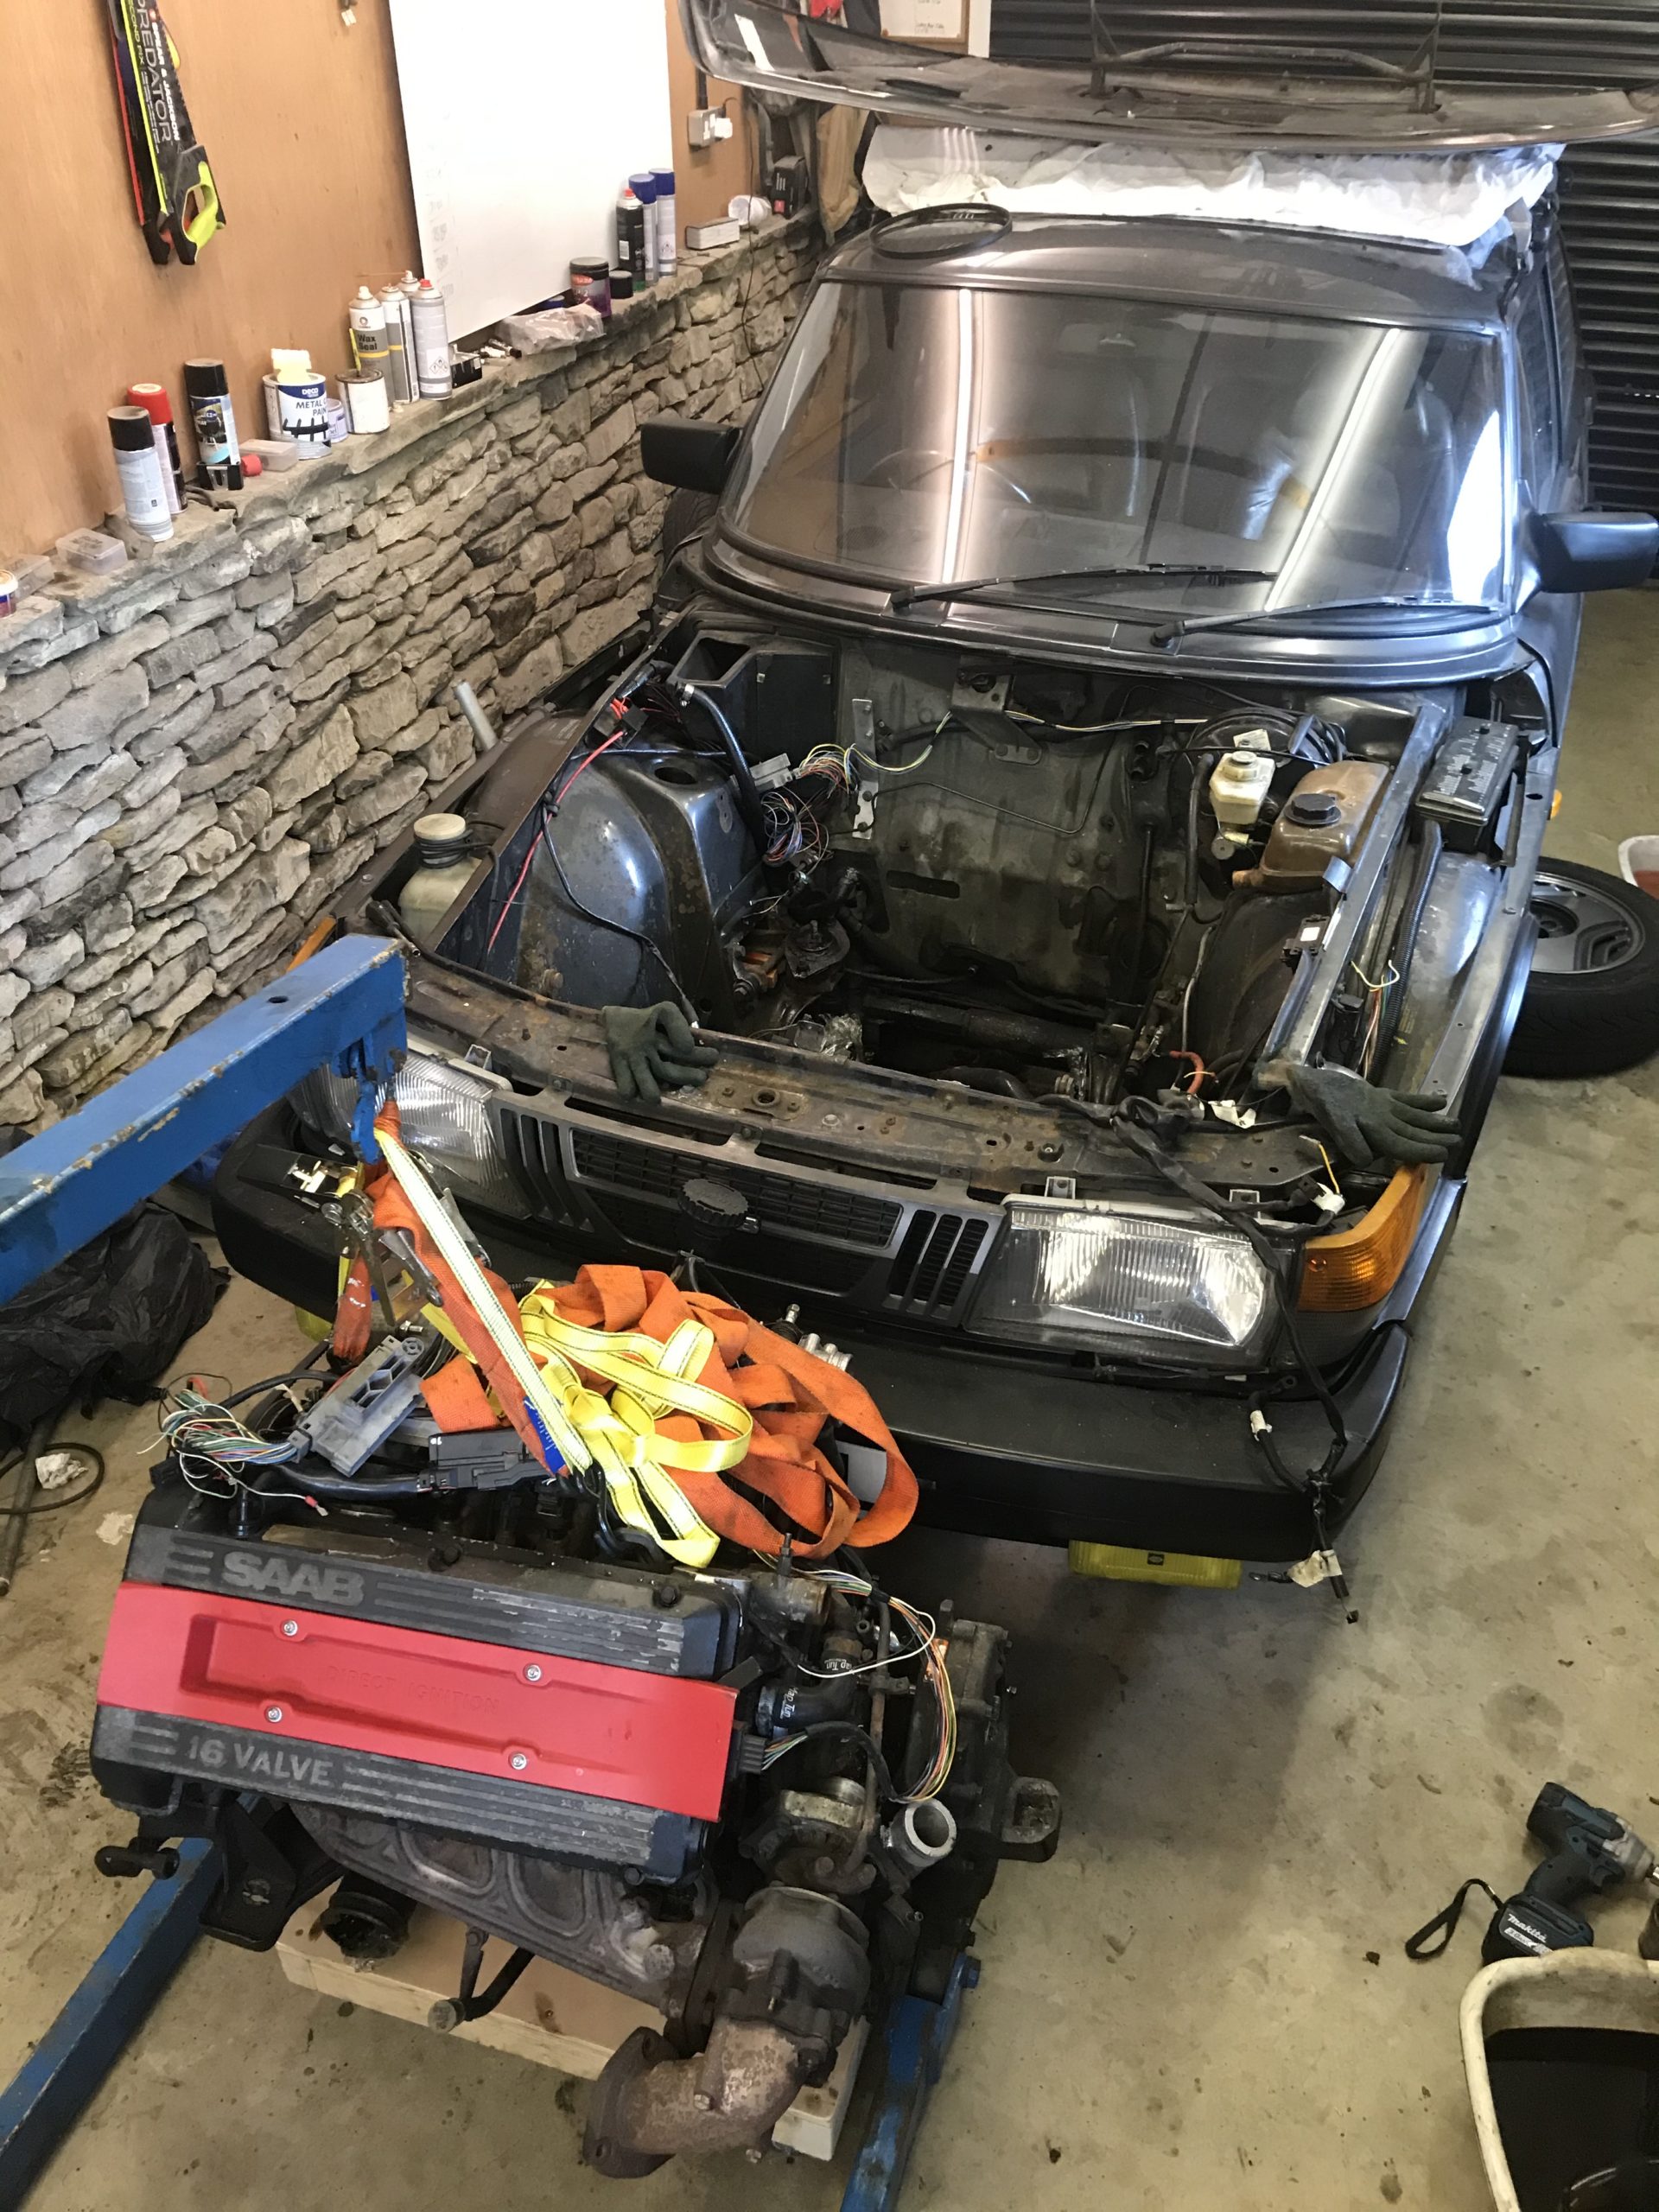
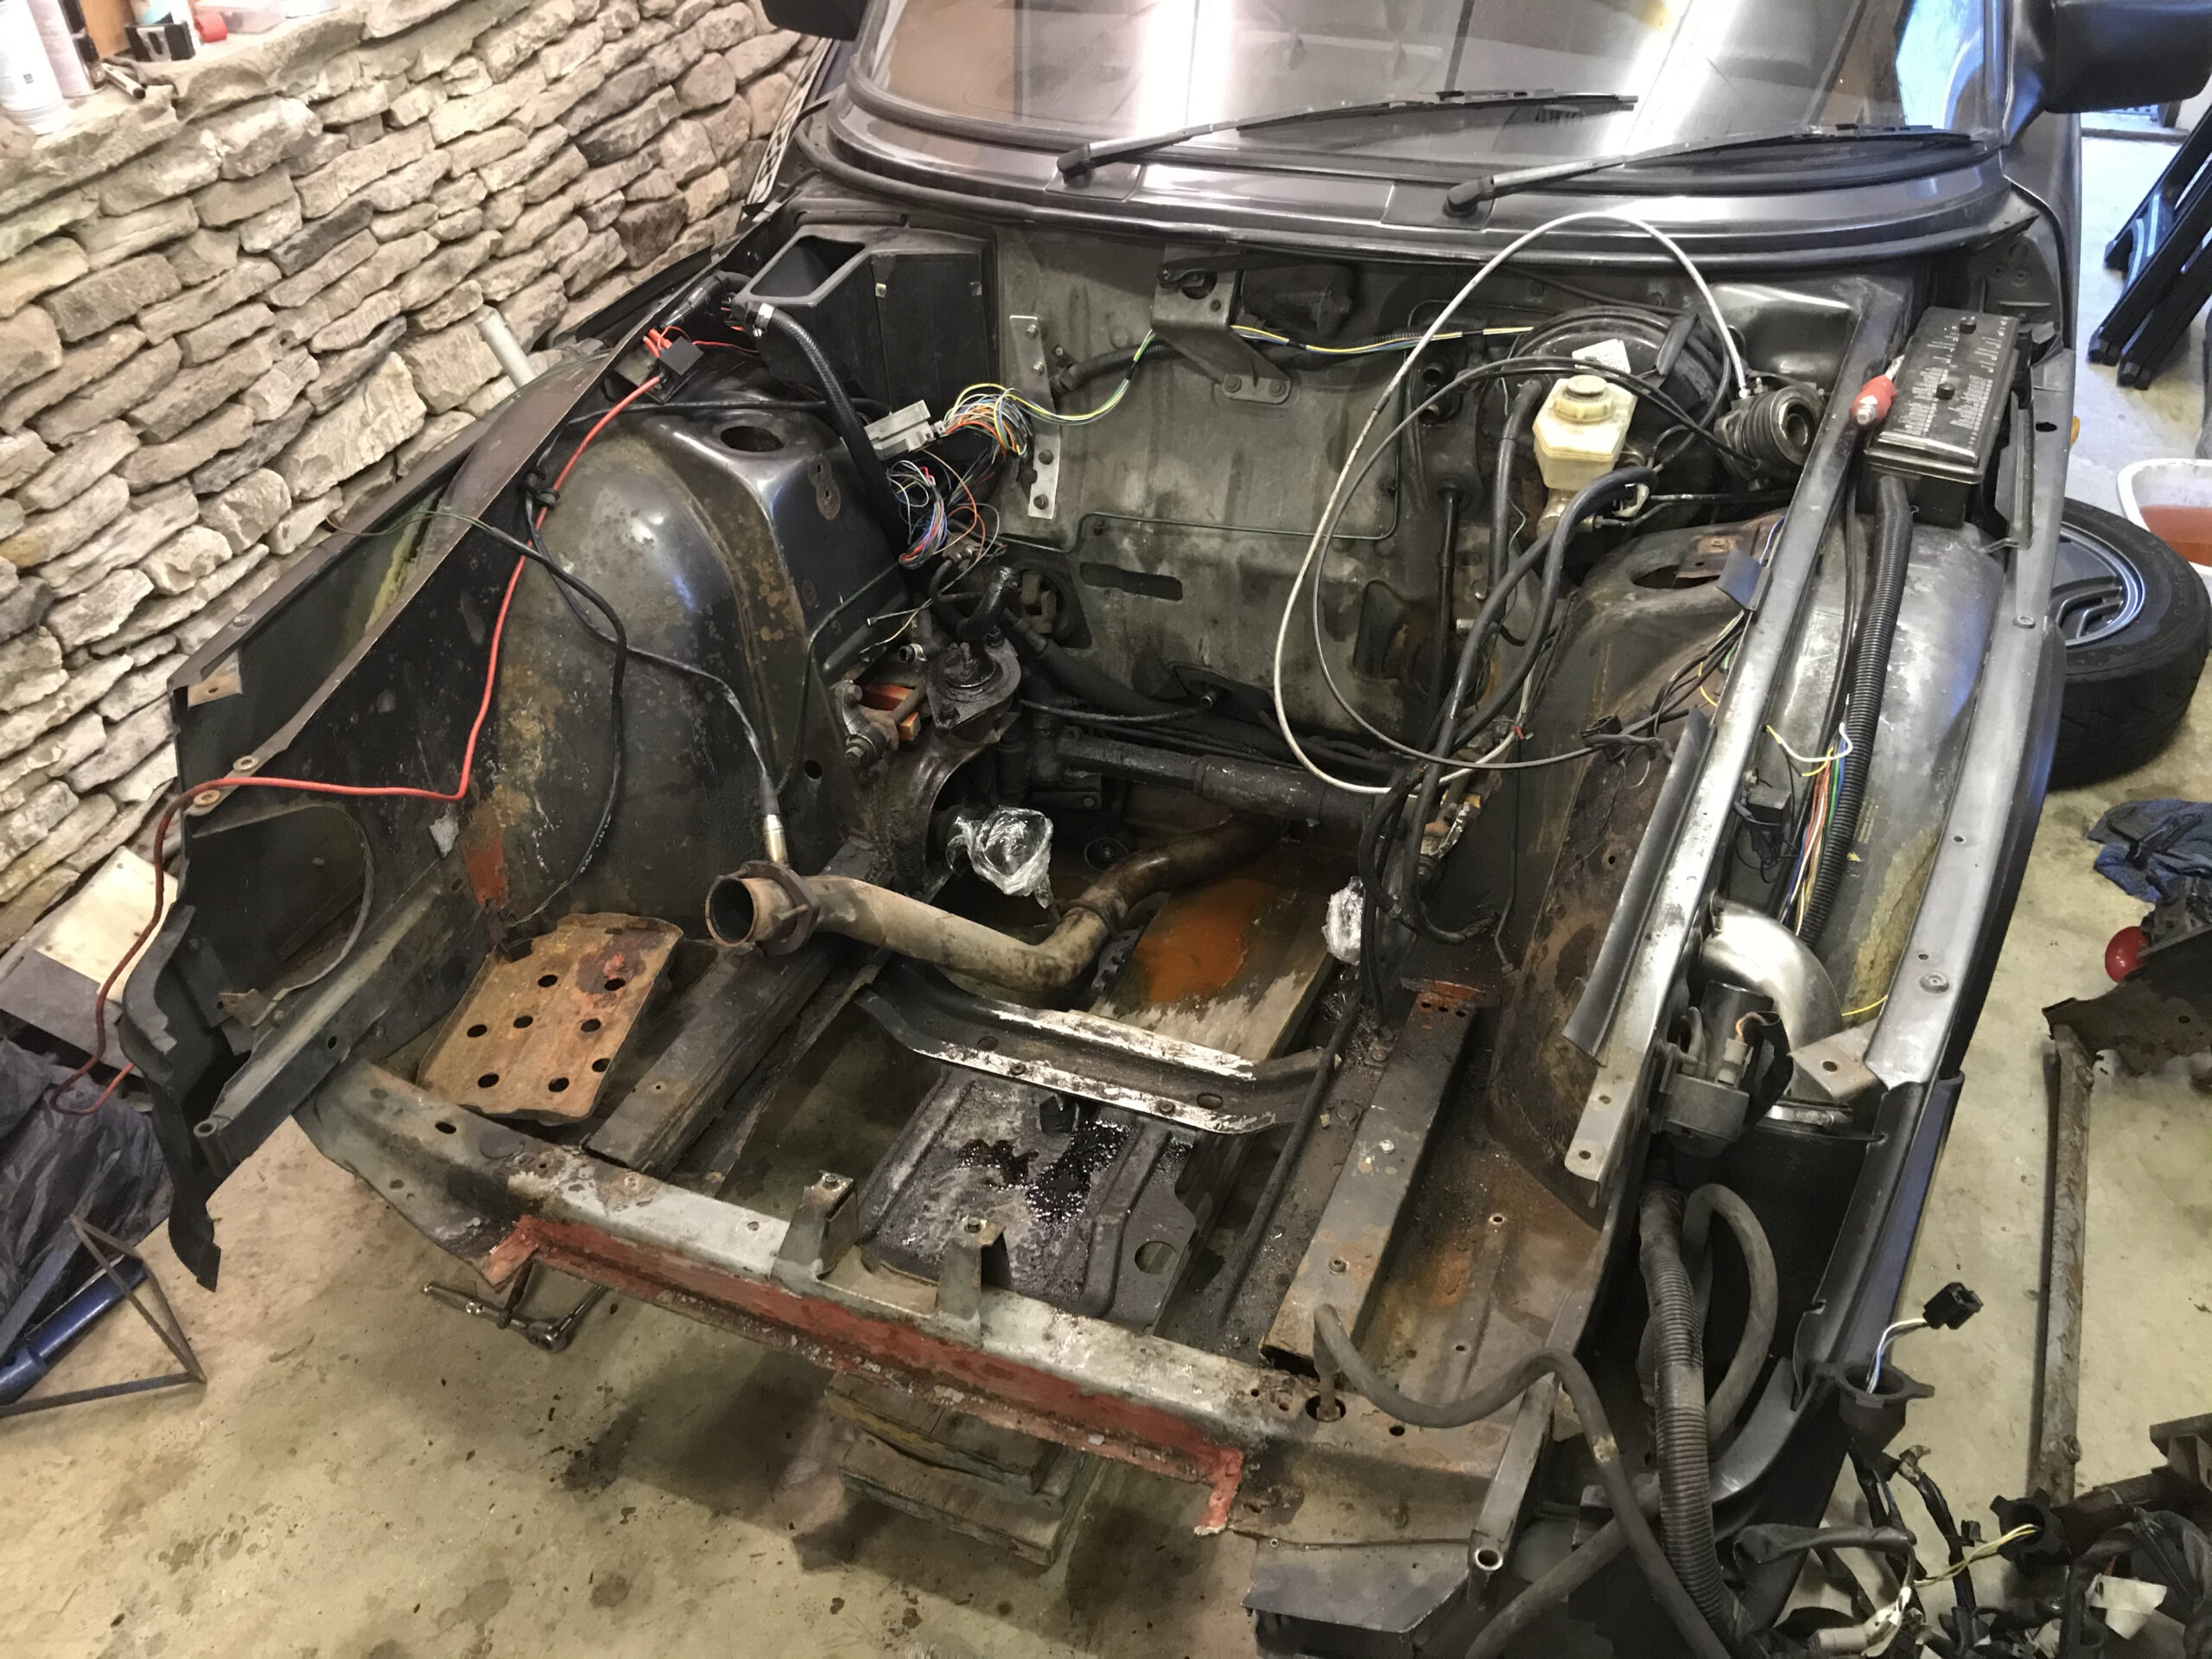
Anyway, since I couldn’t go anywhere anyway, why not turn it into a much bigger project! So, engine out:
Doing my first full engine out on my own was a bit scary, but it came out fine with the only casualty being one of the oil cooler line unions to the oil filter block which sheared instead of unscrewing. That’s a problem for later. I’m not decided how far I’ll go on the engine rebuild yet, at the very least I’ll replace all seals and gaskets plus sort the inevitably broken exhaust studs
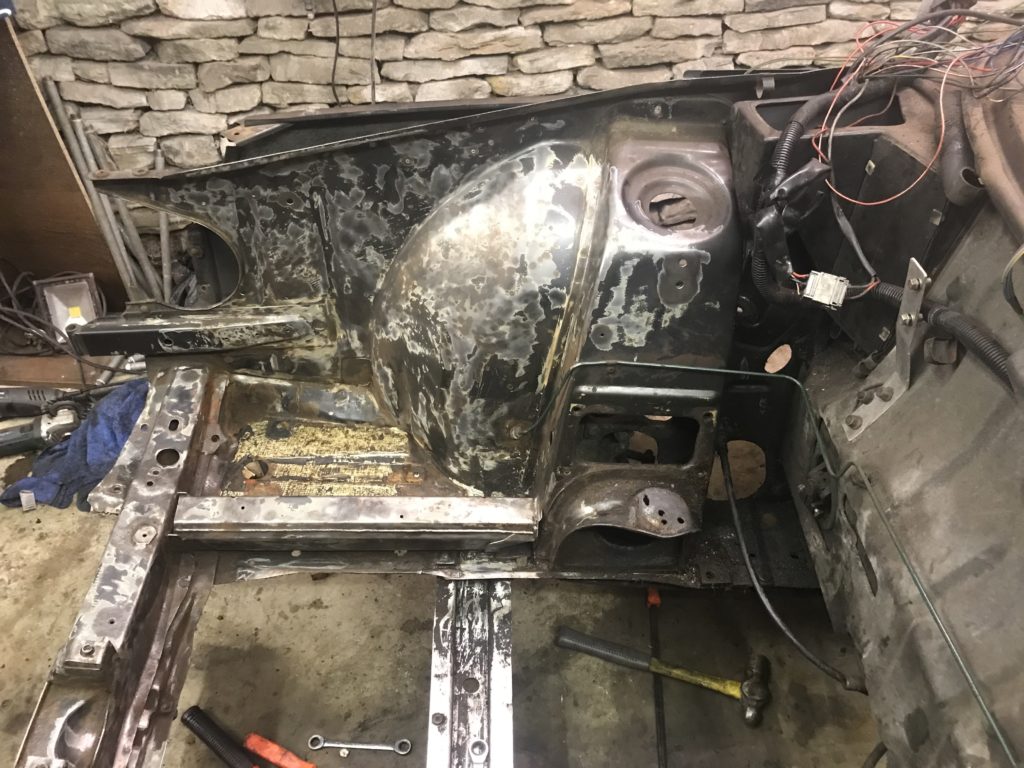
The plan is to strip the bay, sorting any rust (so far 95% of it is just surface so that’ll be treated with a wire wheel and Deox gel, though there’s a couple of tiny patches needed), cleaning and repainting the wishbones and replacing all bushes plus the steering rack will be swapped for a hopefully less leaky spare.
Yuck
After wirewheeling
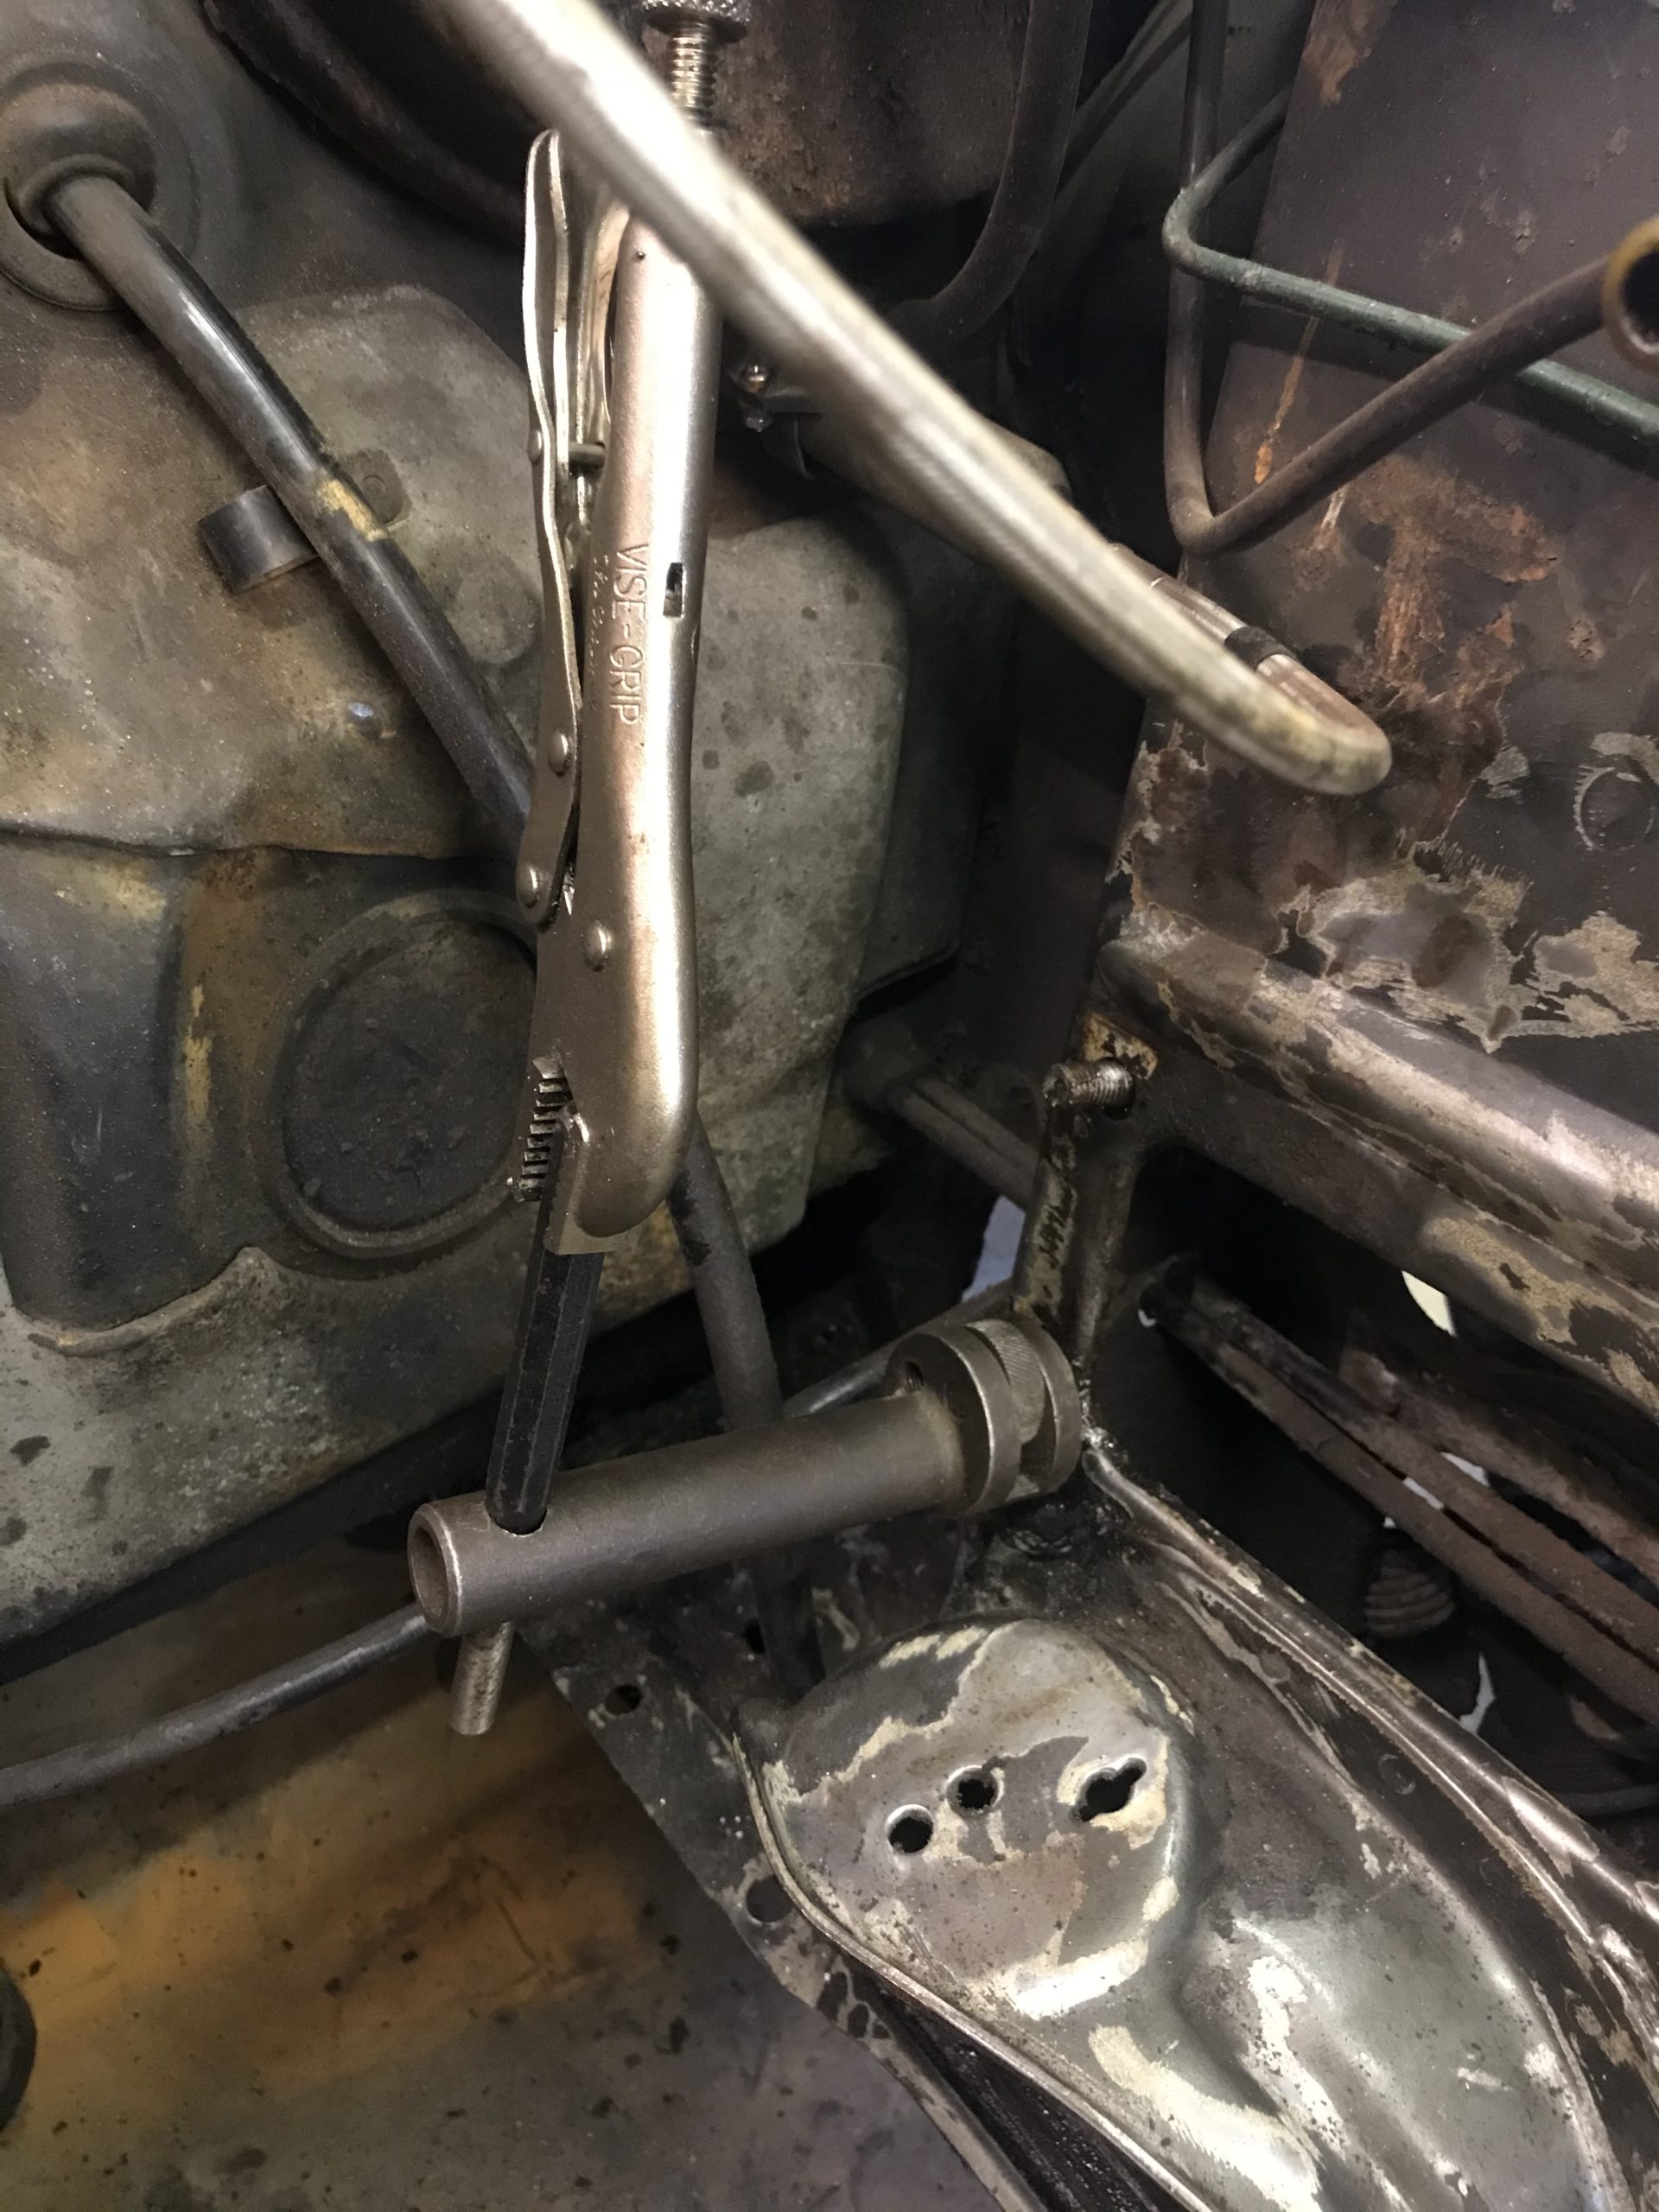
The upper wishbones were a real pain to remove because most of the bolts sheared thanks to galvanic corrosion between the bolts and the aluminium mountings. Luckily they all sheared at the head leaving some stud that I could unwind from the captive nuts at the car.
An ambition of mine for some time now has been to convert Helga to run the Trionic engine control system as fitted to later 9000s and NG900s. This replaces the old distributor ignition setup and the LH2.2 fuel system with fully live-mappable control of ignition and fuelling, coil on plug ignition with ion discharge knock detection and more. There’s plenty of documentation out there on the swap so I’ll not go into too much depth.
I also needed to keep Helga’s downtime as short as possible because she’s my daily car, so I tried to have as much in place as possible while keeping her running.
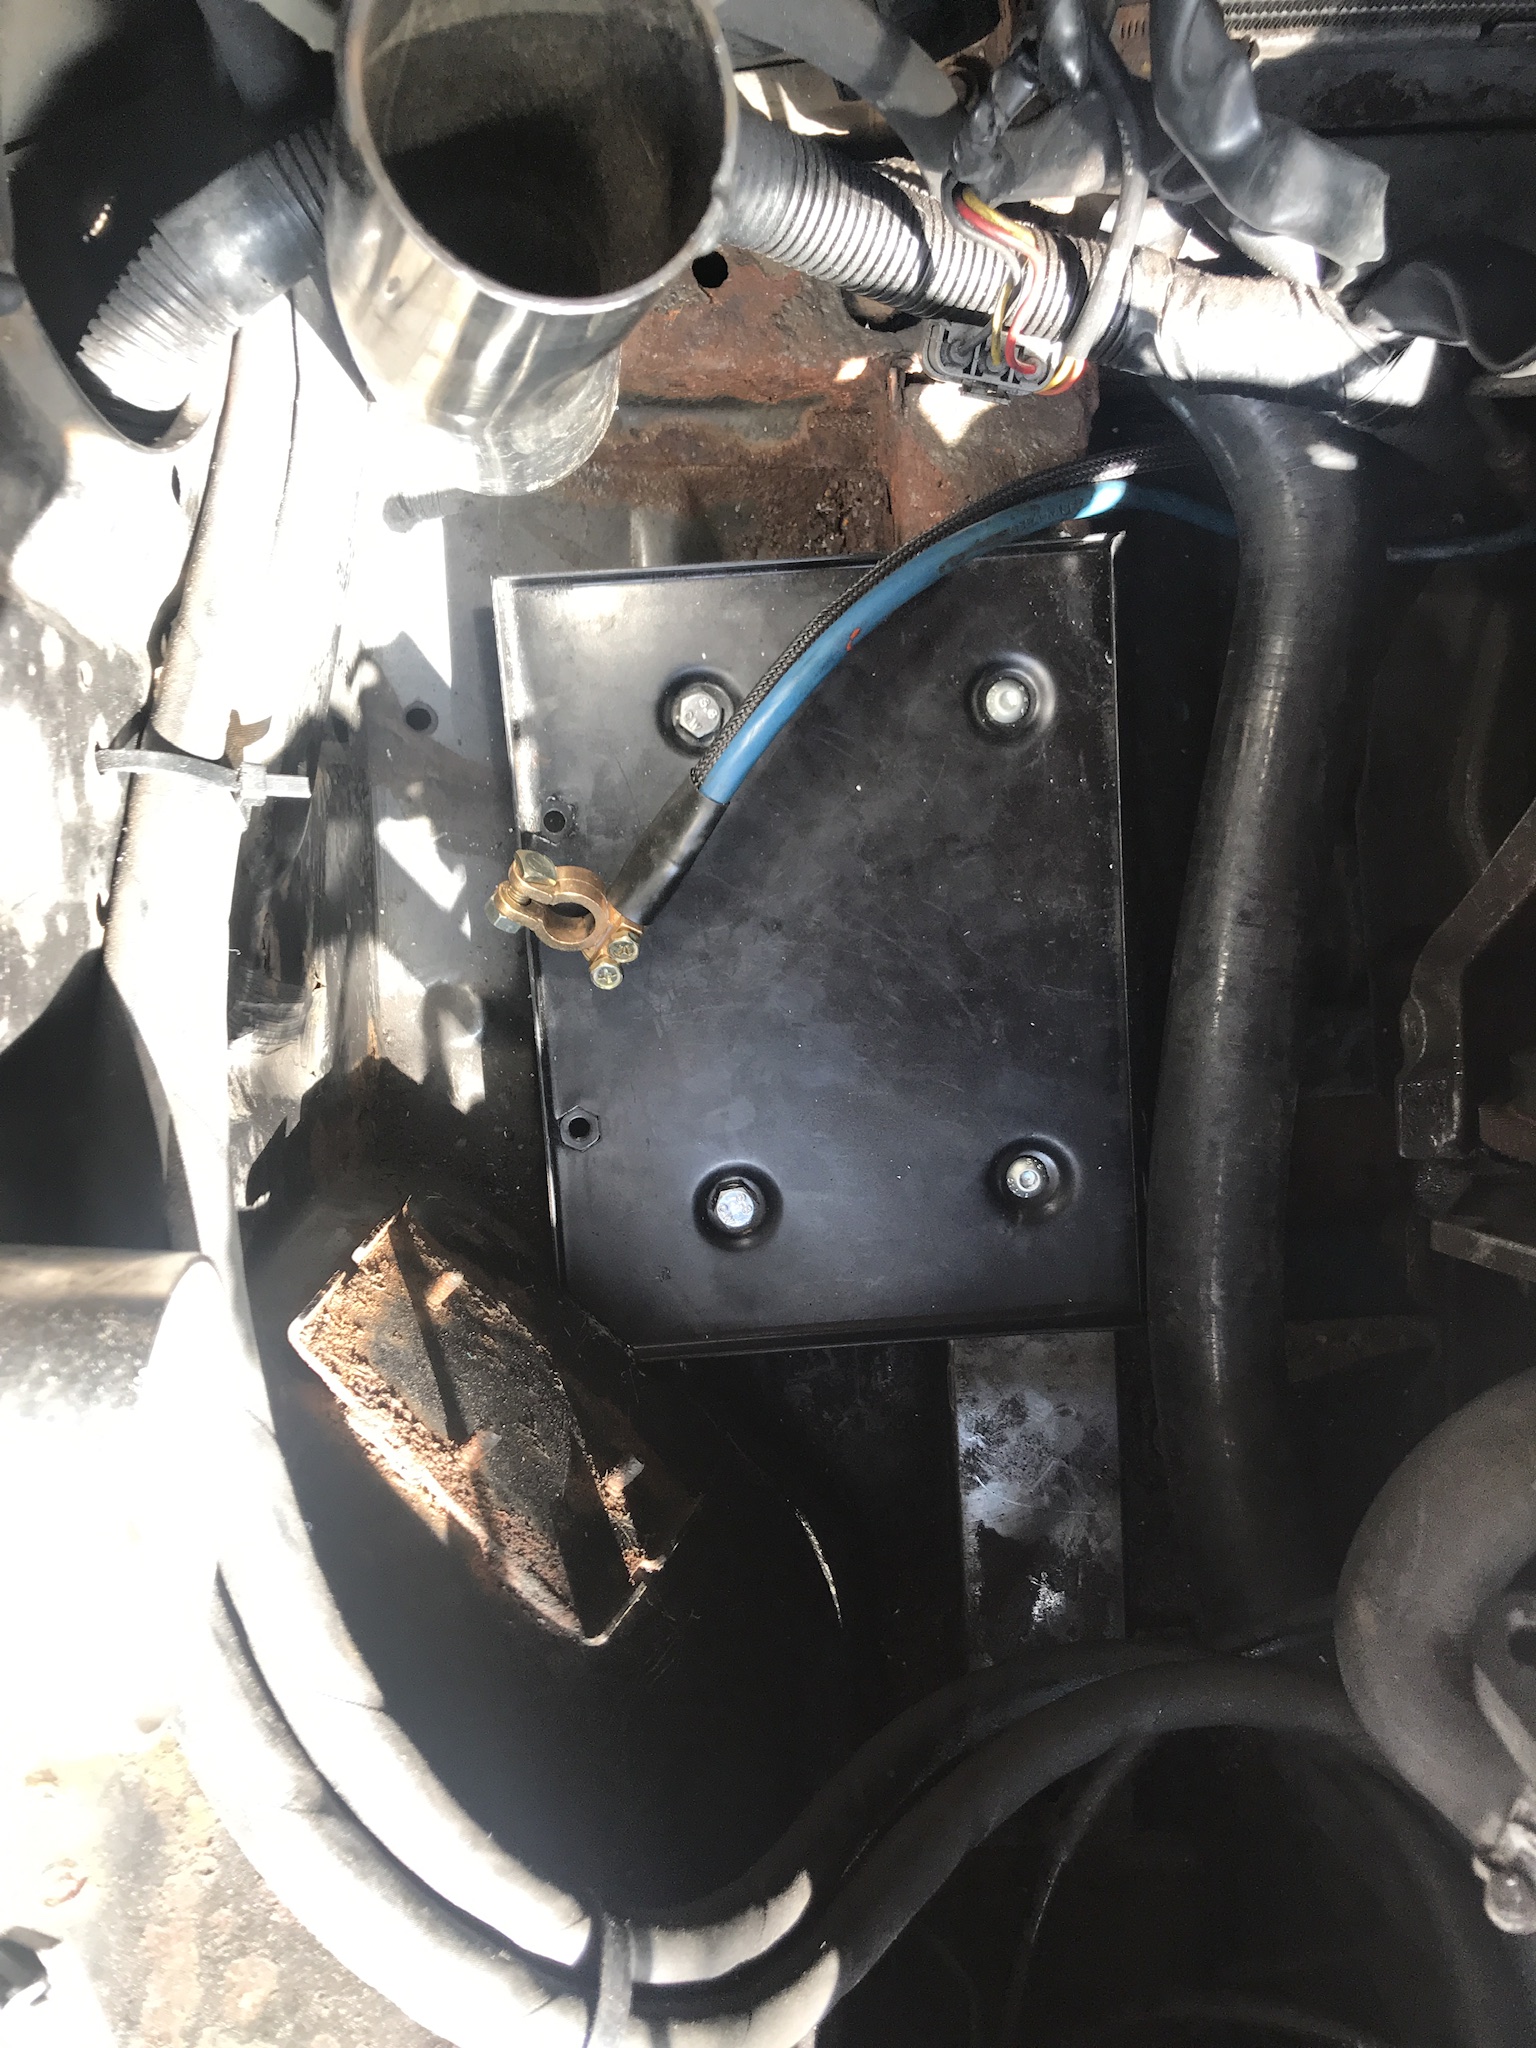
First, not essential at all for the swap, I relocated the battery to the other side of the bay away from the downpipe. It’s now where the air box would be located.
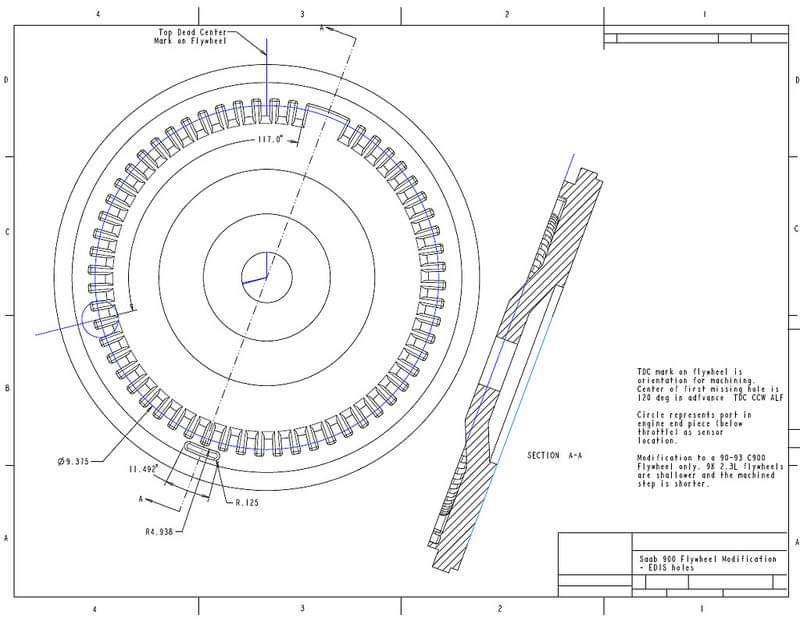
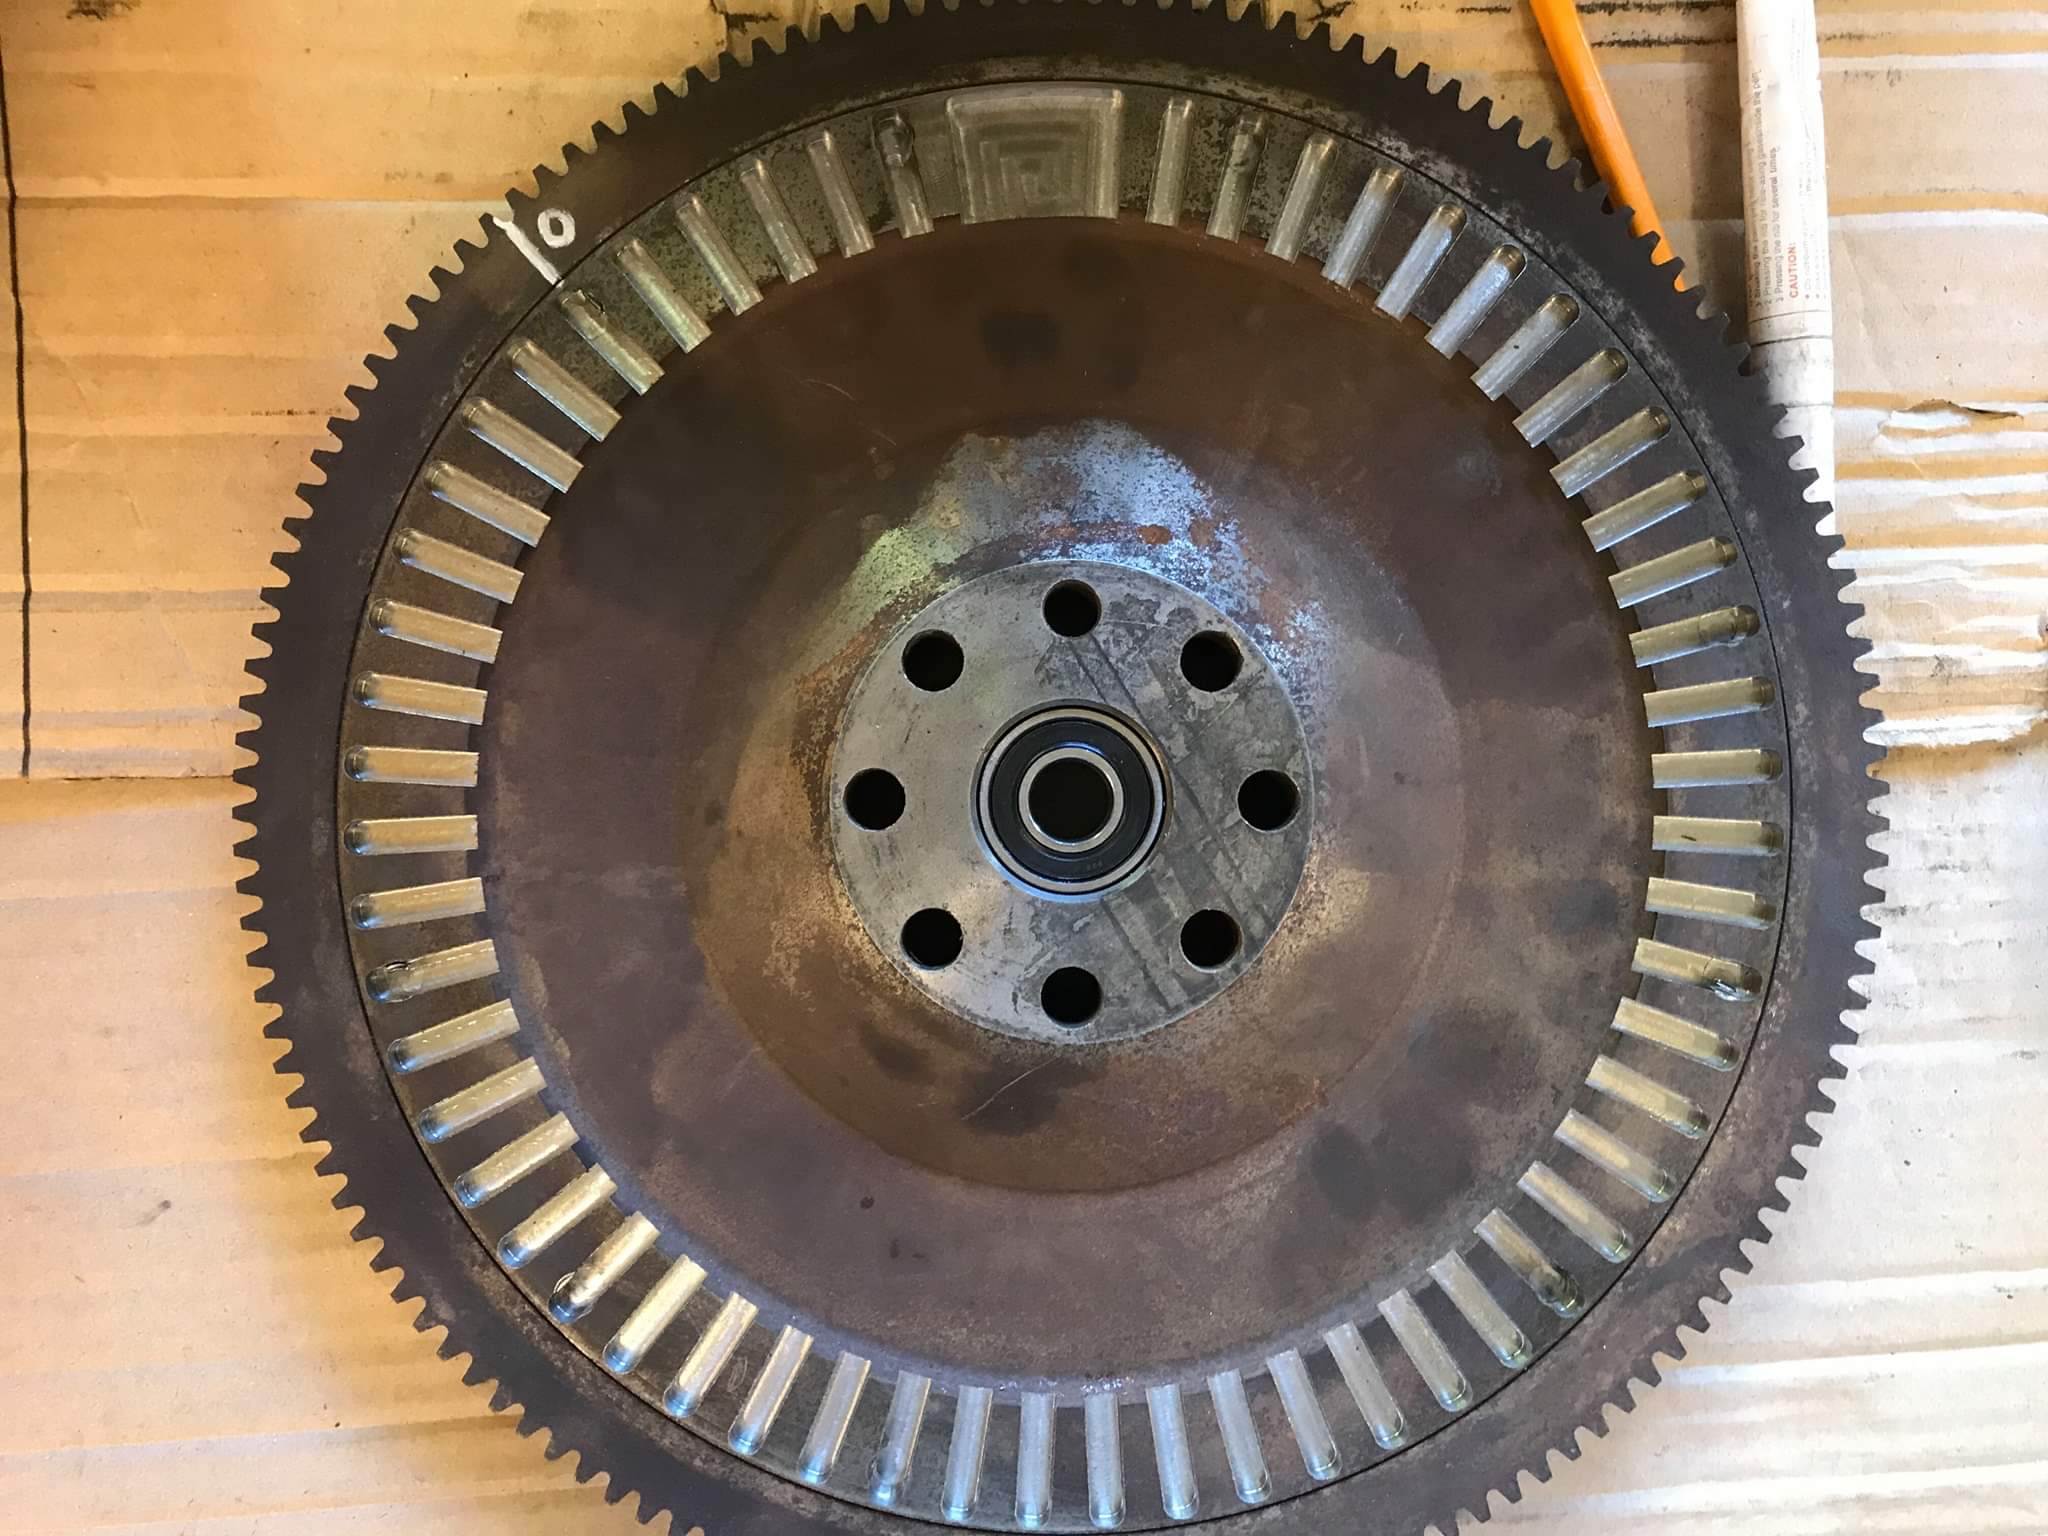
The hardest part of the swap is sourcing a signal for the crank position sensor. I chose to get a pattern cut into the back of the flywheel. Because my existing flywheel was lightened, there was nothing left to cut the pattern into, so I sourced a standard later 900 flywheel which takes a 228mm clutch.
The pattern
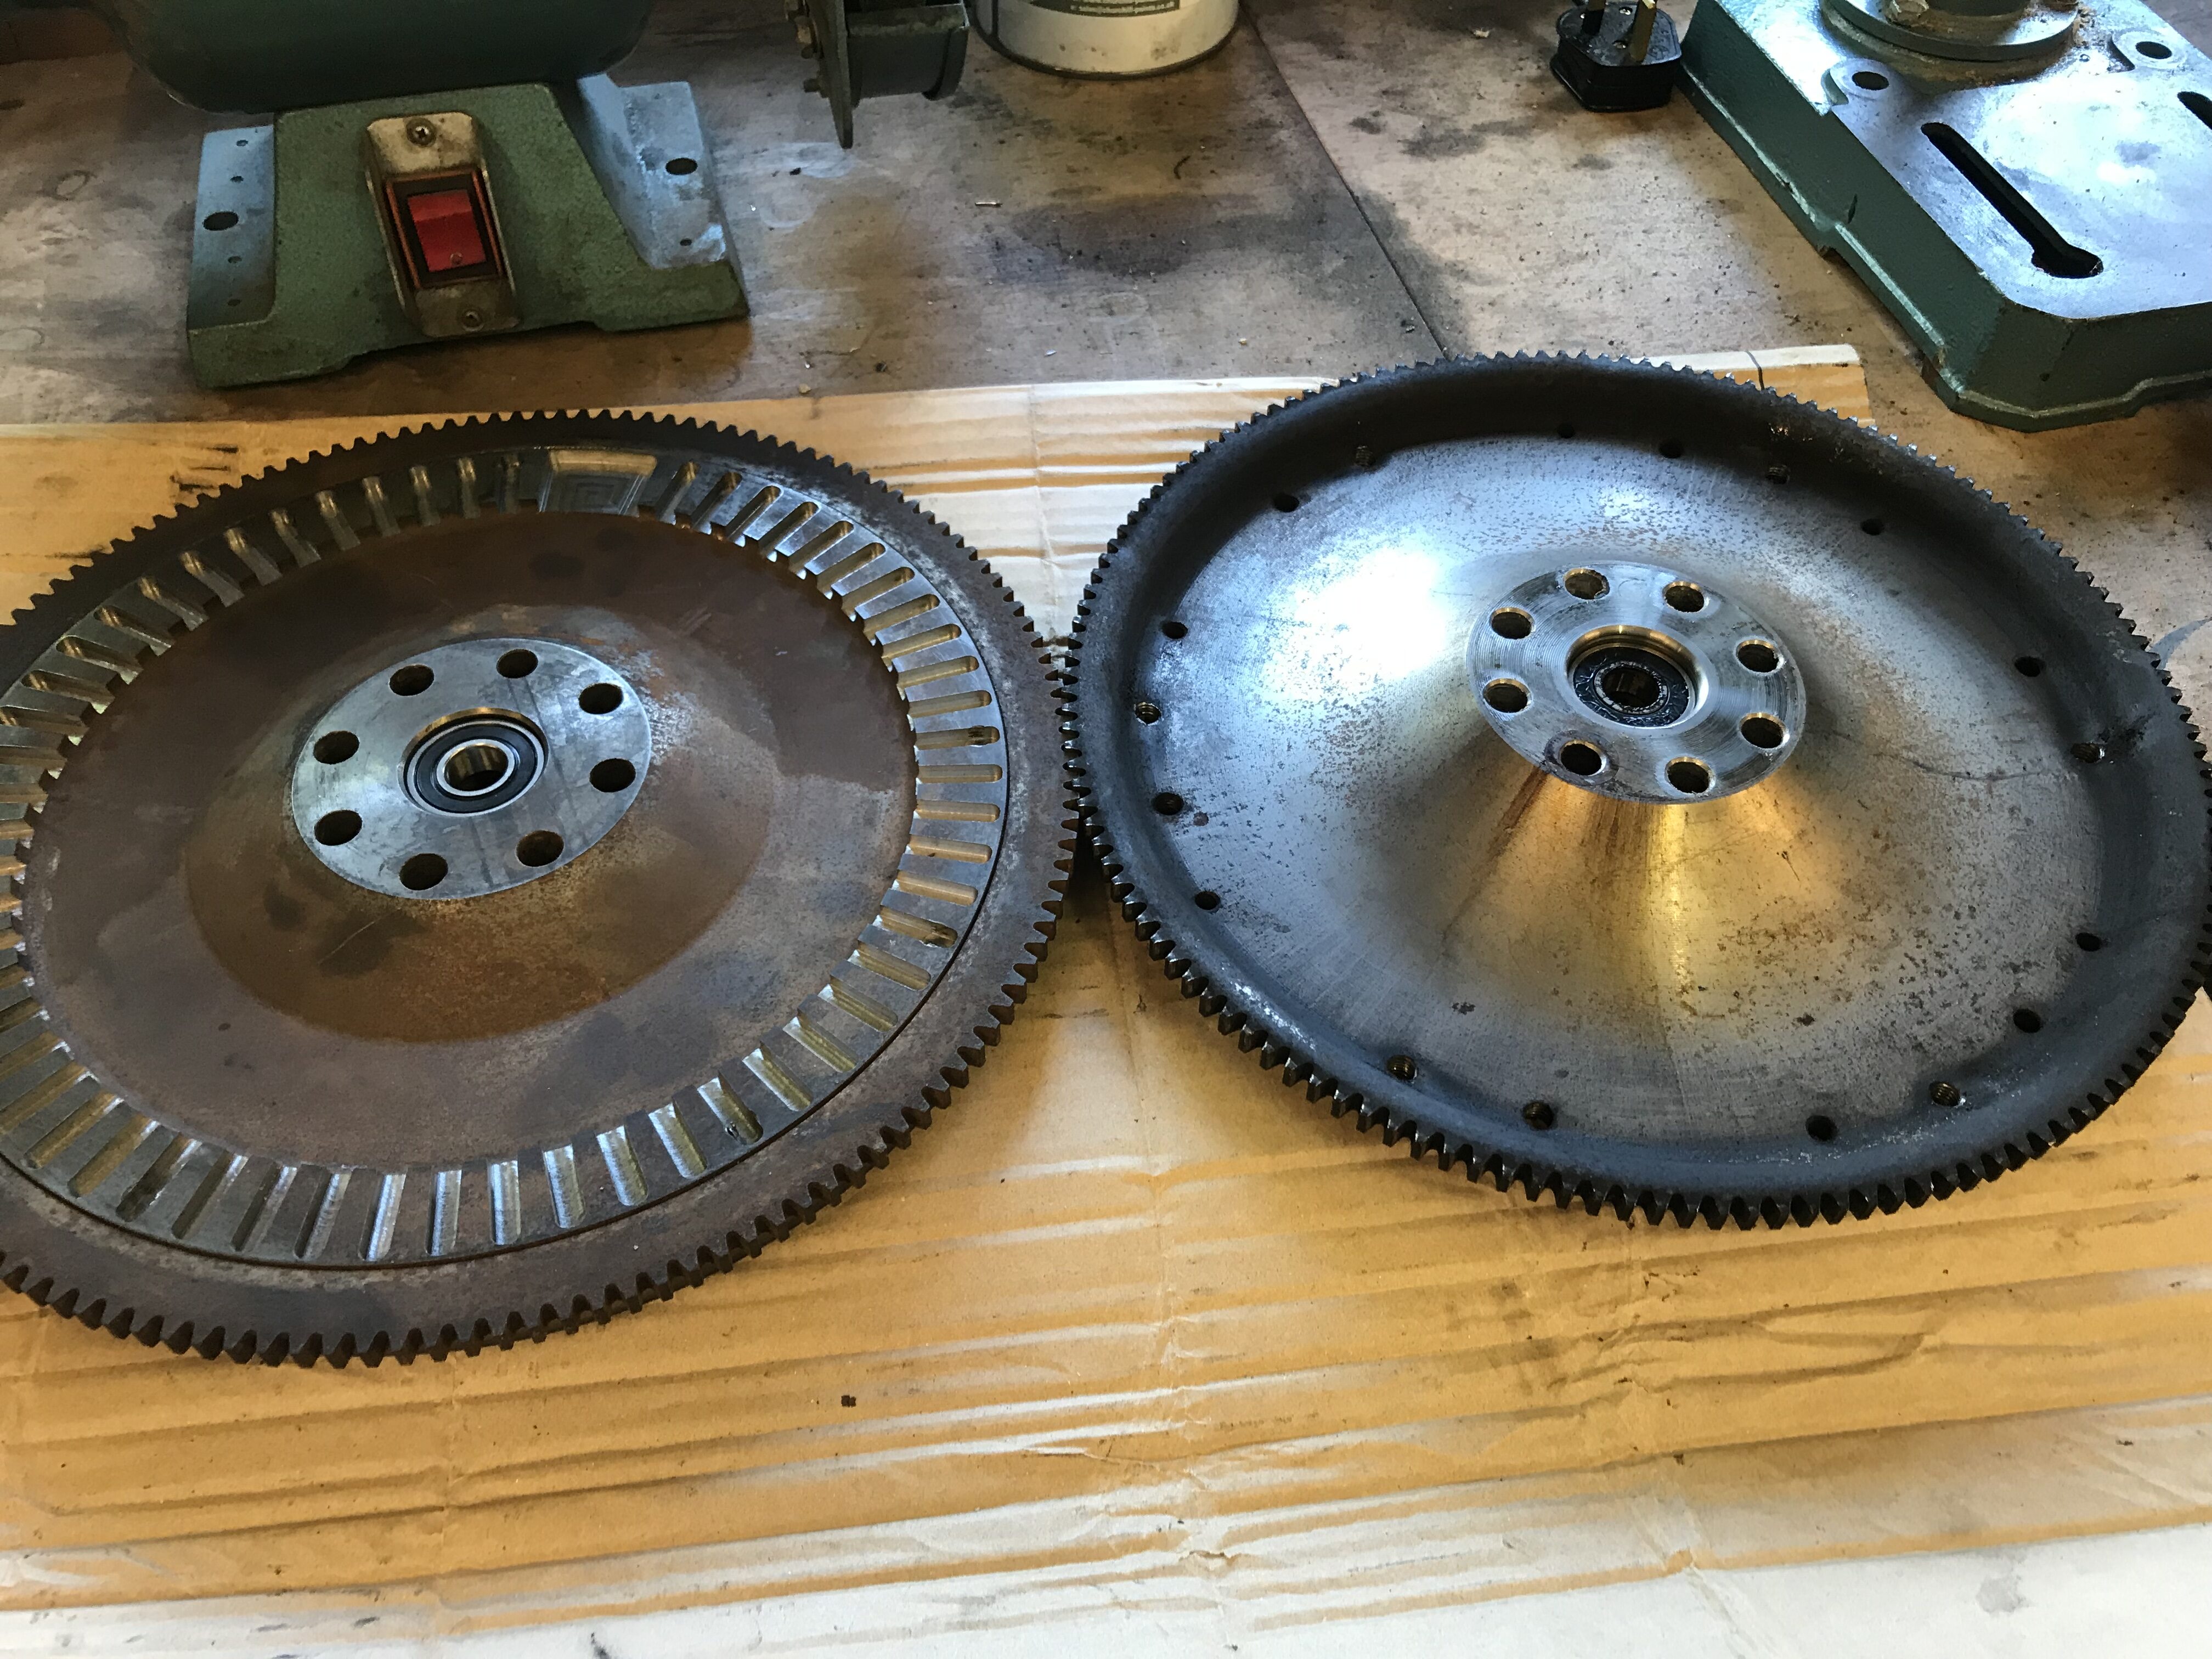
T5 flywheel vs lightened 9000 flywheel
This was the fourth time I’d had the clutch apart in my ownership, so I removed the lightened 9000 flywheel/240mm clutch setup and fitted the 90-93 900 flywheel cut for T5 by JamSaab with a Sachs 220mm clutch. Annoyingly I ordered what was supposed to be a 228mm clutch and got a 220mm. This turned out to be a problem.
So at this point I fitted everything for the T5 swap bar the actual loom – so the intake temp sensor, 9000 throttle body with different throttle position sensor, crank position sensor, map sensor etc, all sourced from a scrap Saab 9000, were all fitted but left disconnected ready for the actual swap over. I also fitted a braided clutch line while it was apart.
So I drove the car like that for a few weeks still running the old LH2.2 management, including to this year’s Oulton Park Gold Cup:
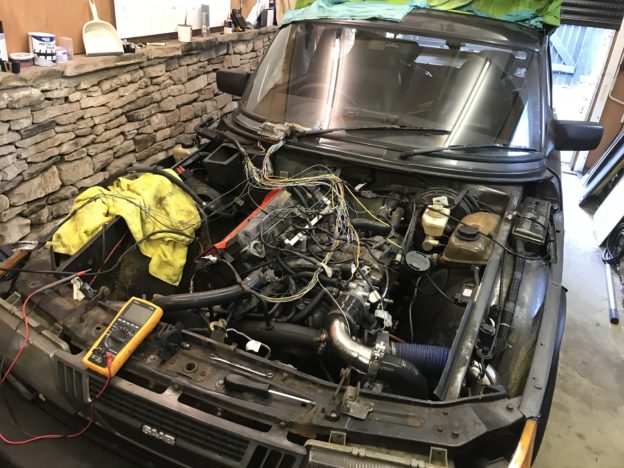
After that it was time for the final step of the T5 swap – splicing in the Saab 9000 loom and fitting the ECU.
I used a combination of the above wiring diagram and guide. The marked colours matched my loom perfectly but I still checked every pin went where I expected on the ECU connector.
The loom I used didn’t have the MAP or boost control valve wiring so they had to be added off the body connector, then it was a case of adding power via the twin relays borrowed from the old loom, the power block on the driver’s side wing and the ignition live pinched from the old coil power wire. Grounds were fastened to the thermostat housing, the speed signal and check engine light spliced into the wires under the dash. All in, removing the old loom and swapping to the new took a little under a day though I had spent another evening marking all of the wires in the new loom. It still could do with taking off again and bundling up properly but for now it’s tie wrapped out of harm’s way.
Impressively it started on first turn of the key with only one hiccup. Where I was told to put the CPS (in the pre-existing hole) was in fact 18 degrees too far advanced. Turned out that the hole we initially drilled in the backplate above that was nearly bang on at only a degree out, checked with a timing gun. I don’t understand what’s gone on with my flywheel milling to require that. Now that’s sorted she’s running nearly as sweet as a nut.
The problem now is that the 220mm clutch can’t handle the power. This is running a 9000 B204L (185bhp) map that I’ve taken to stage one with a bit more boost at the top end and a bit less at lower rpm, as well as the T7 valve mod. I’ve tried shimming the pressure plate 2mm away from the flywheel to increase the pressure from the fingers but despite making the pedal heavier this still hasn’t cured it. In third and up there’s half a second or so blip in revs as the boost hits around 1 bar.
Another problem was the alternator bracket blot sheared itself off in the block(?!). Noticed the bolt holding the adjuster arm to the block was hanging out, and closer inspection with a mirror revealed it had sheared. There’s no space between the block and the firewall to get in with a drill, so for now I’ve made a temporary adjuster bracket off a spare hole above the water pump. I bet that stays that way for a very long time.
Brought Helga’s overboosting (was going as high as about 1.5 bar, my gauge only goes to 1 and it was well off the end) under control by setting the base boost properly. The wastegate rod had been screwed in a long way. Not got quite the same ferocity but it’s a bit safer for now.
Anyway, since the brake overhaul the clutch bite point has been very variable. It seems there is truth in the myth that bleeding the clutch can hasten it’s demise if it’s on the way out. I got hold of a rebuild kit for the master and a new slave and got to work.
Clutch master cylinder rebuilt
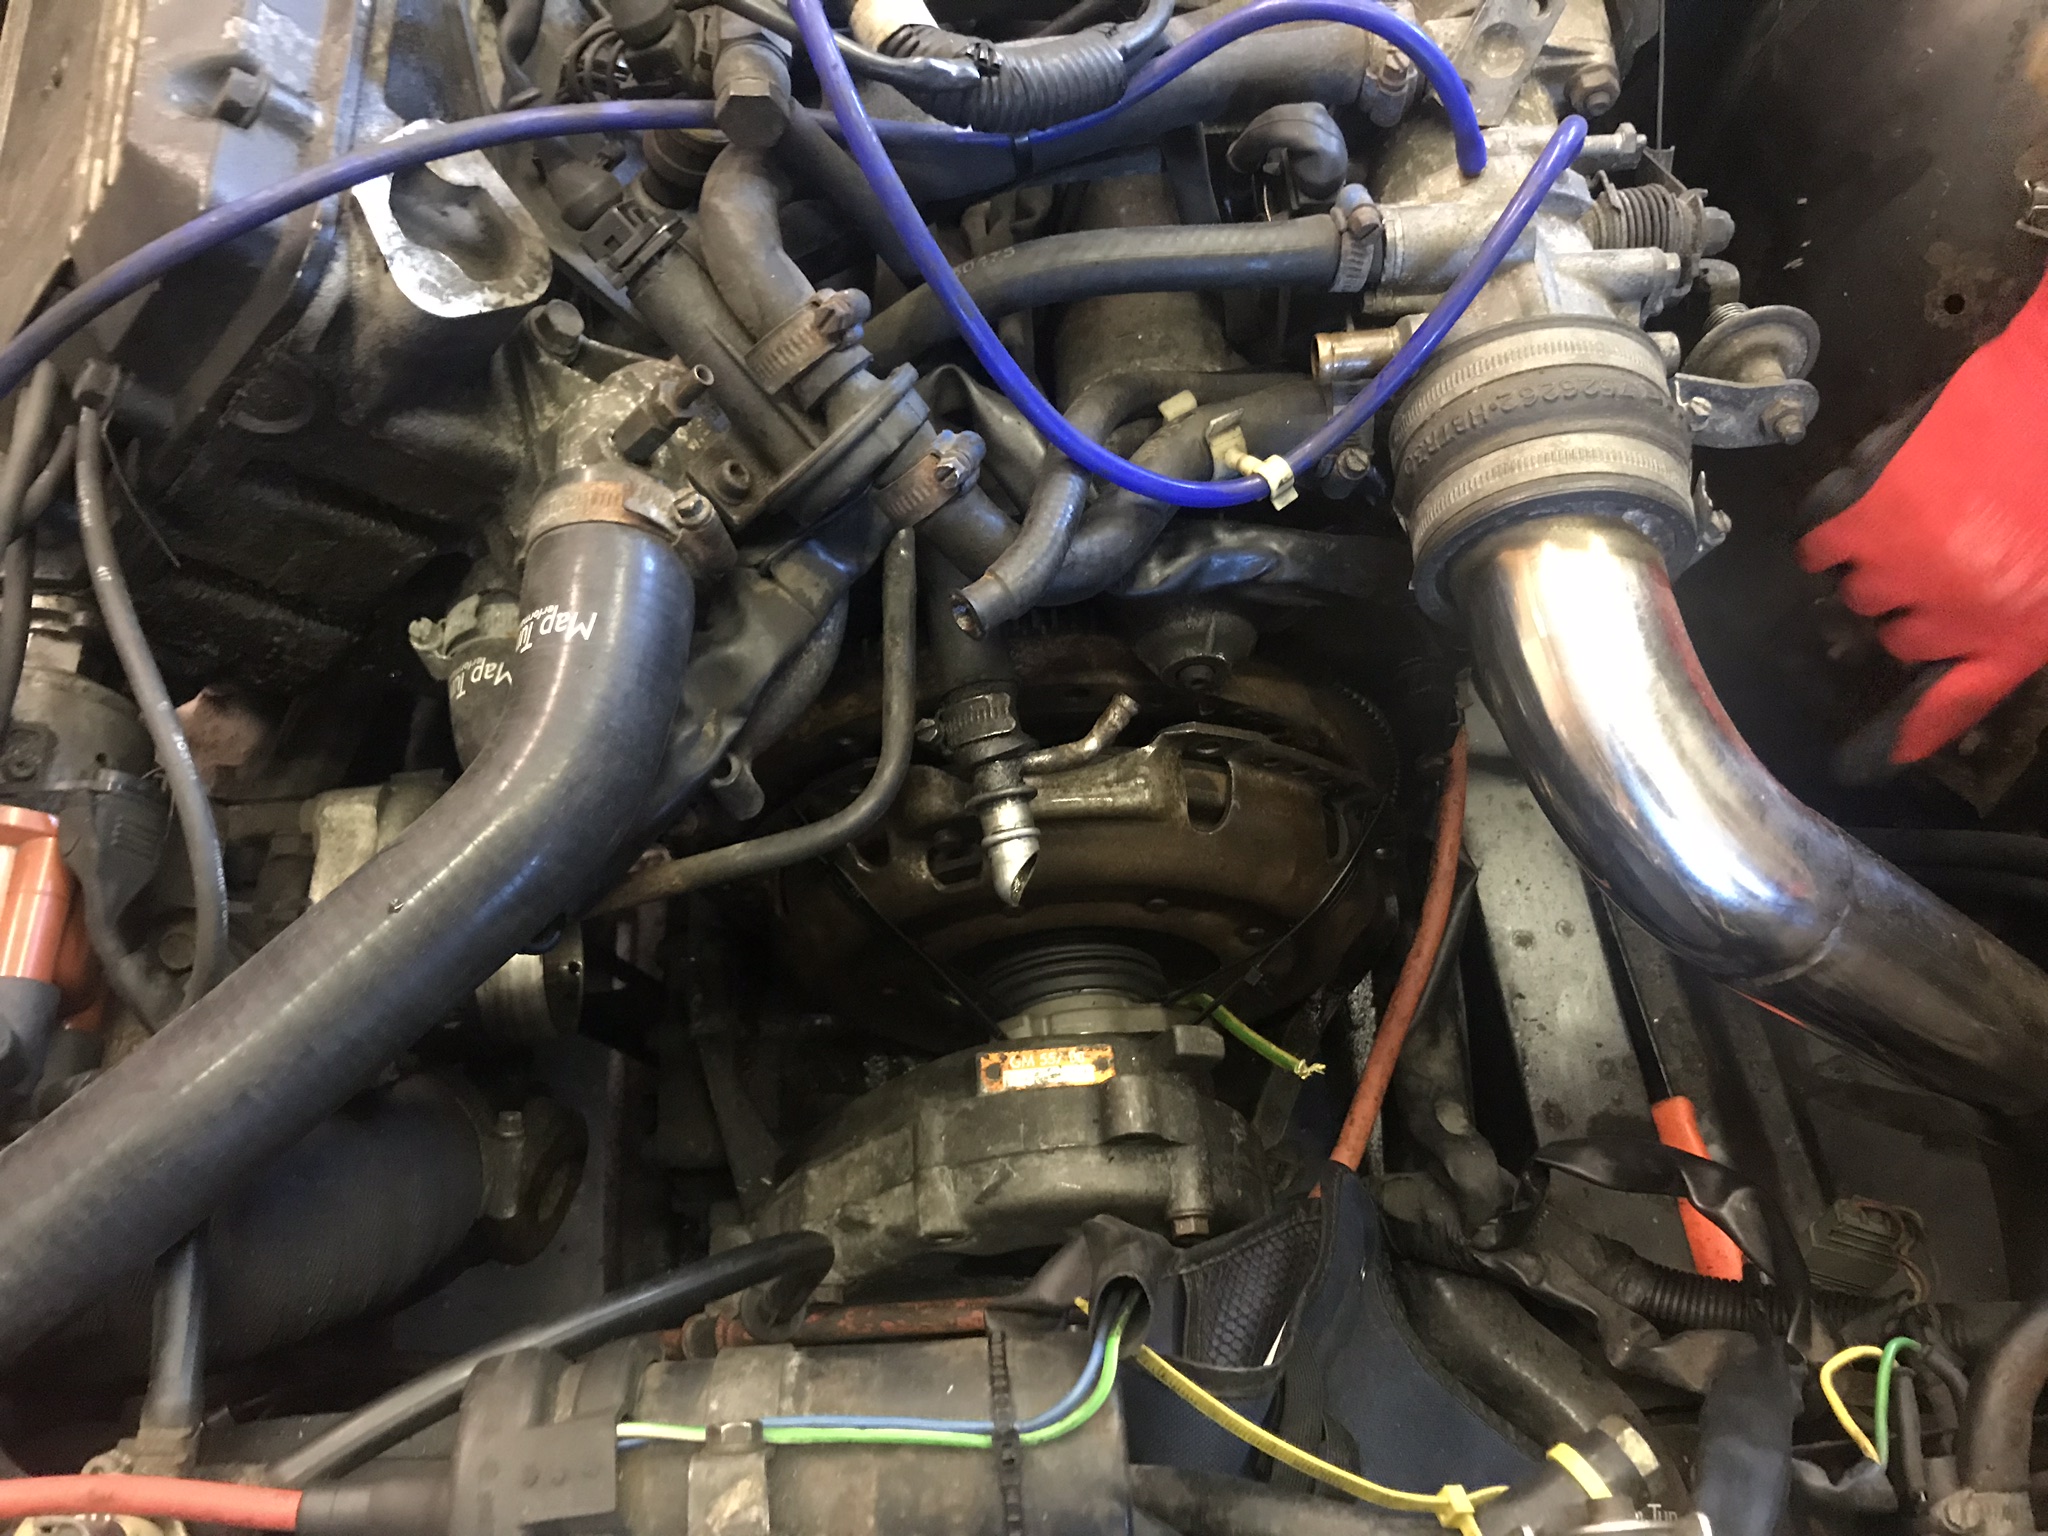
As many people know, the Saab 900’s gearbox setup is really weird, living underneath the engine and driven by chain. The engine is also mounted with the flywheel facing forwards, which all adds up to a really easy clutch change without disturbing the engine or gearbox at all.
However, there’s something missing from this image…
Hadn’t noticed it drop off the slave while I was putting everything back in. Really annoyingly I’d put everything back together and bled it so I started the car to test it. BIG mistake. The lack of release bearing instantly lurched the new slave and dumped the fluid. So, new slave ordered and I thought I’d try to find a new clutch kit while I was at it. Anyone who’s changed the clutch on a 900 before knows that you really need the hydraulics working to get the old clutch out, otherwise you’re using pry bars.
Unfortunately Helga’s running a 240mm Saab 9000 clutch which is practically unobtainable these days with the necessary 17 splines. The best price I got was £500. So for now the old clutch has gone back in (with release bearing this time) because there’s a bit of wear left in it. I also dropped in a VW 99 relay for the wipers, which adds adjustable intermittency by turning the wipers off and on again with the delay you want to set. A pretty useful drop in upgrade.
While the lower dash is still out I’ve had a prod about at the cruise control and got it working. All it needed was the pedal switches cleaning up. Replaced the vac lines for cruise with silicone as they were looking tired.
Gearbox is continuing to sound pretty whiney at times, but still operating fine. I’ve got another ready, but is there any point in swapping it out before it fails completely, or have I to just sit it out till it gives in? Think I’ve read before that if it’s been ran for long with a whine, it’s beyond repair?