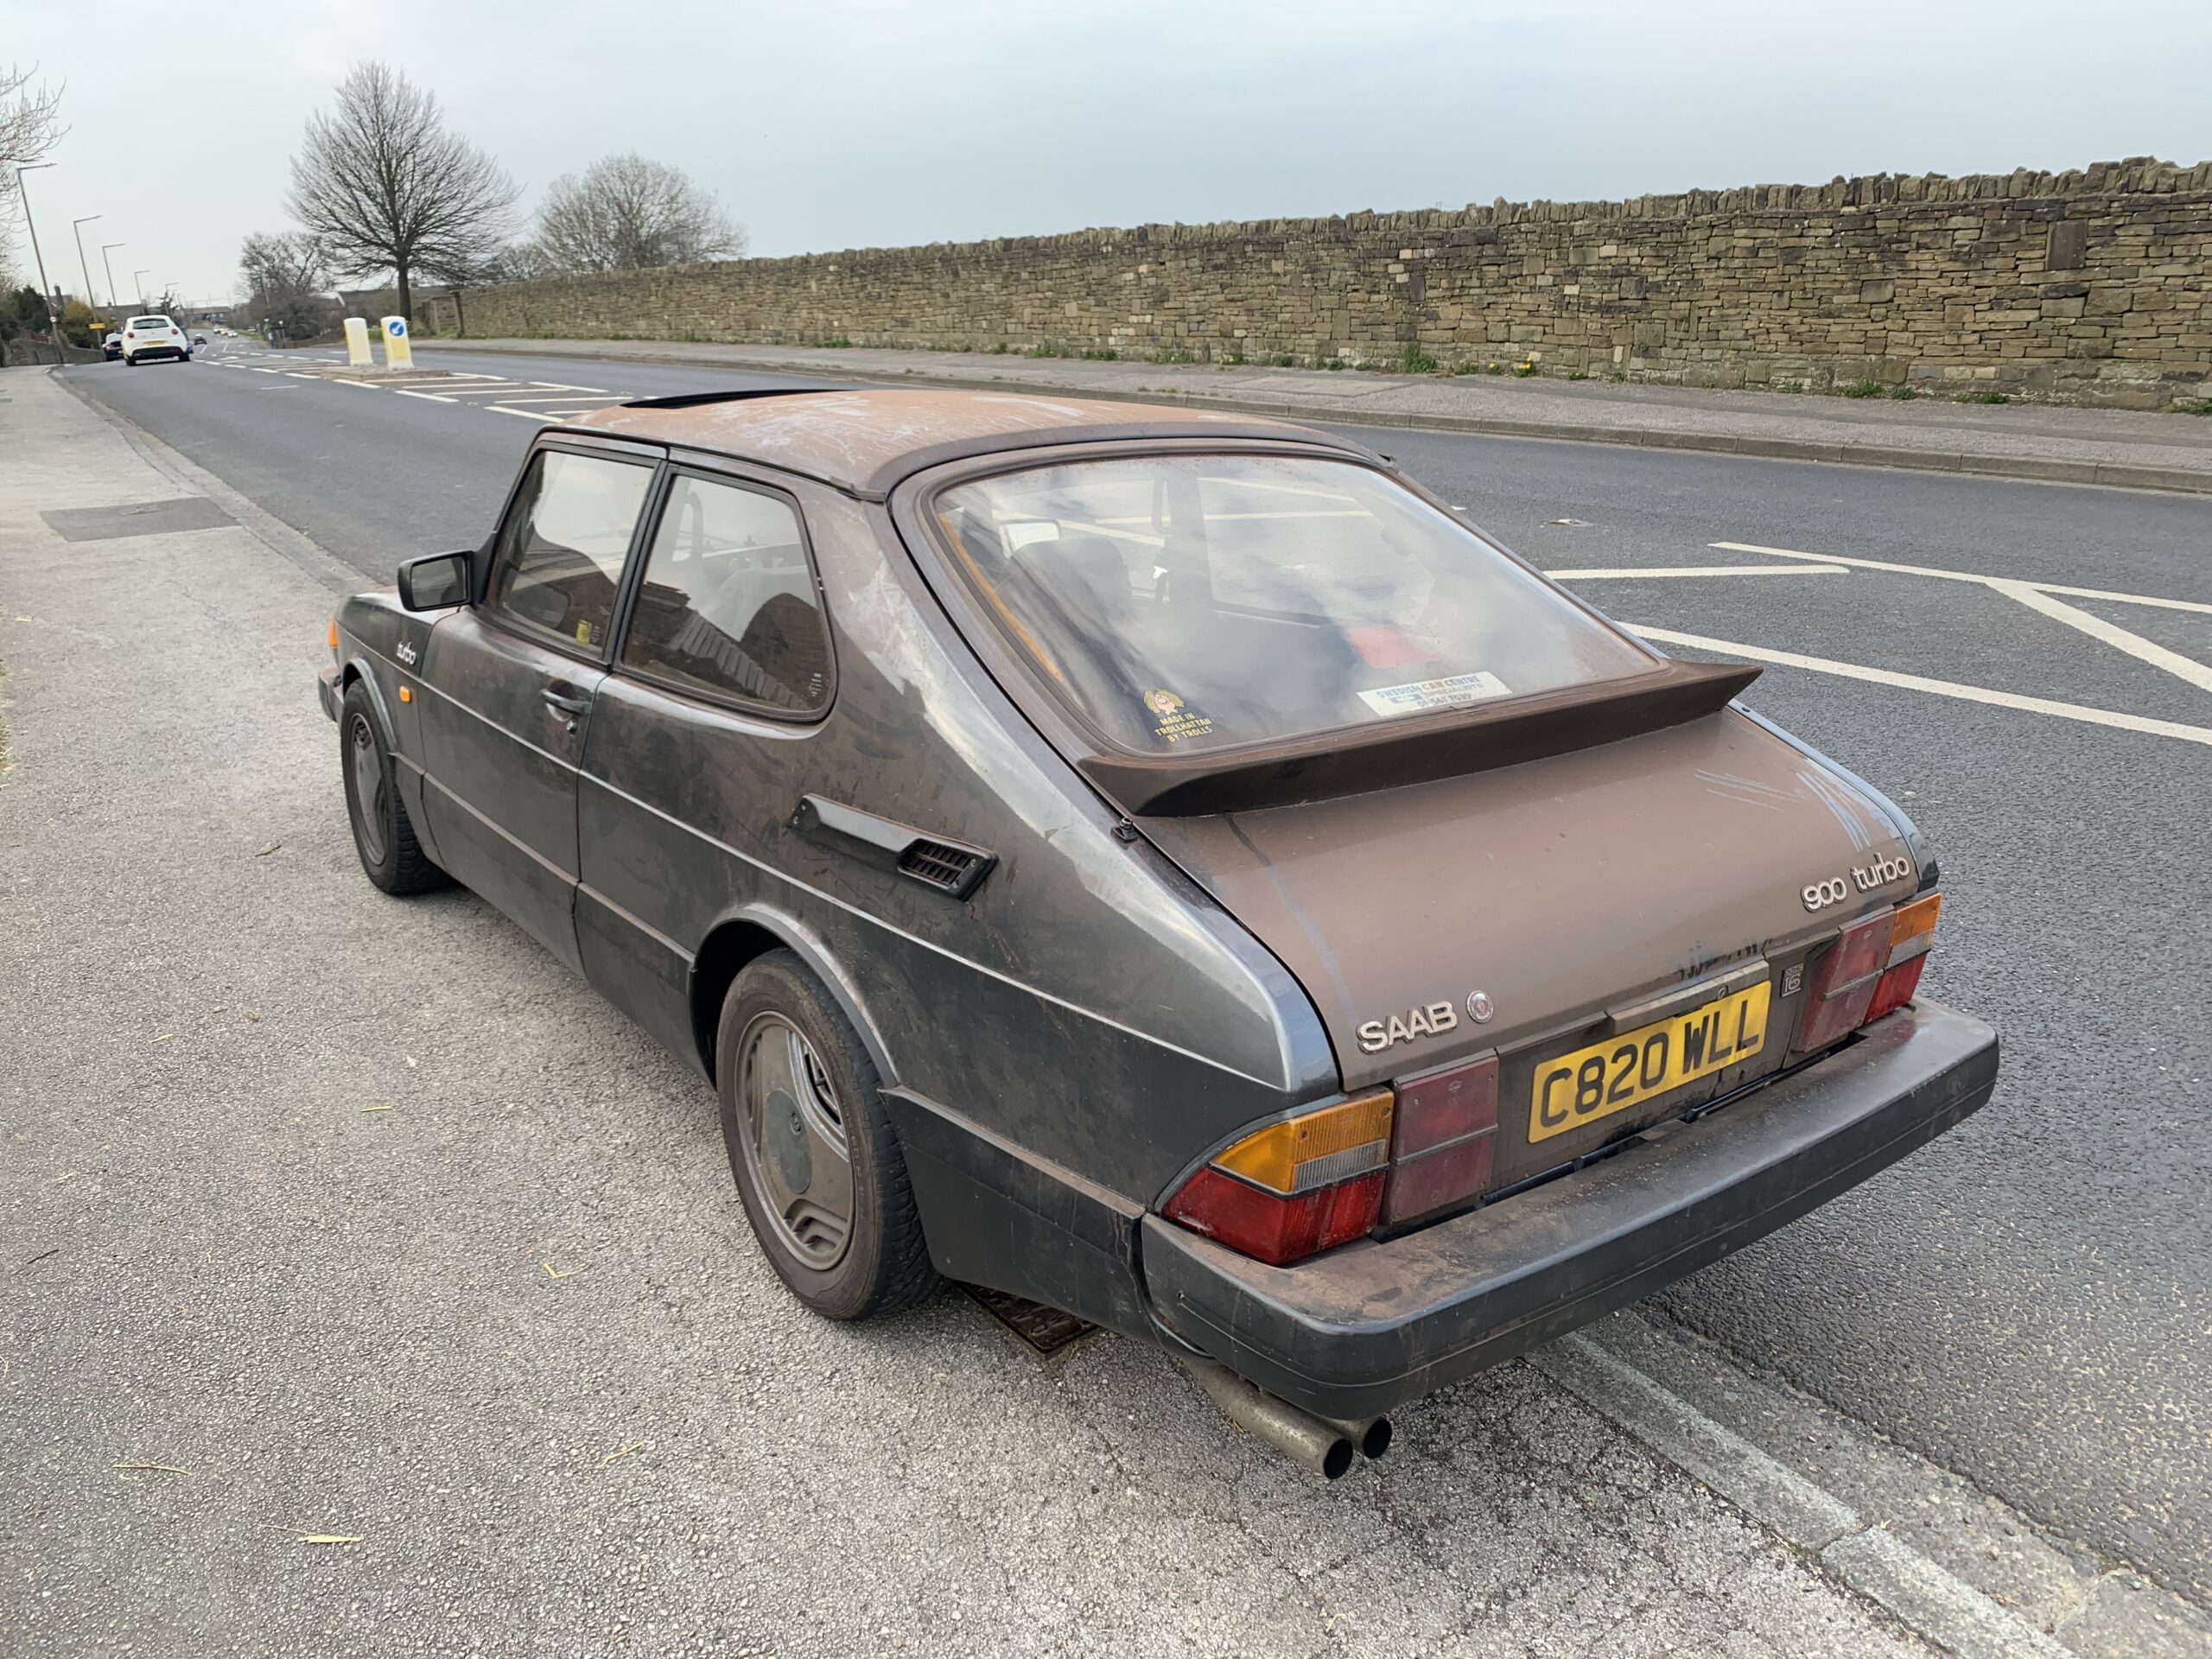
At the start of the year I decided Helga’s back axle was looking scruffy, so thought I’d pull it, clean and paint it and put it back together with new bushes. As usual, it turned into a bit of an epic.
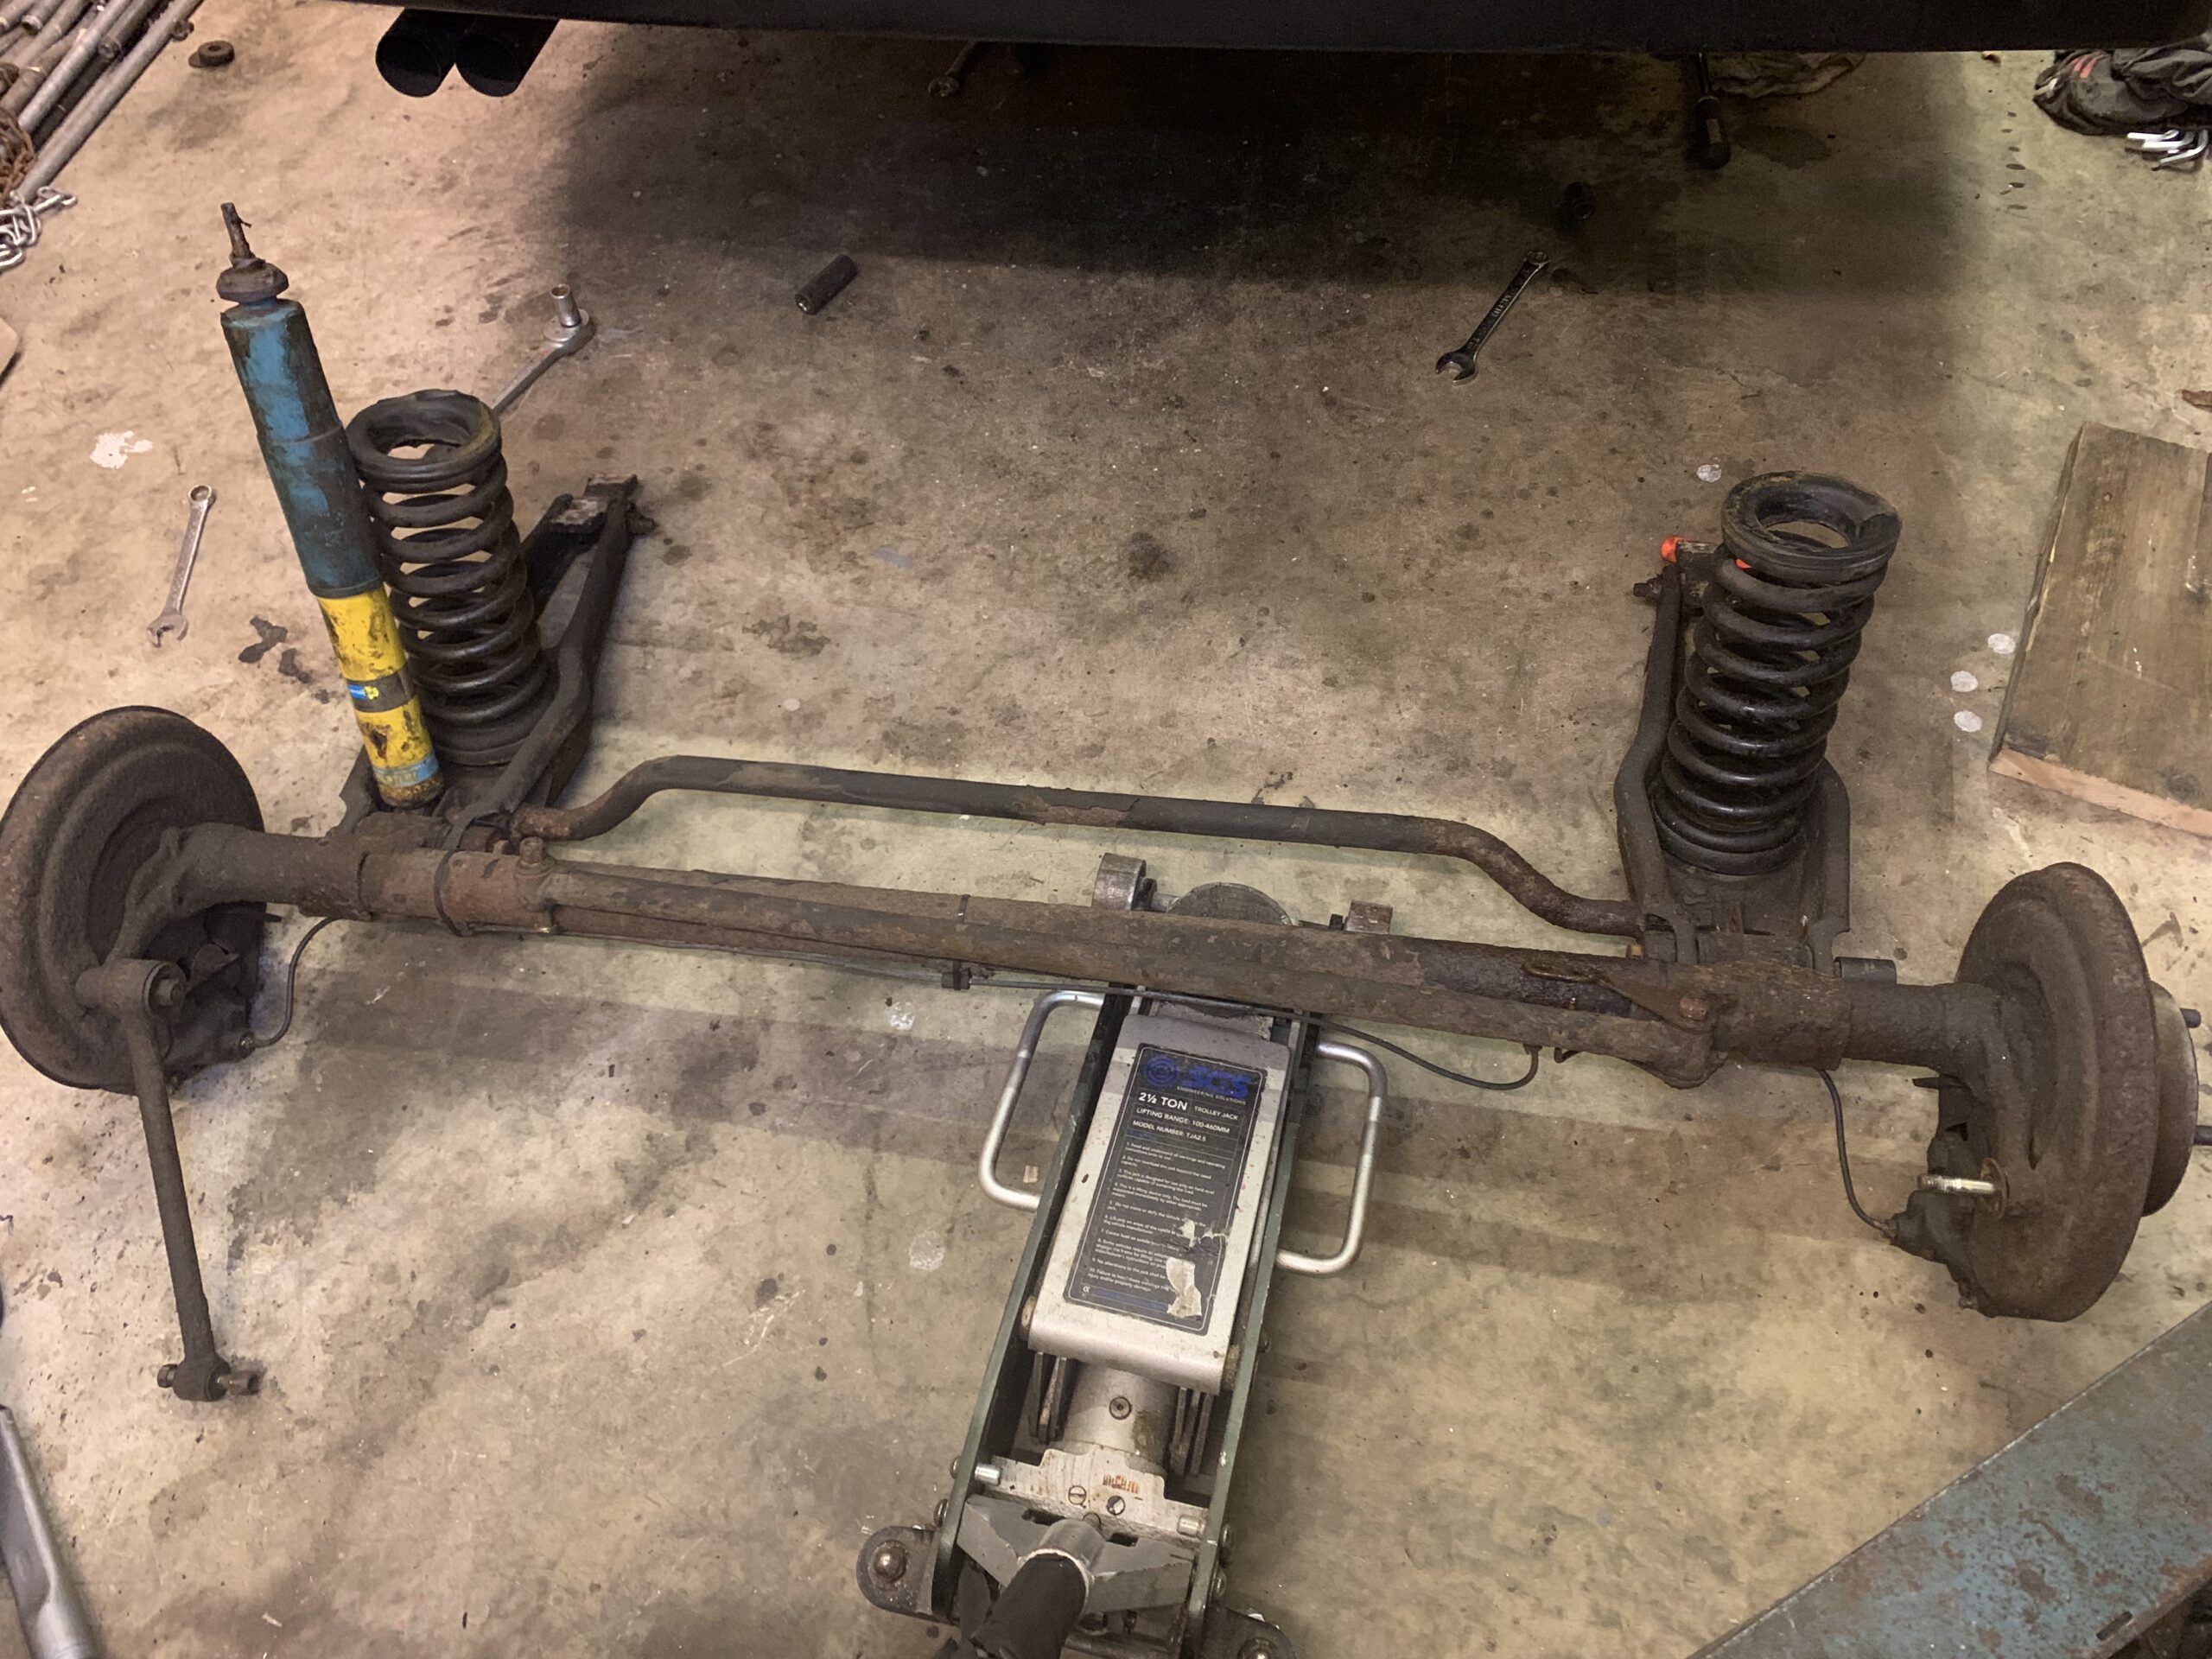
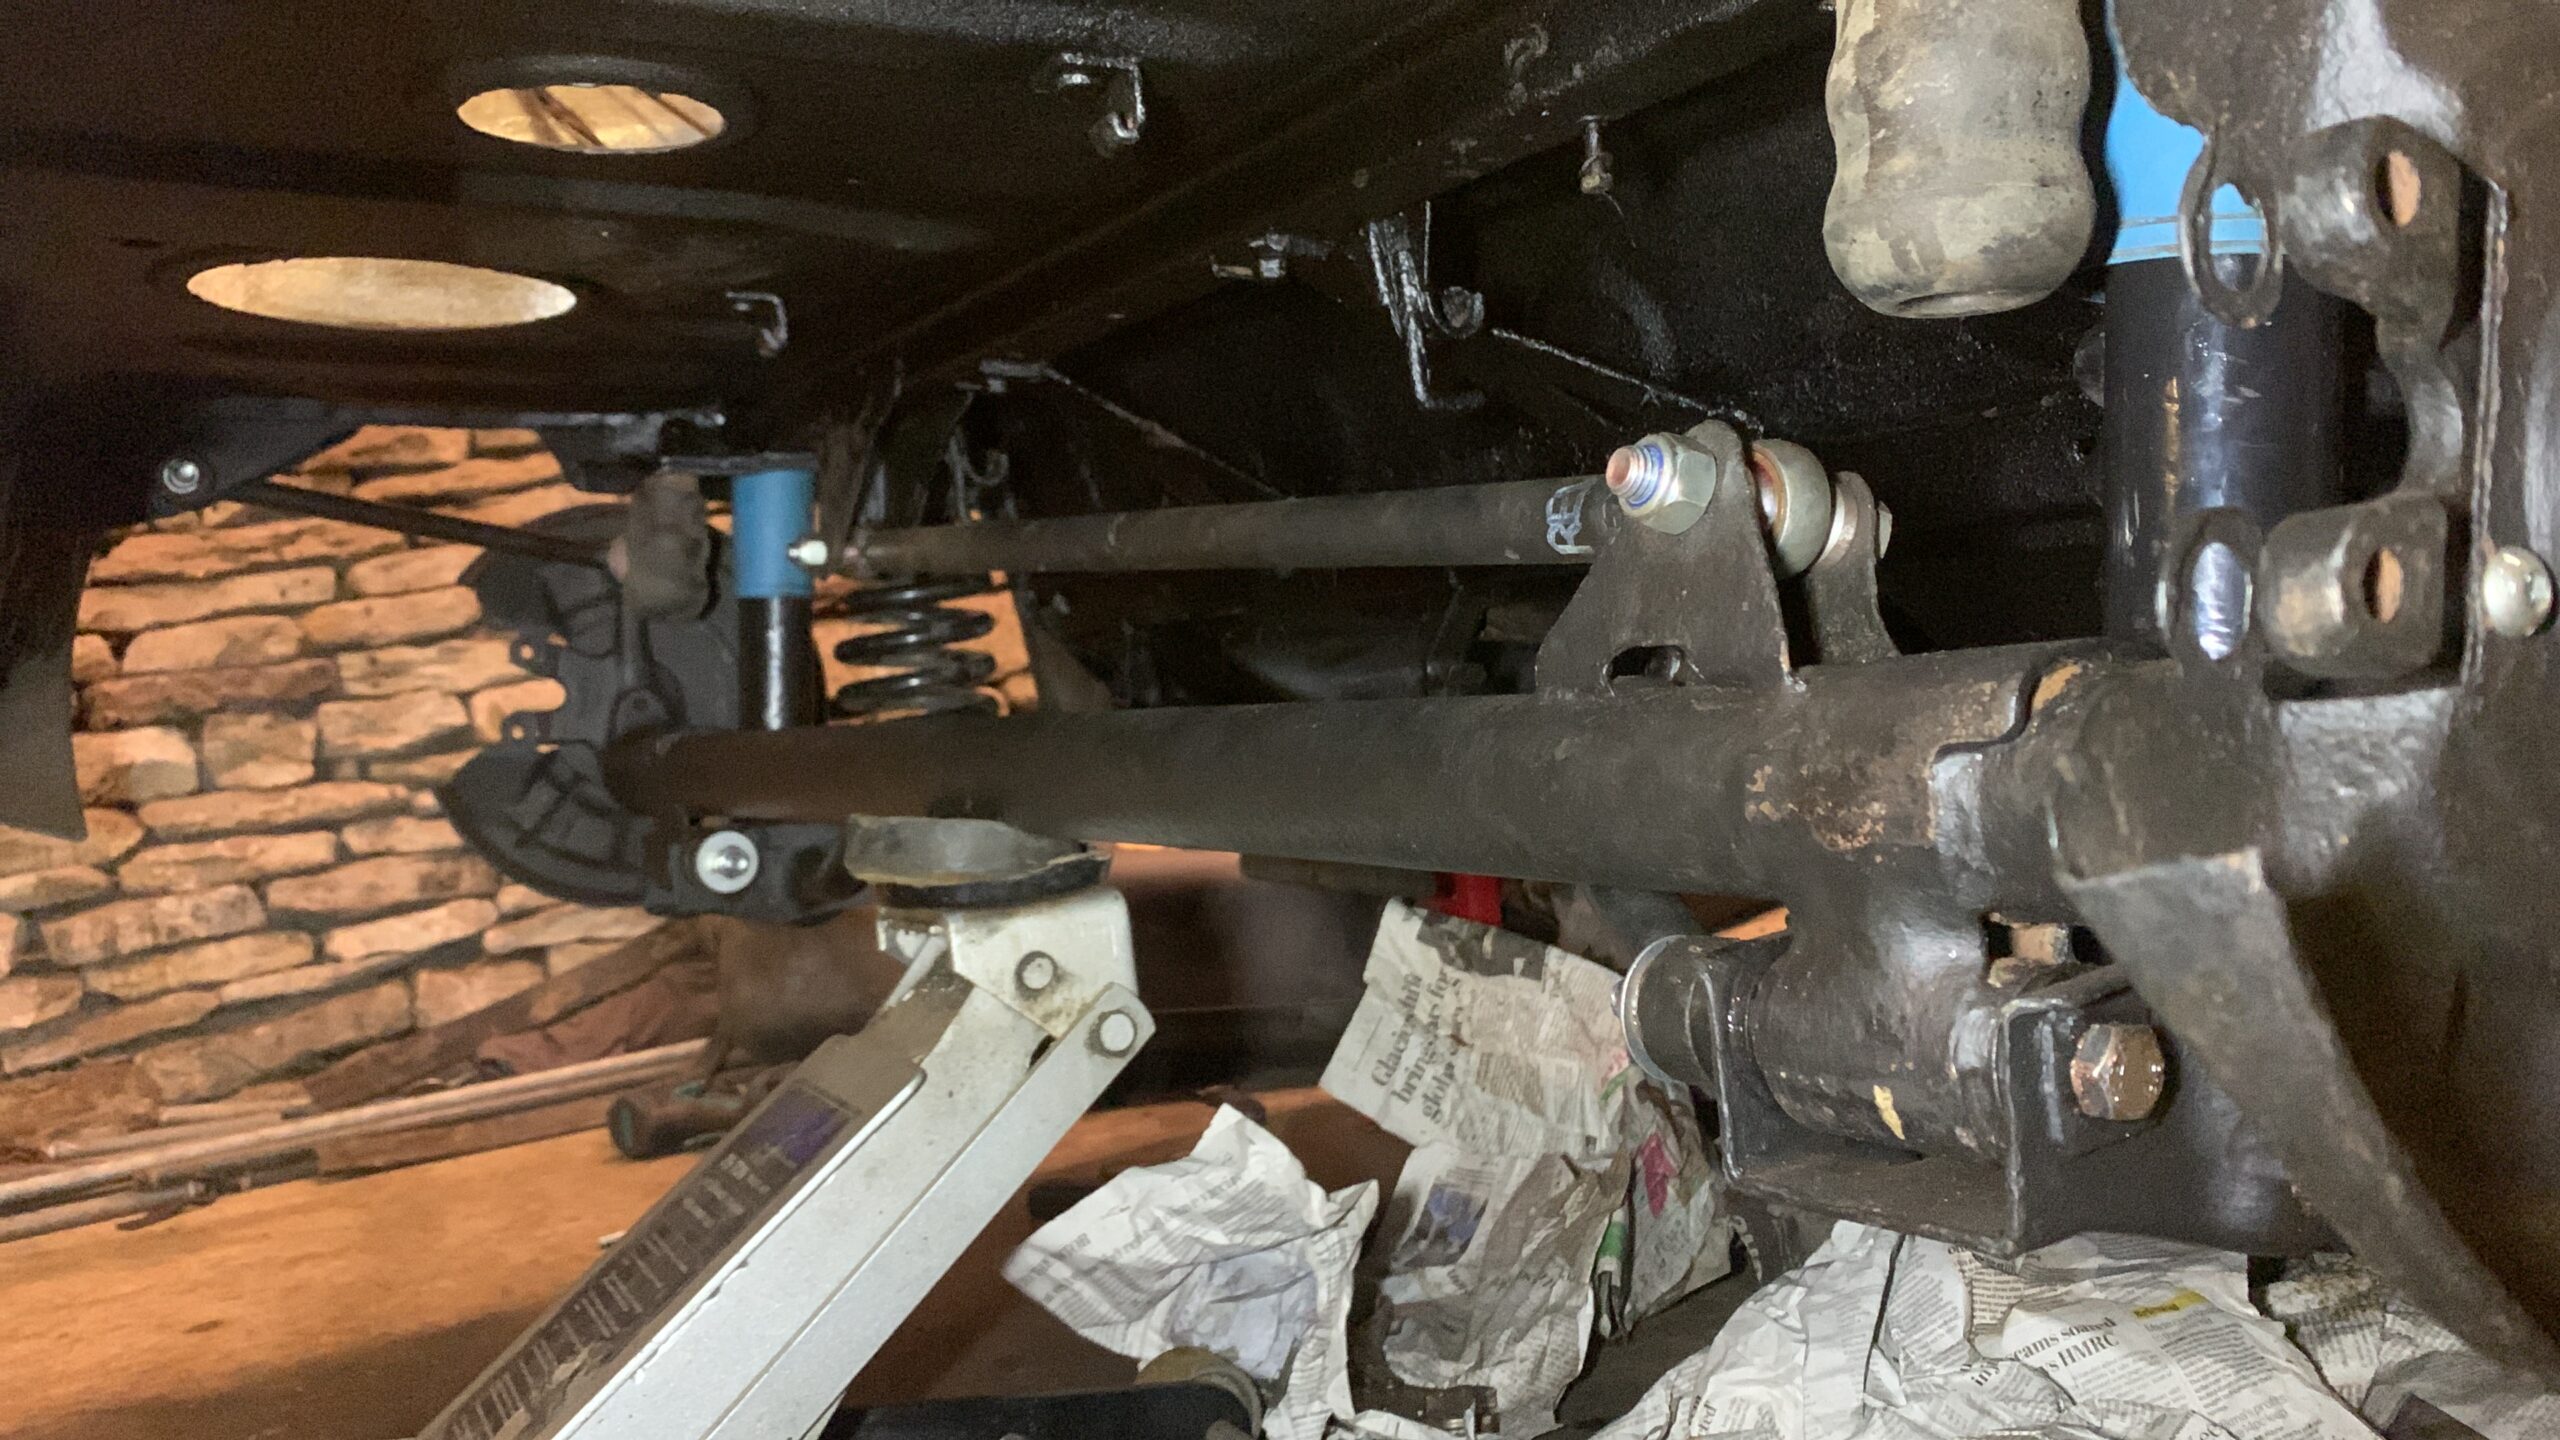
The back axle came off easily enough, though stripping it down beyond this state was harder work – The bolts that go through the aluminium blocks on the front of the trailing arms were well and truly seized in. It took a full knotted wheel in the angle grinder to get everything cleaned up, then the parts were painted with Buzzweld Chassis In One. The paint dries really quickly but for the price (£32 a litre!) I don’t really rate it. It’s hard to brush smoothly from the tin and the end result seems to chip quite easily. Finally new Powerflex black bushes were fitted throughout, apart from the anti roll bar which is only available in the softer purple compound.
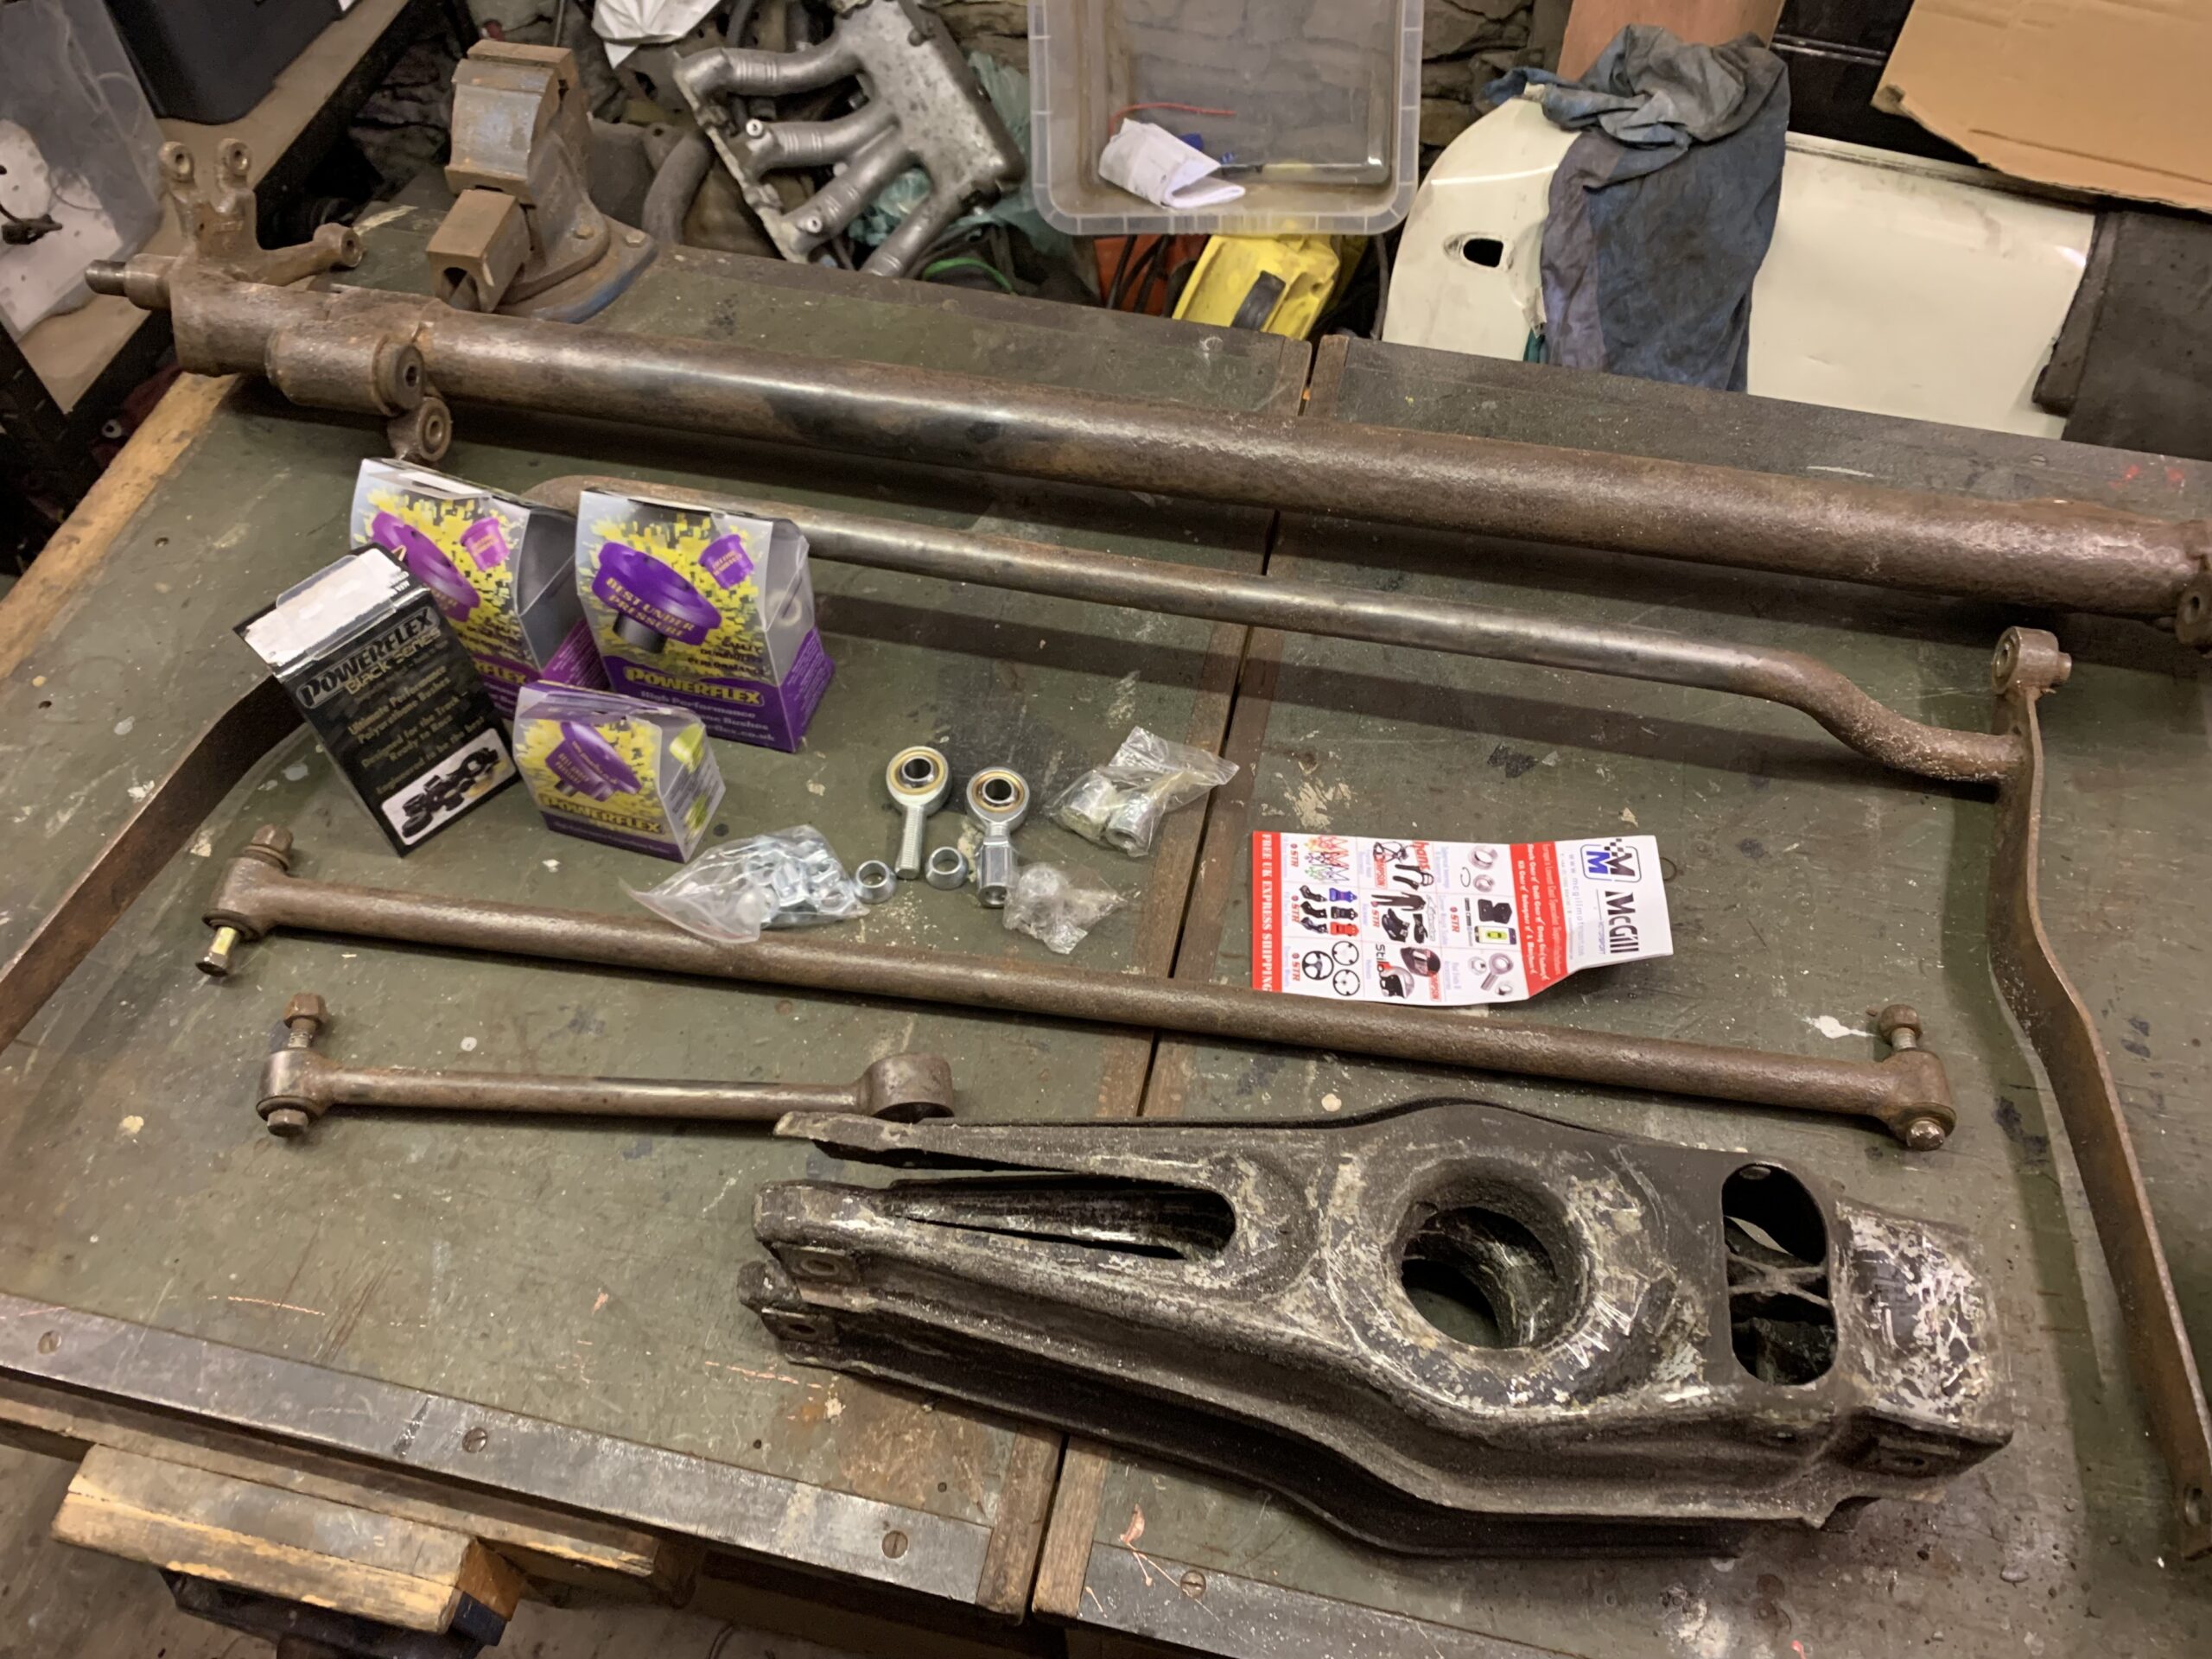


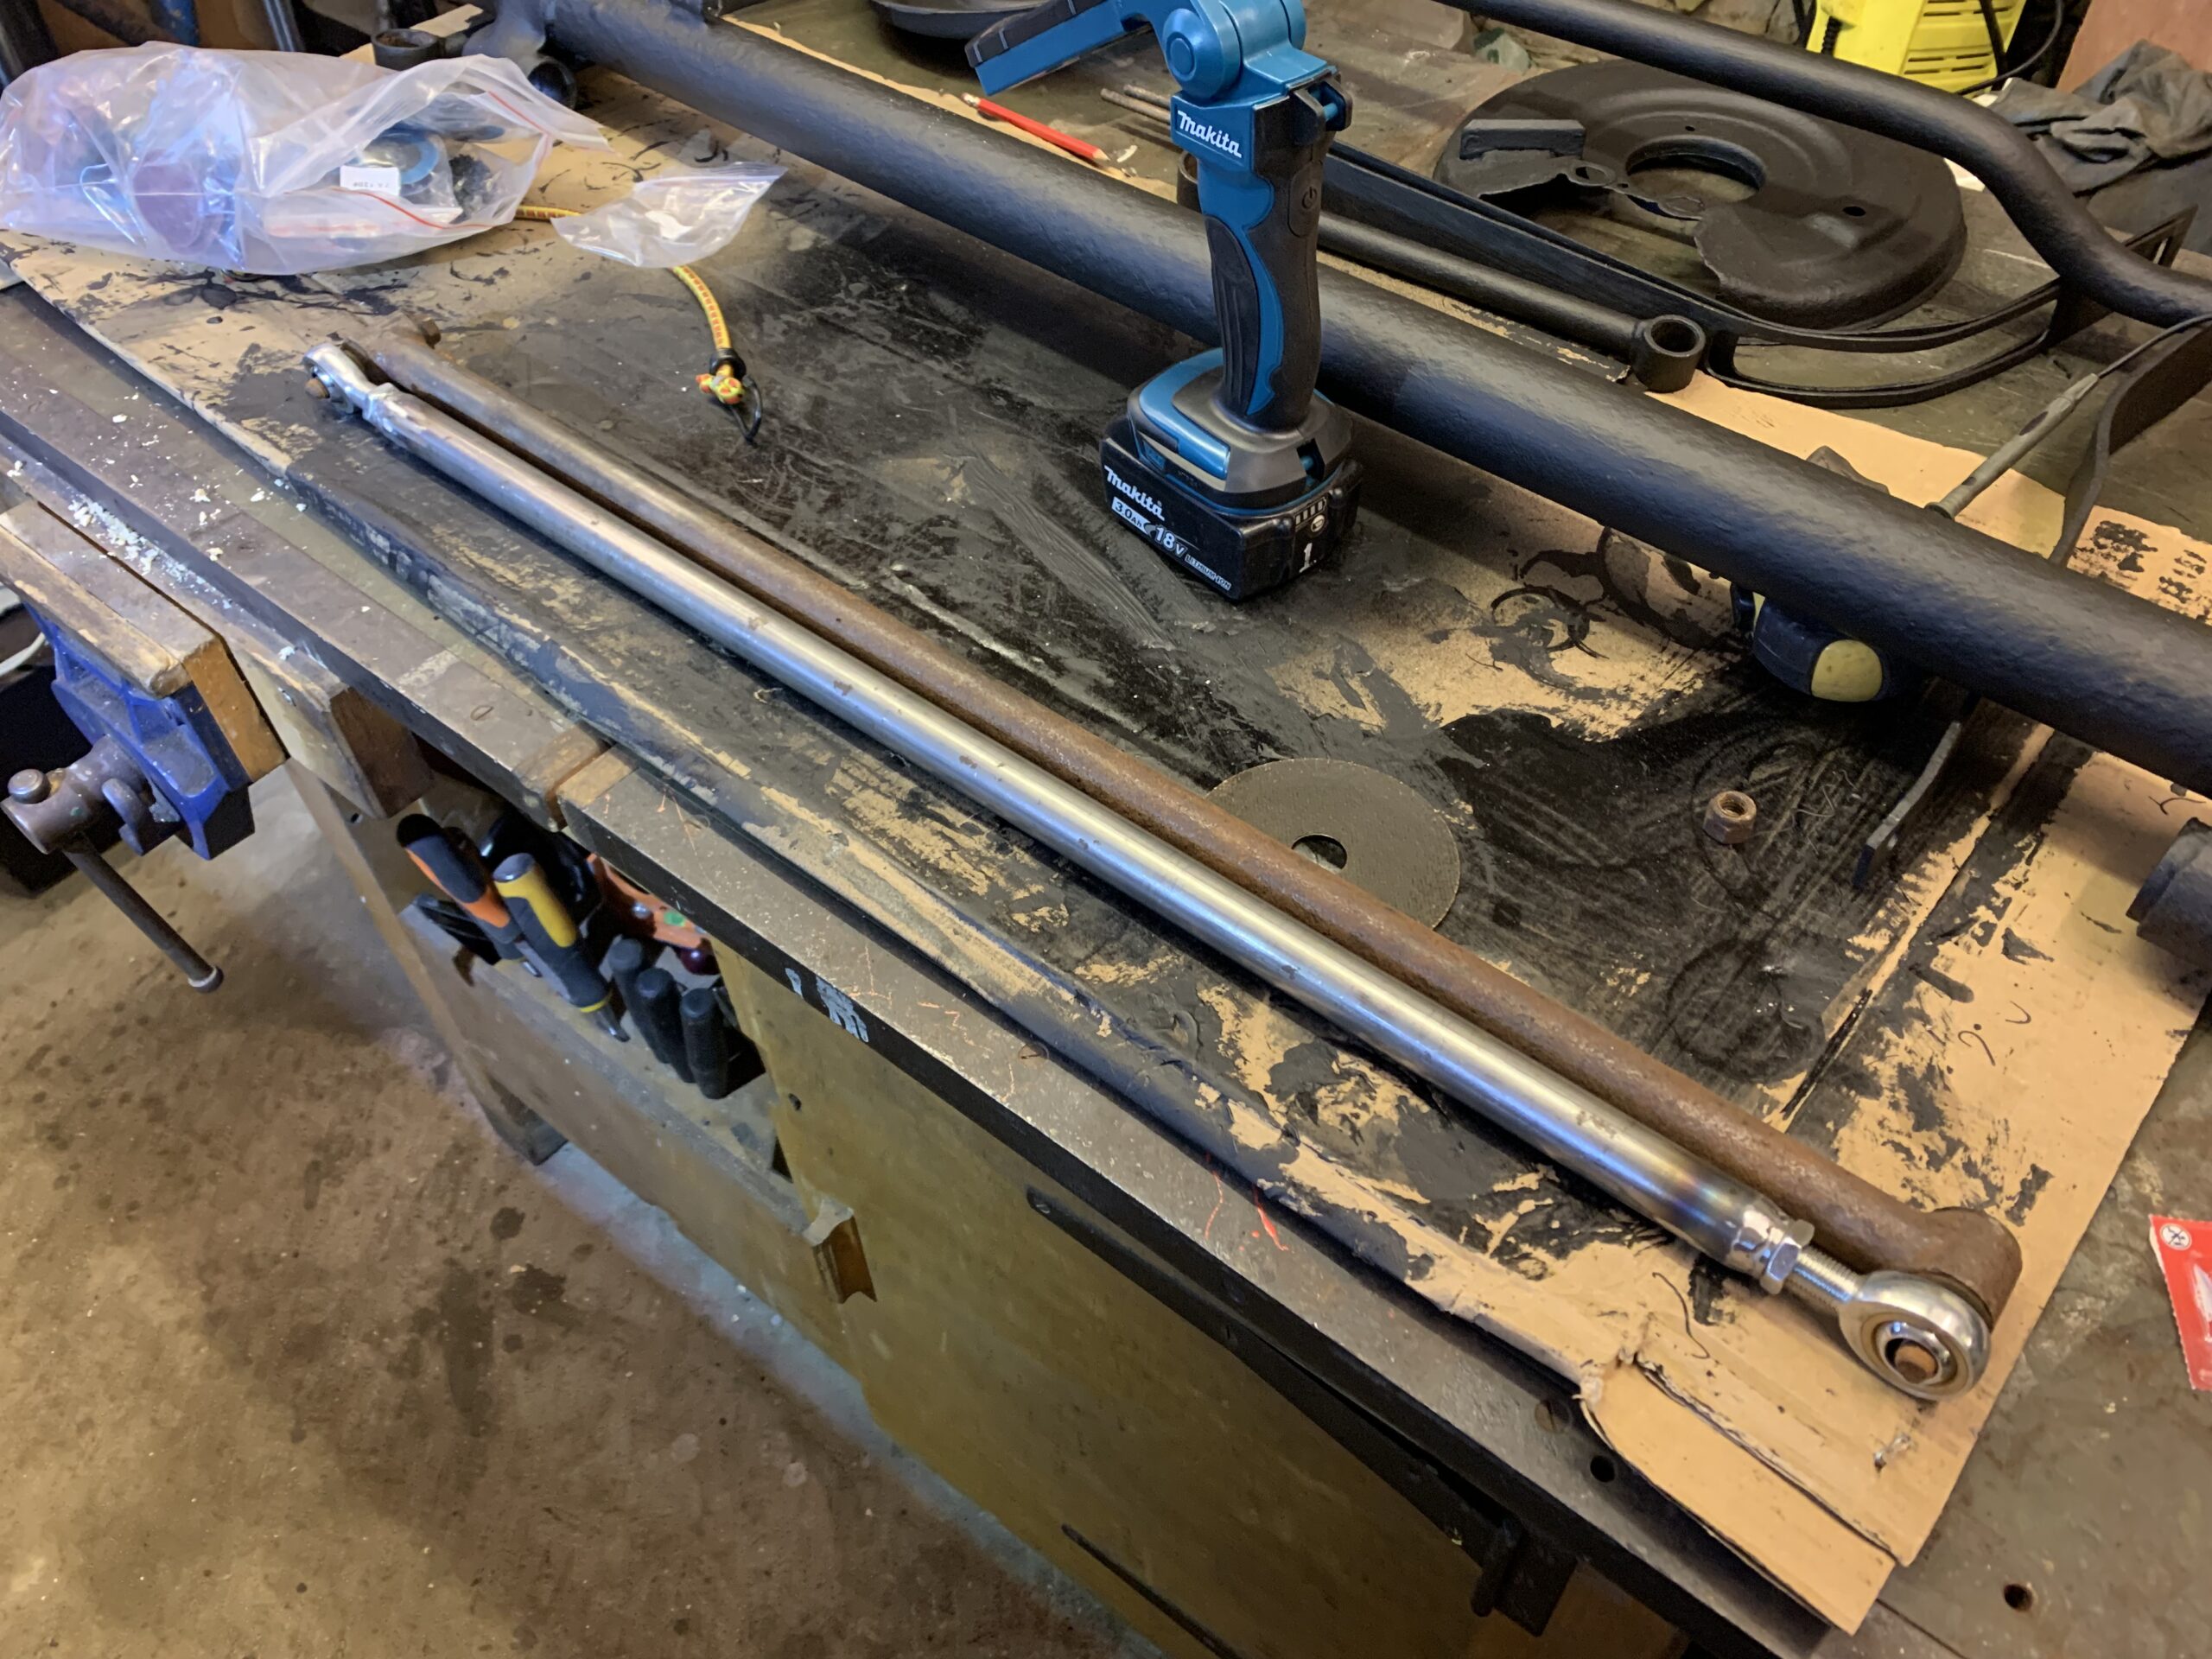
Rather than refit the panhard rod, I decided to make an adjustable one. Because the car is lowered, without shortening the panhard rod the axle will sit slightly off to one side.
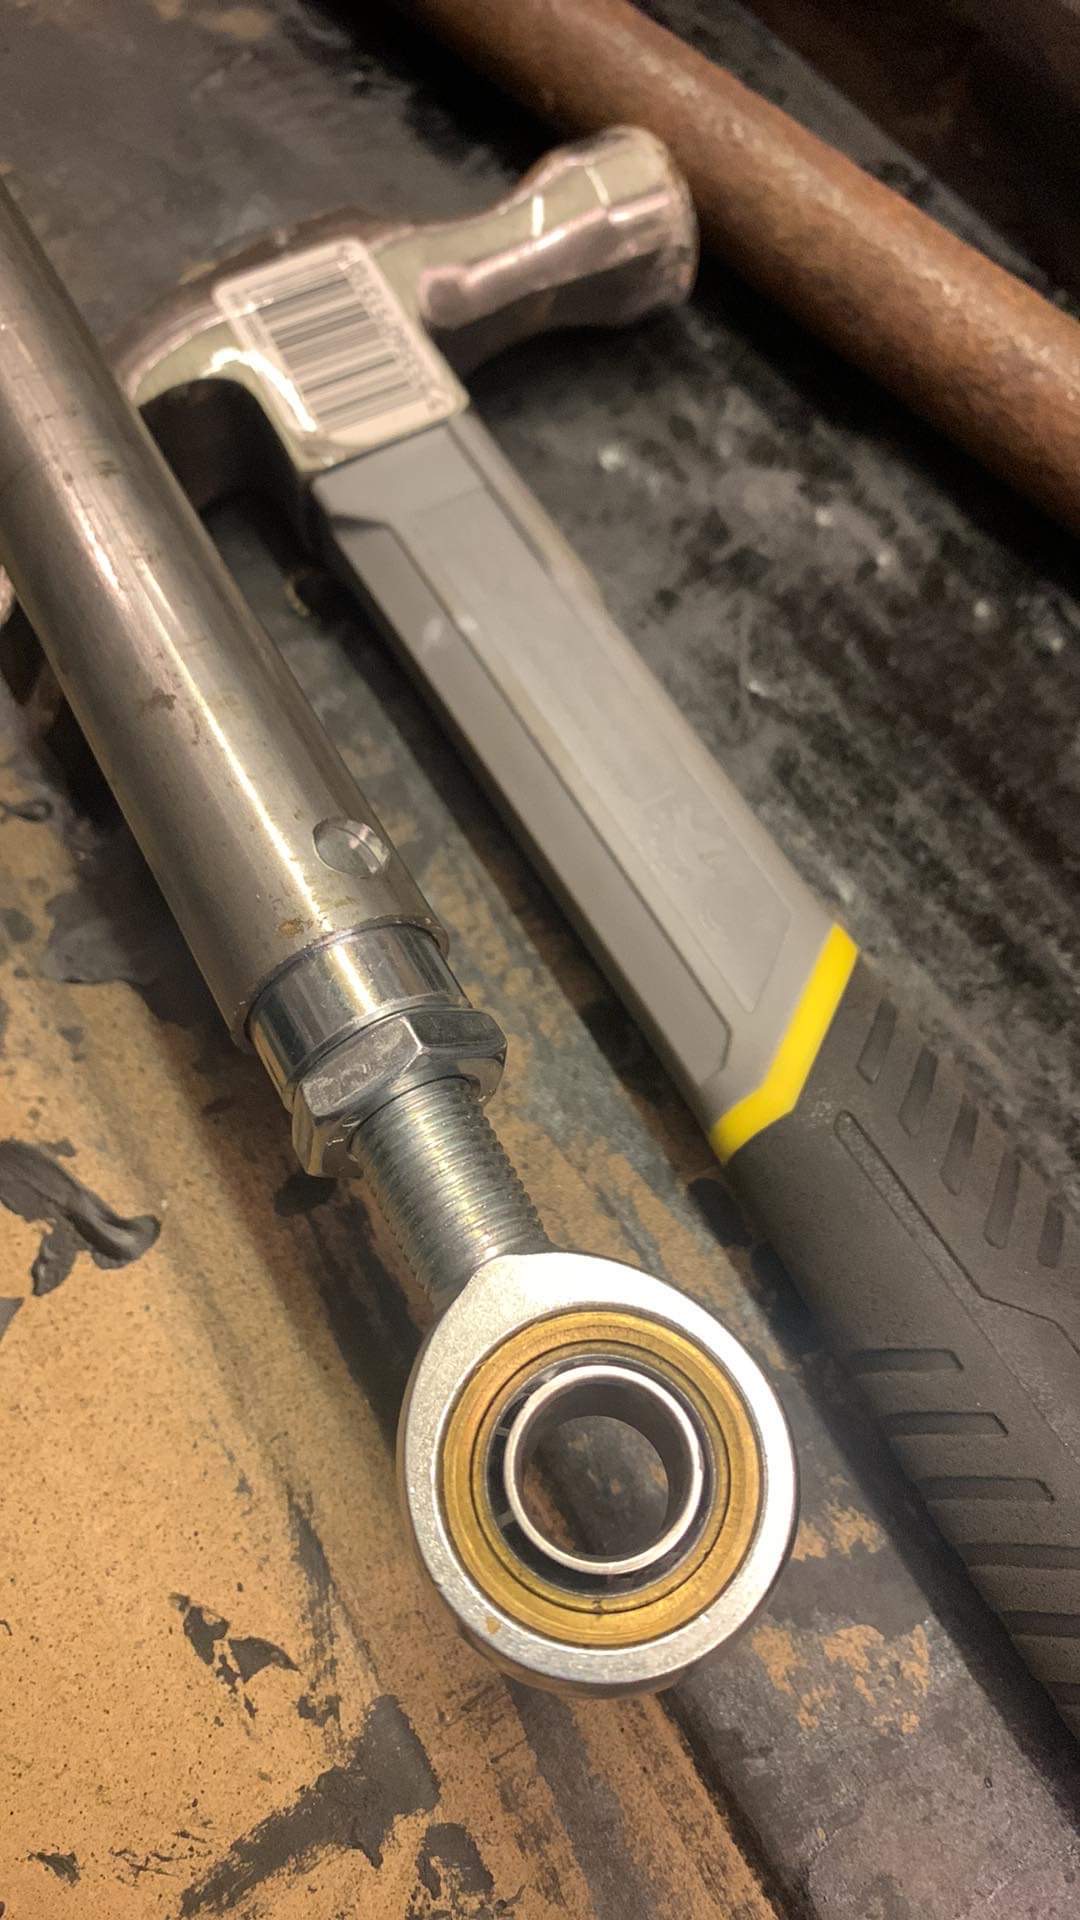
M14x1.5 inserts with left hand thread at one end were pressed and welded into 25mm OD/1.5mm wall tube. I added a plug weld for extra security.
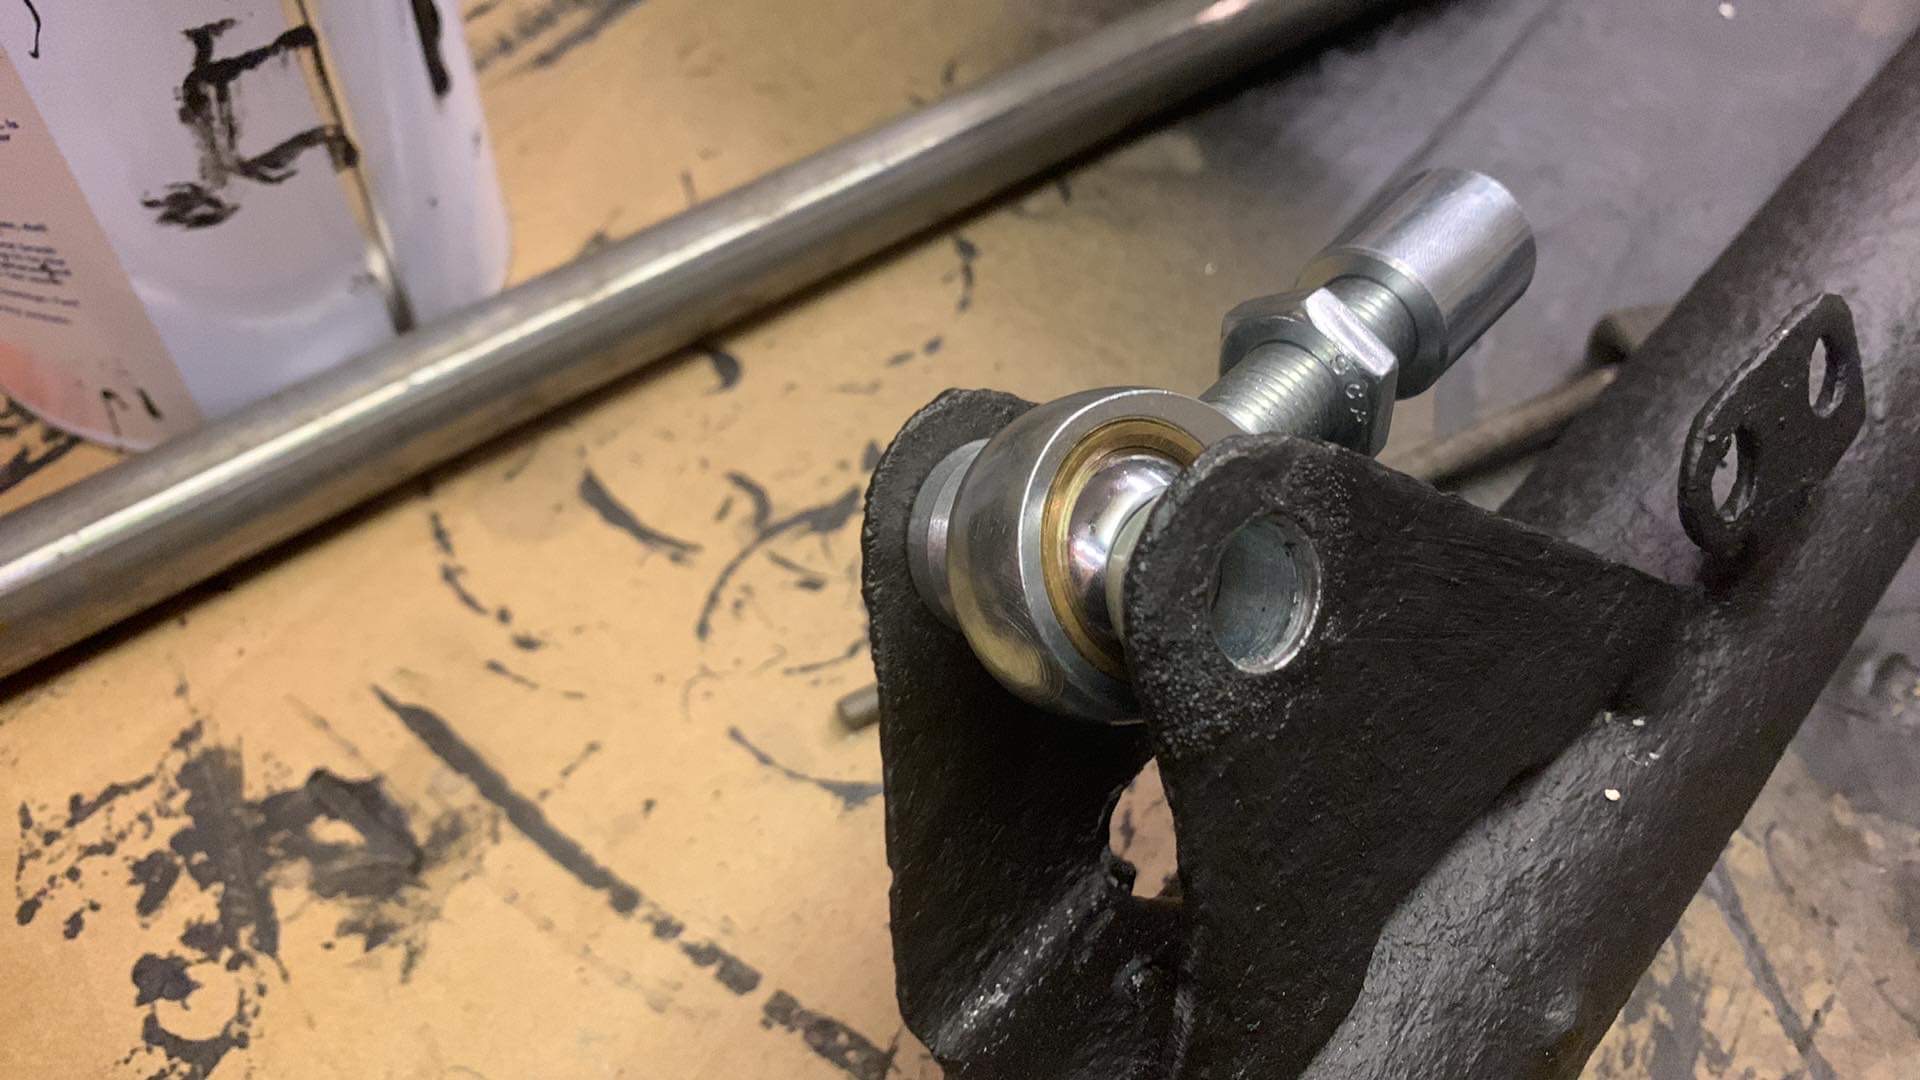
At either and M14 rose joints meant enlarging the holes in the axle and body mounting brackets, while spacers made up the difference in width.
The rear calipers were rebuilt with new seals and painted though this is the only photo I seem to have of that.
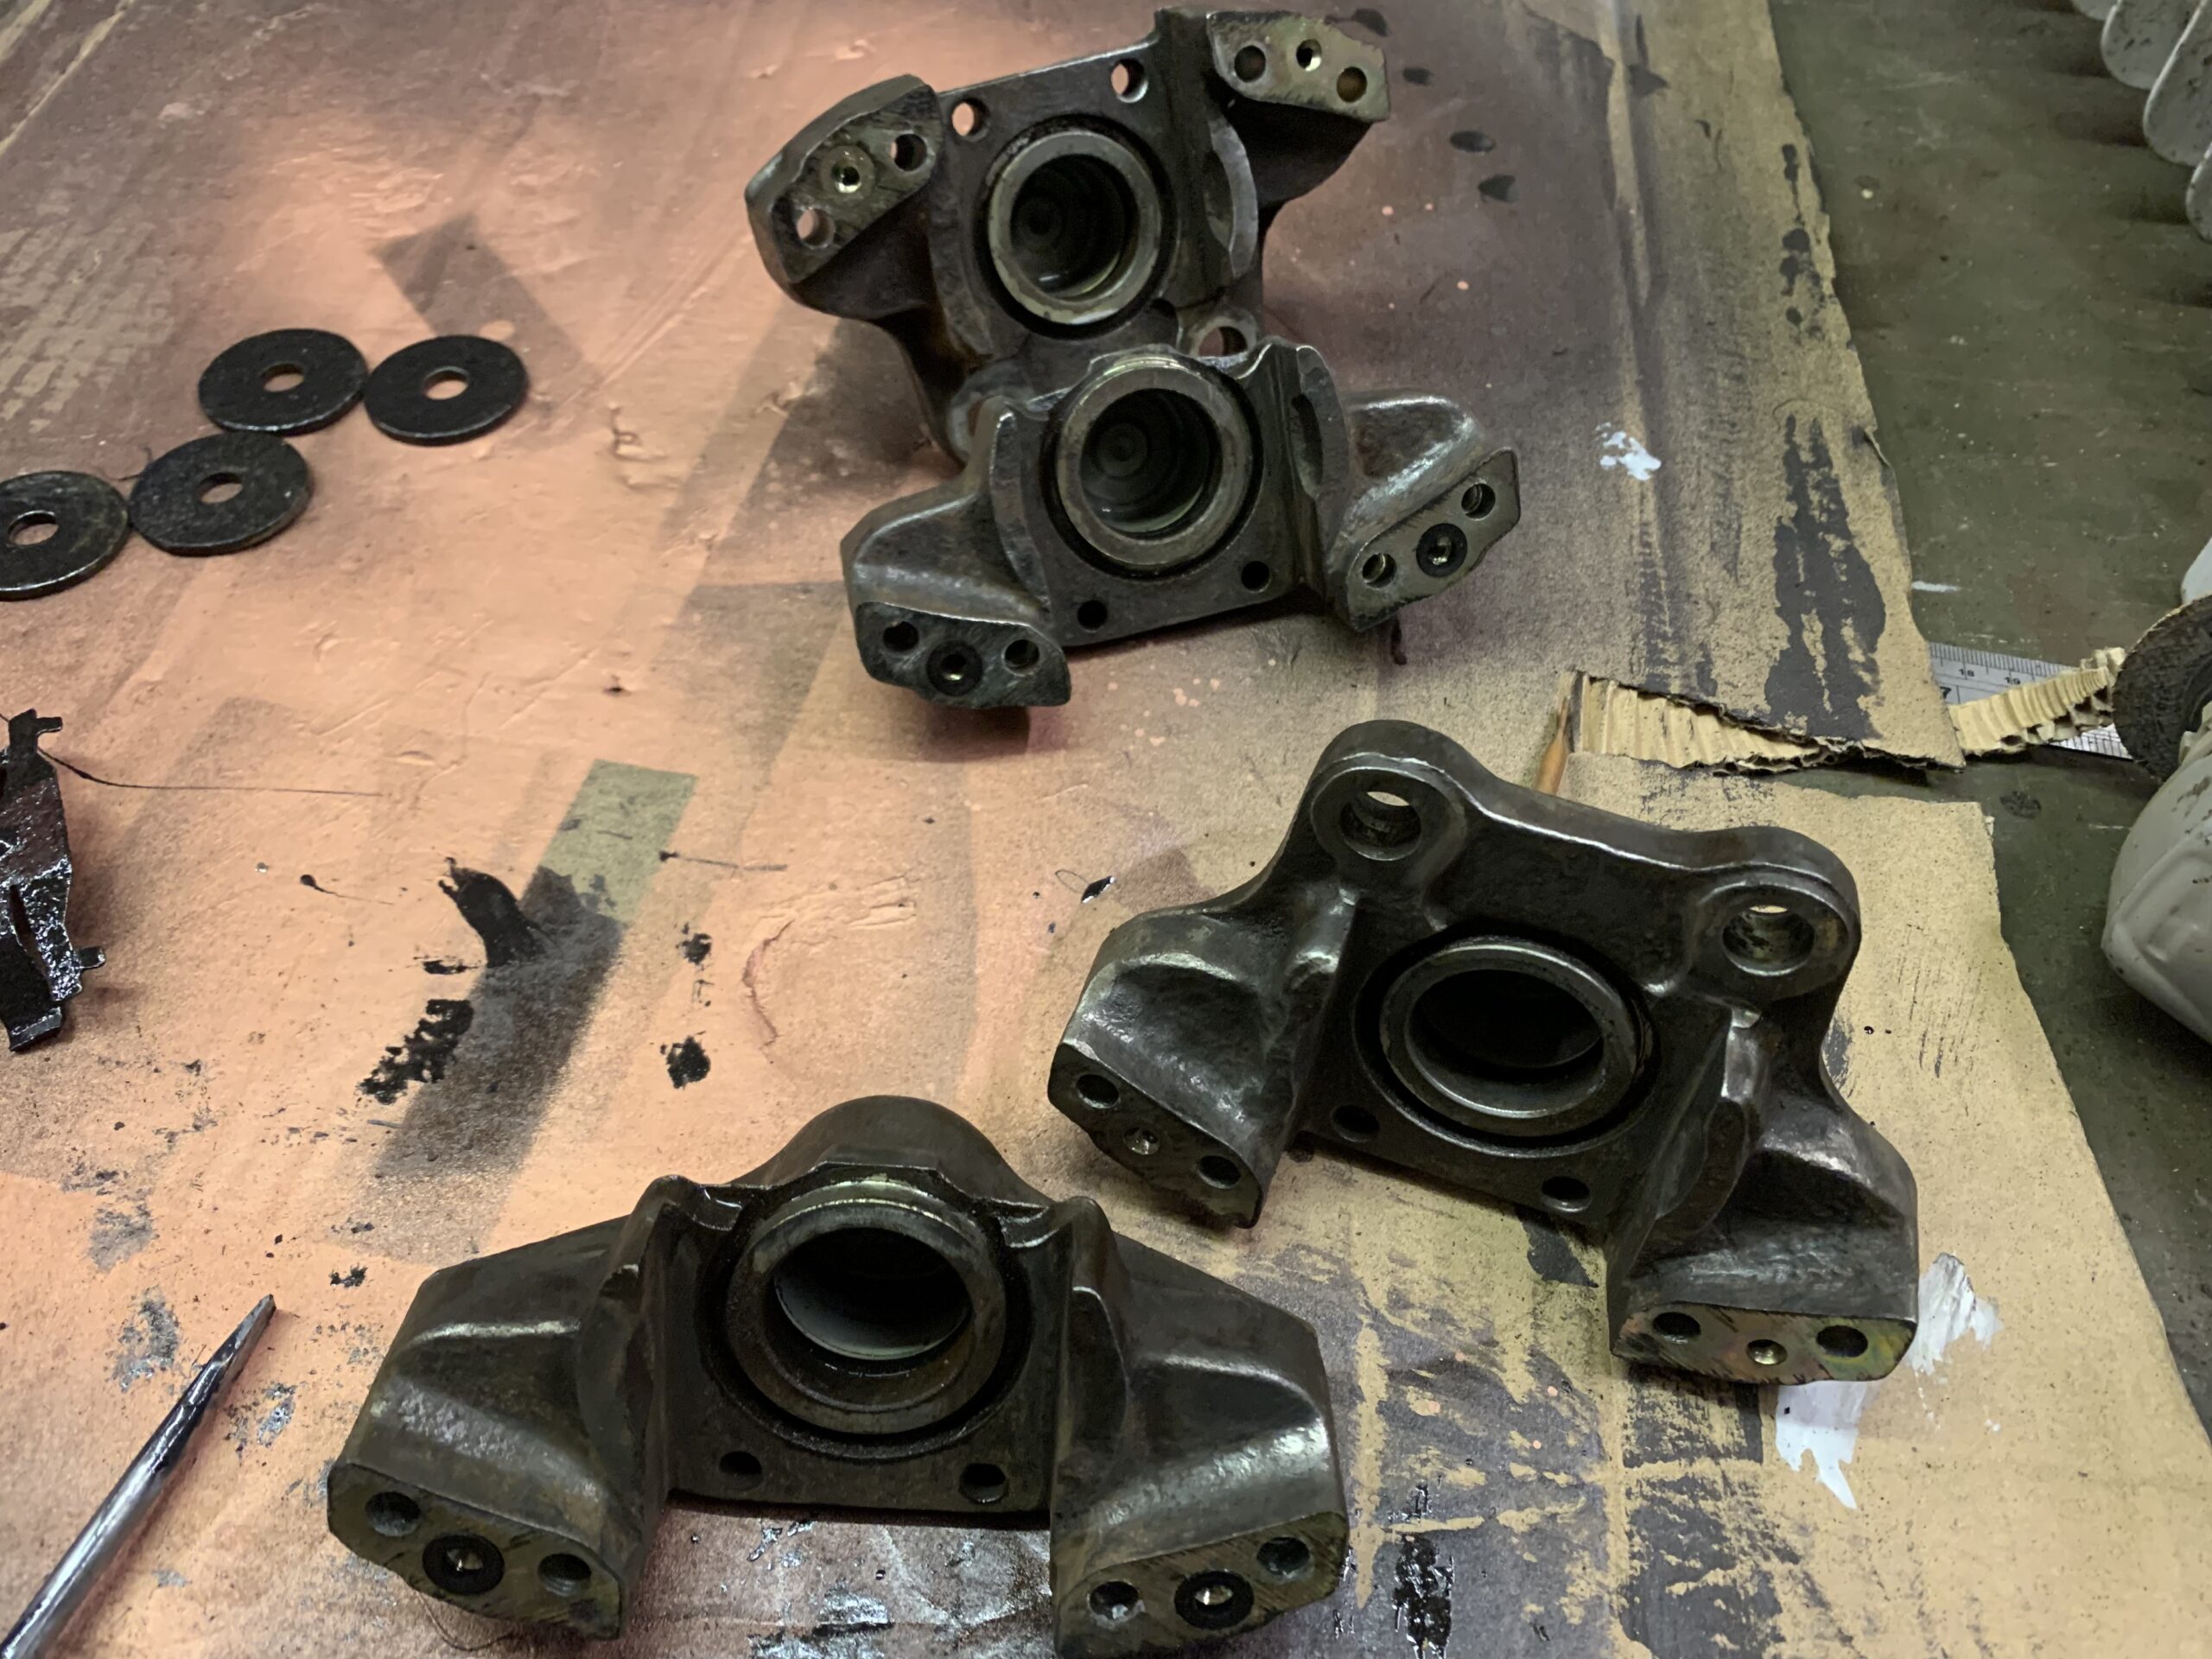
It’s a really simple job especially compared to the fronts. The pistons pop out and four bolts hold the two halves together. There’s seals between the halves that you also want to replace, and they go back together like any other normal caliper.
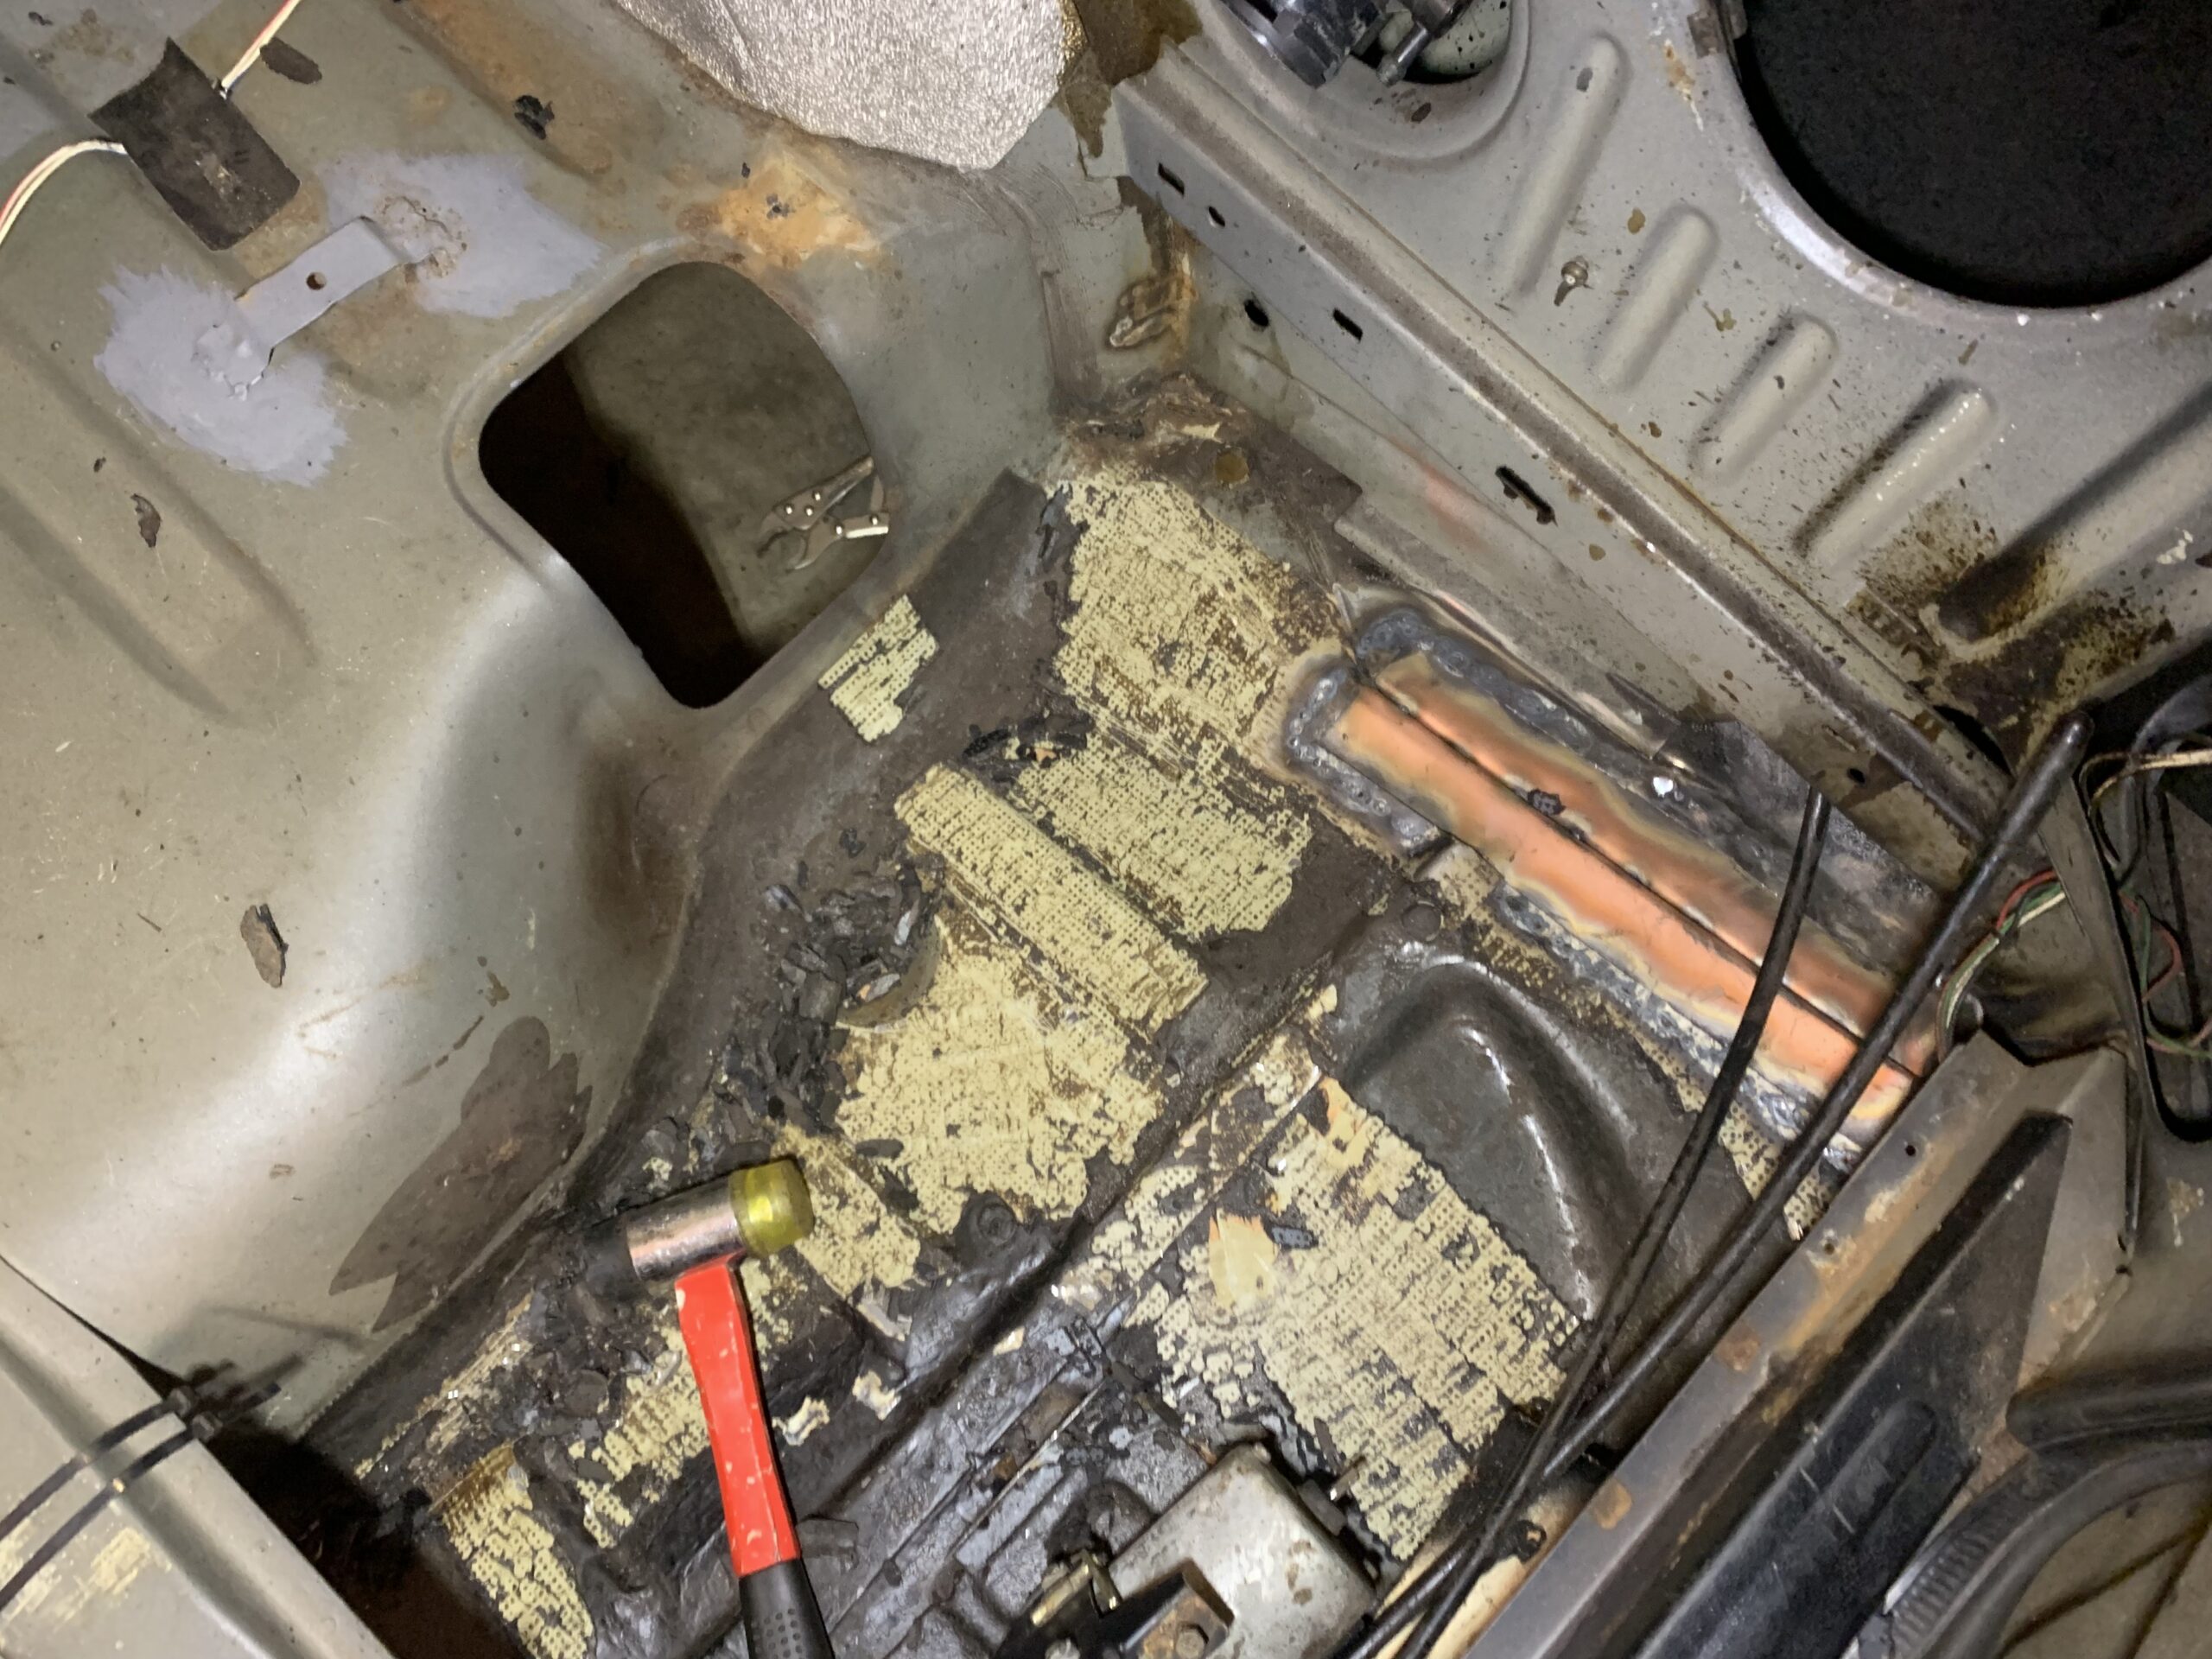
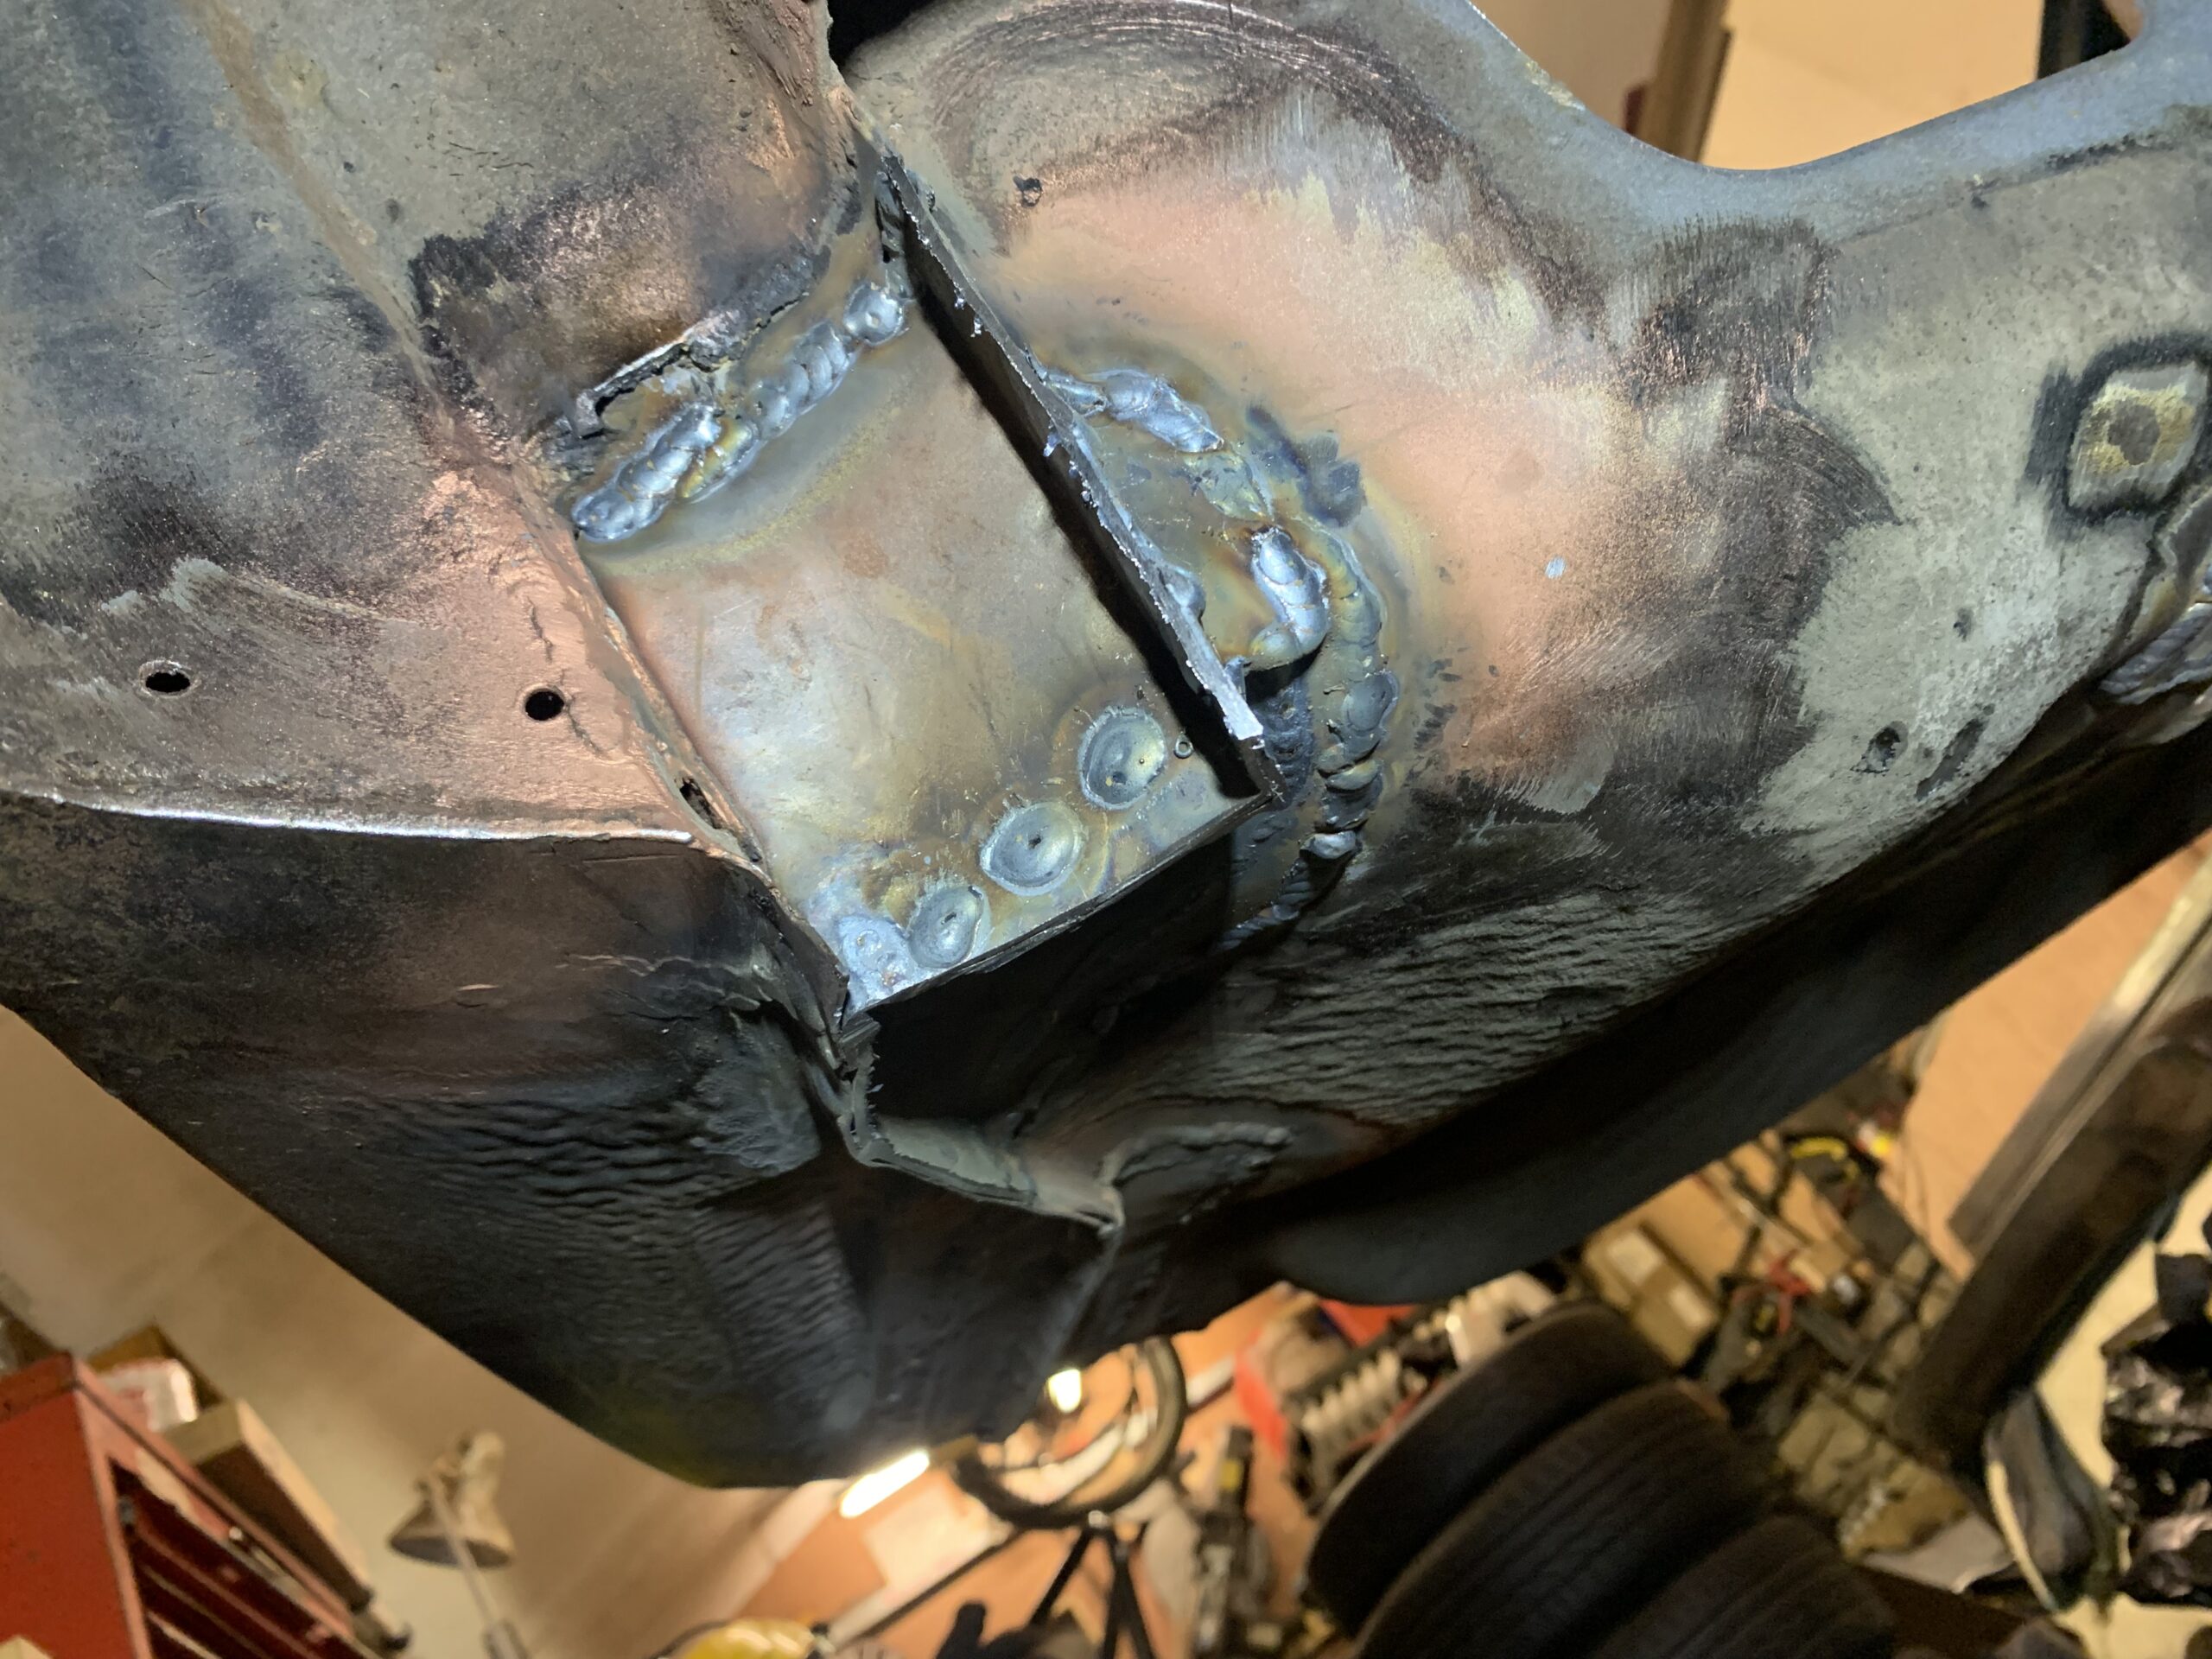
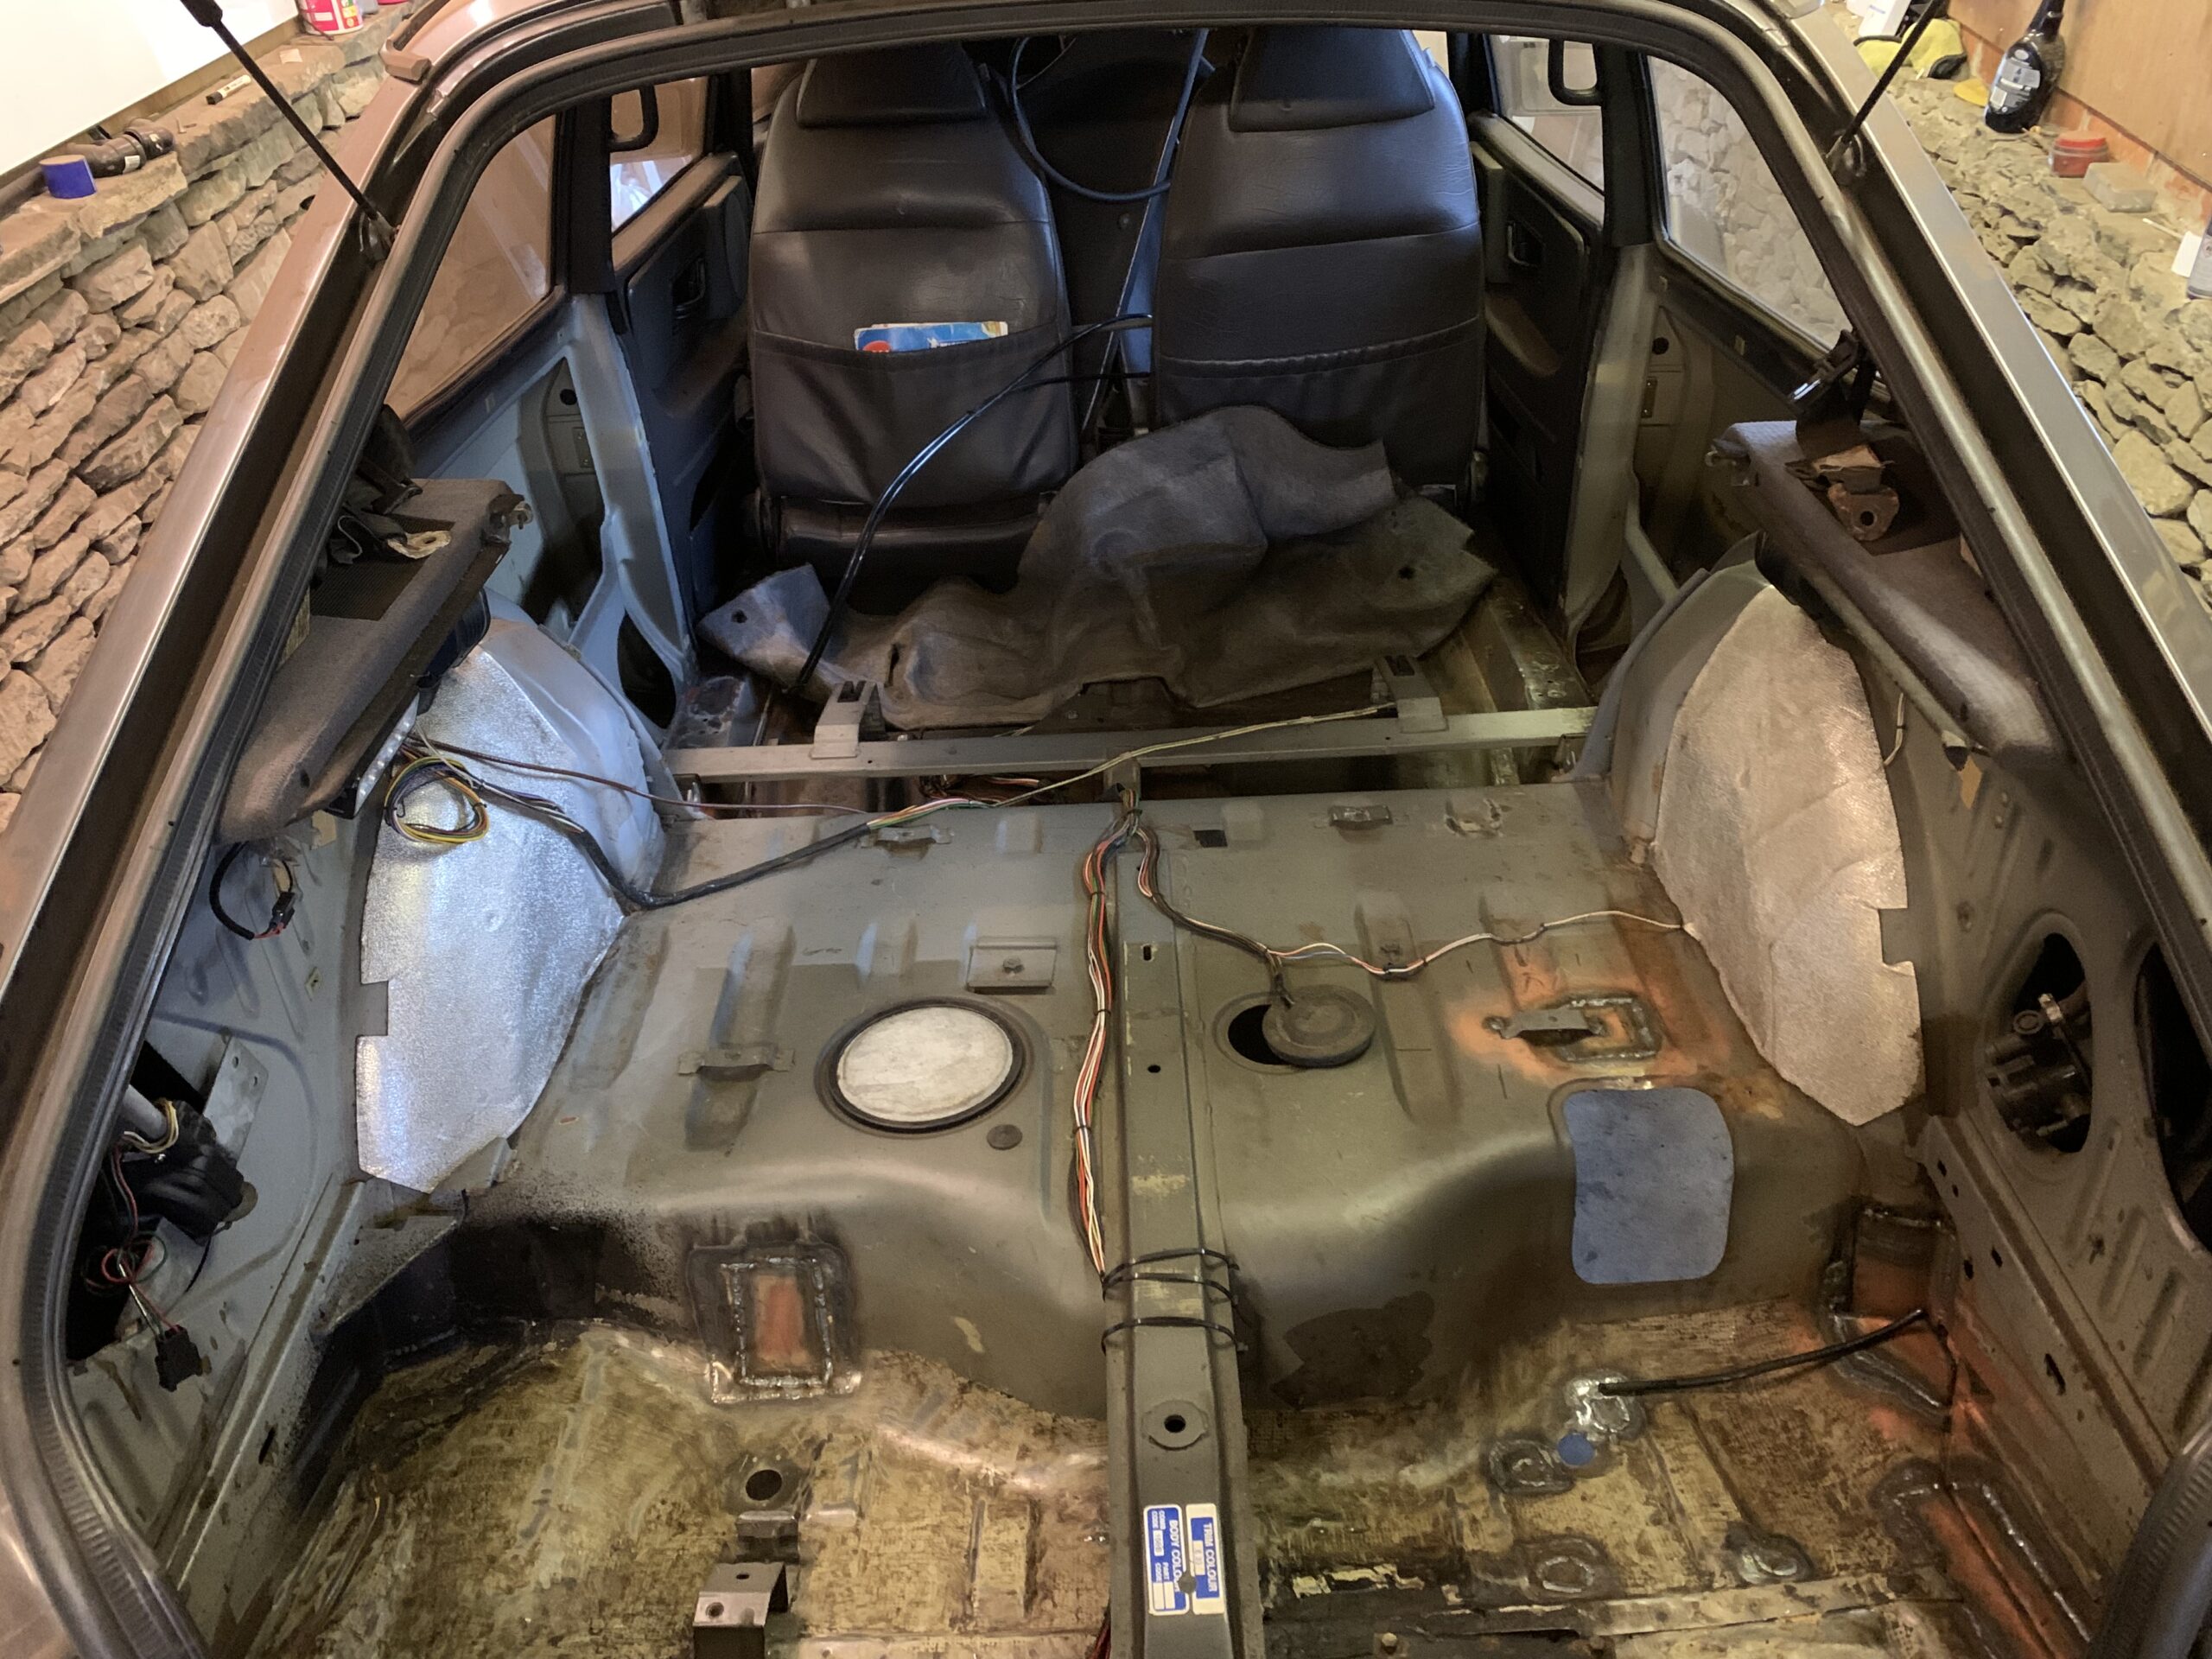
Now it was time for the bad part – rust. I was expecting to find some spots that needed cutting out and patching but I think in total I did about a dozen patches. I’ll let the photos do the talking.
First the fuel tank and exhaust came off to gain maximum access.
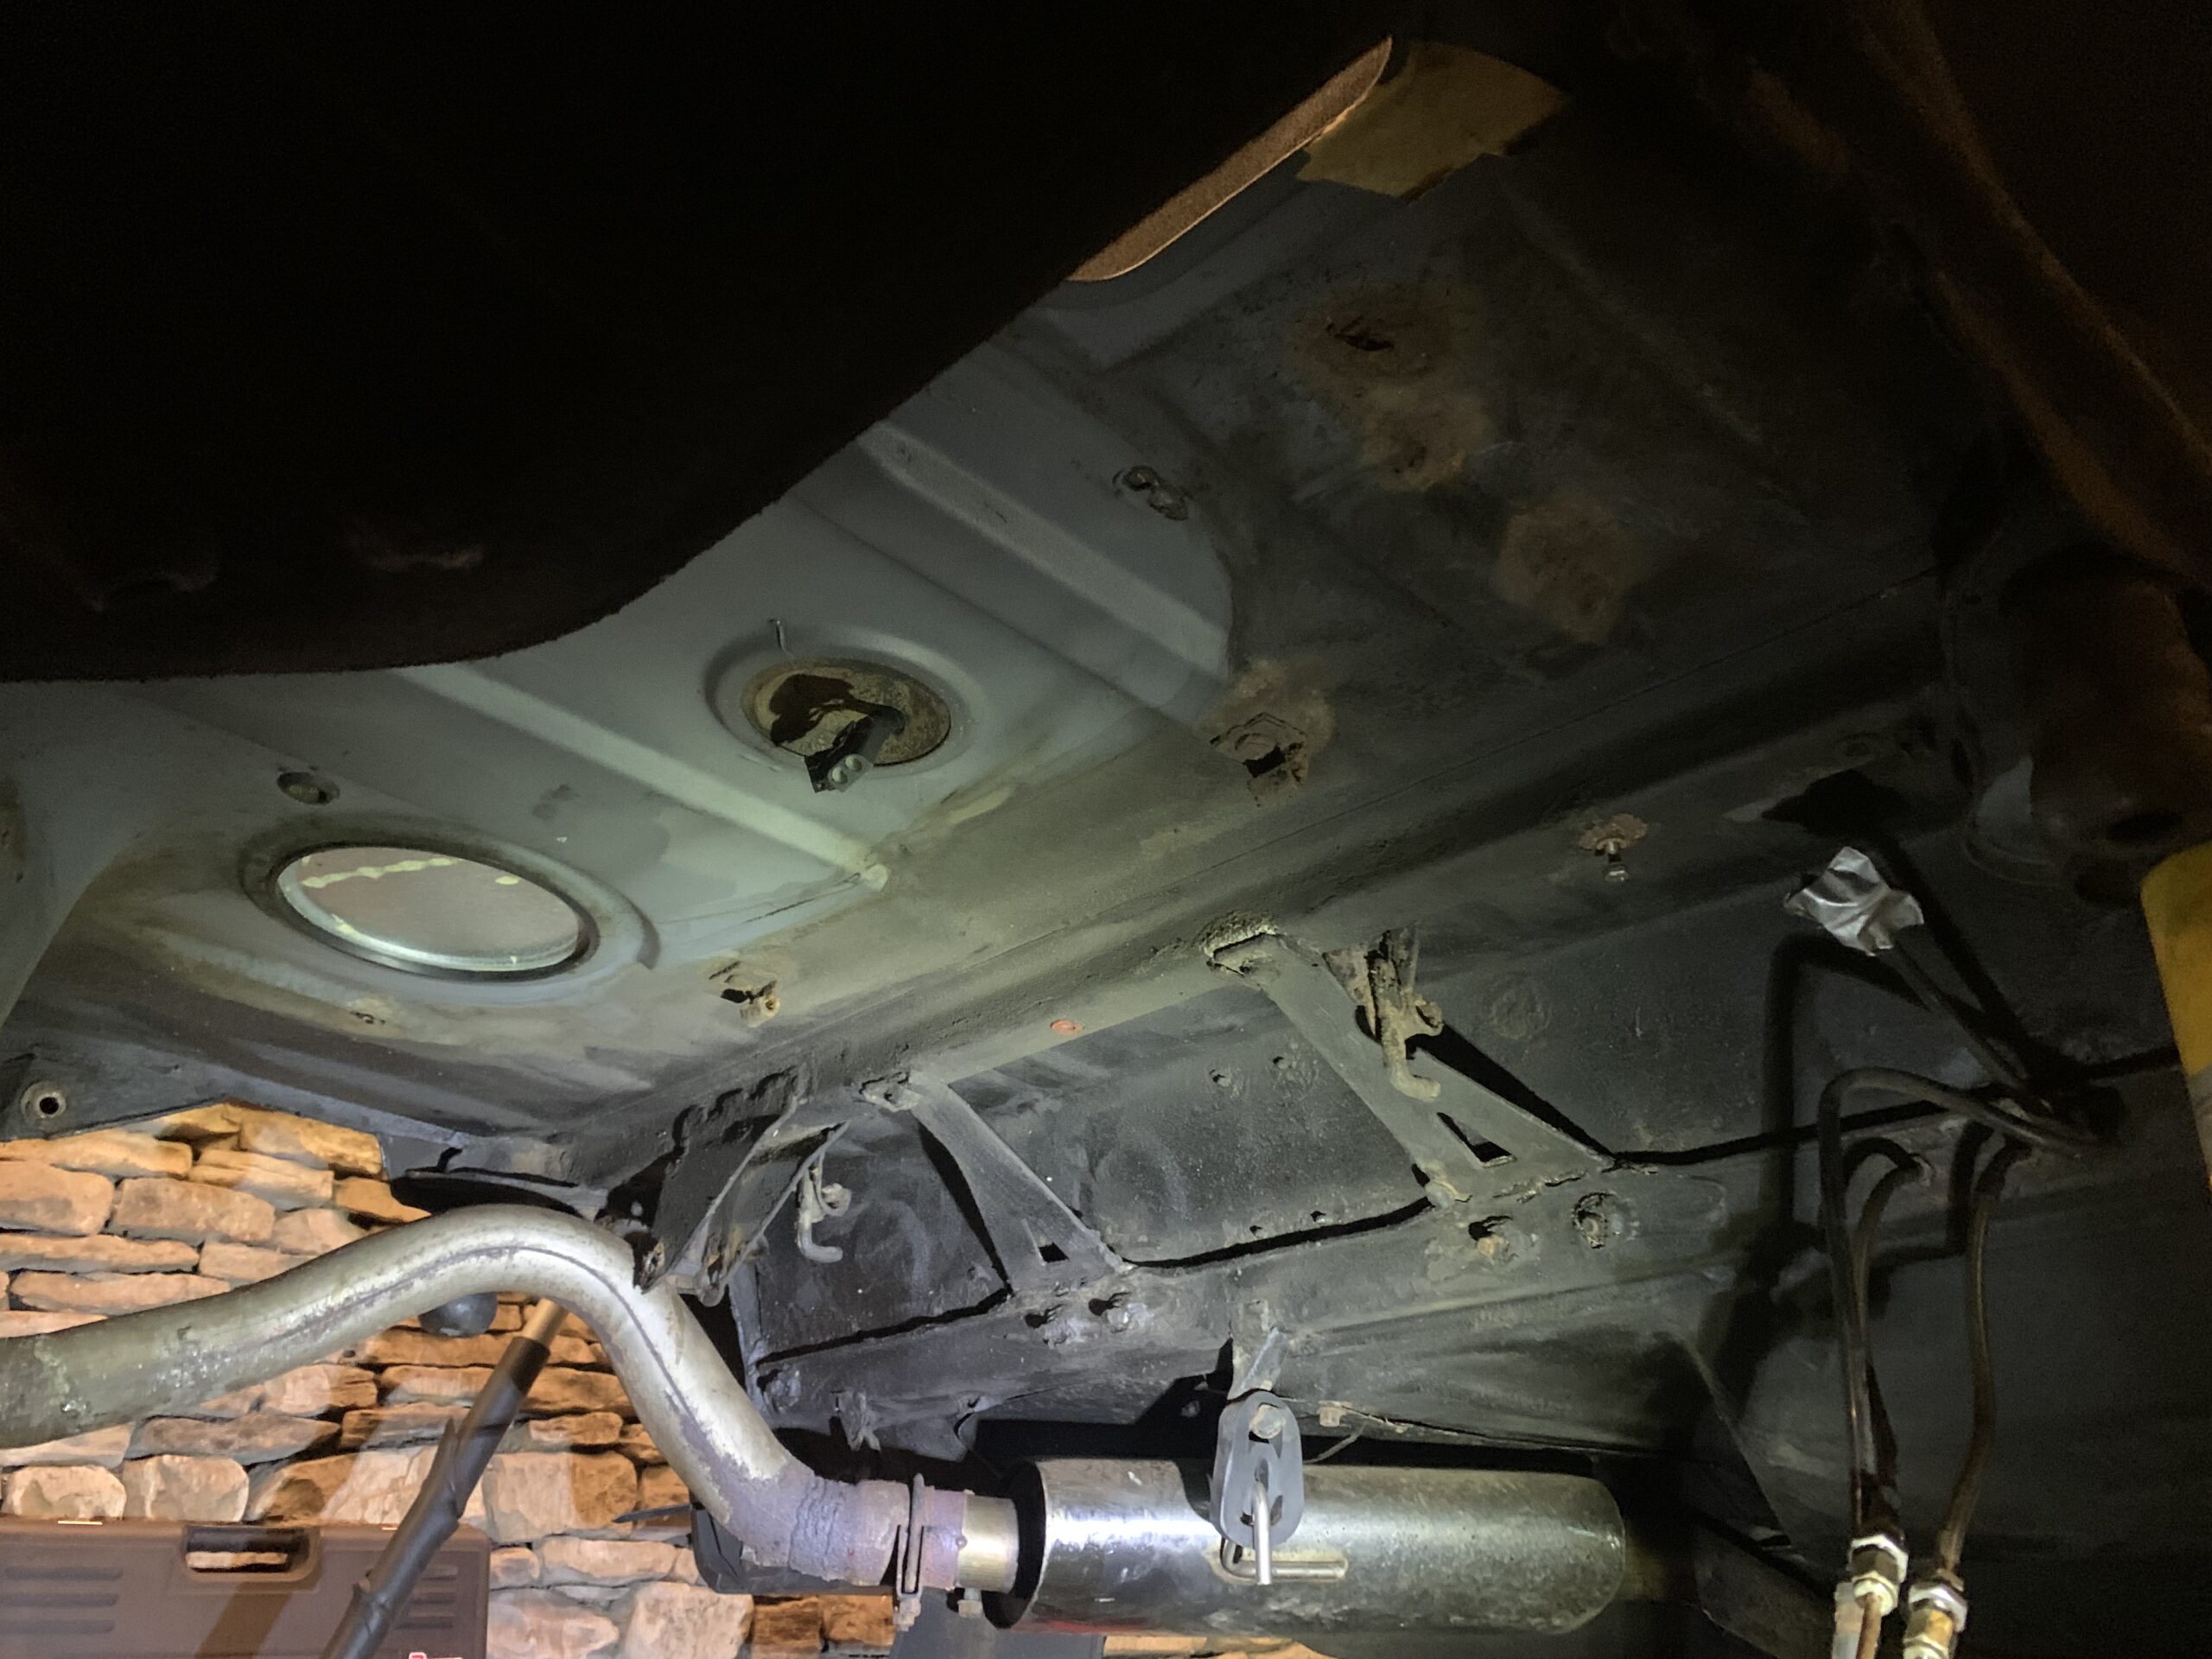
First work was a pair of patches to form a new seam on the right hand seam of the boot floor…
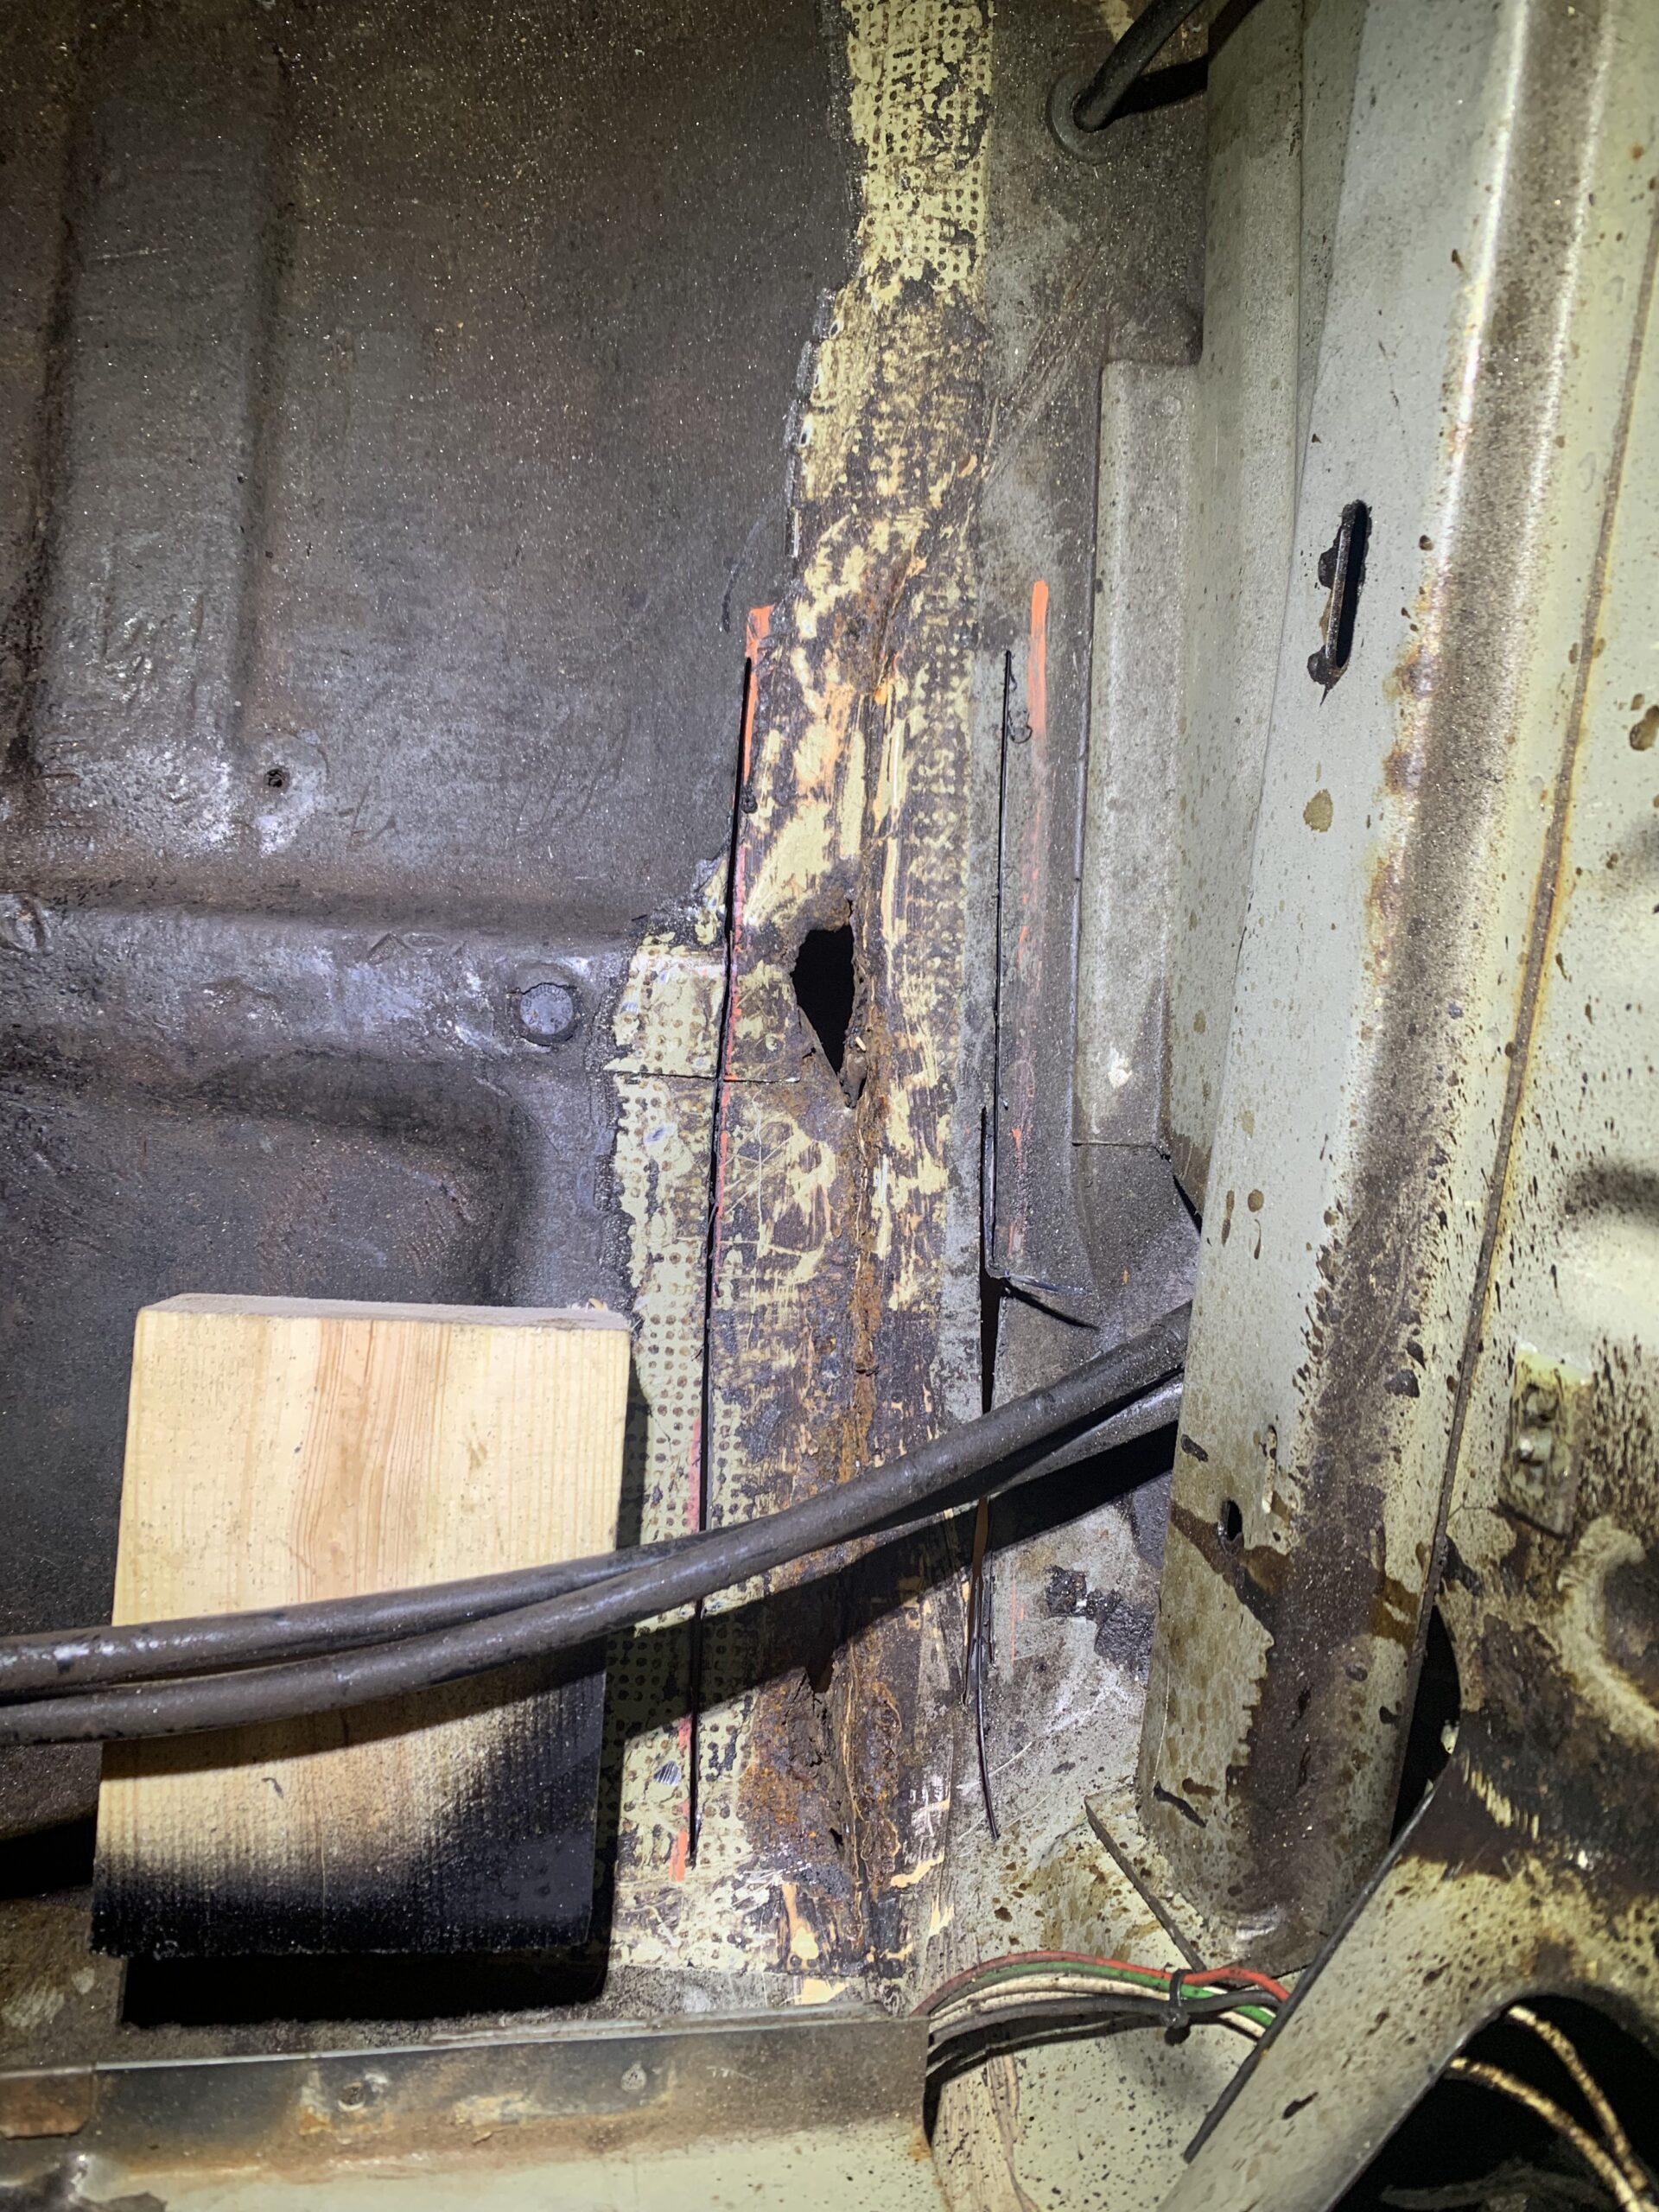

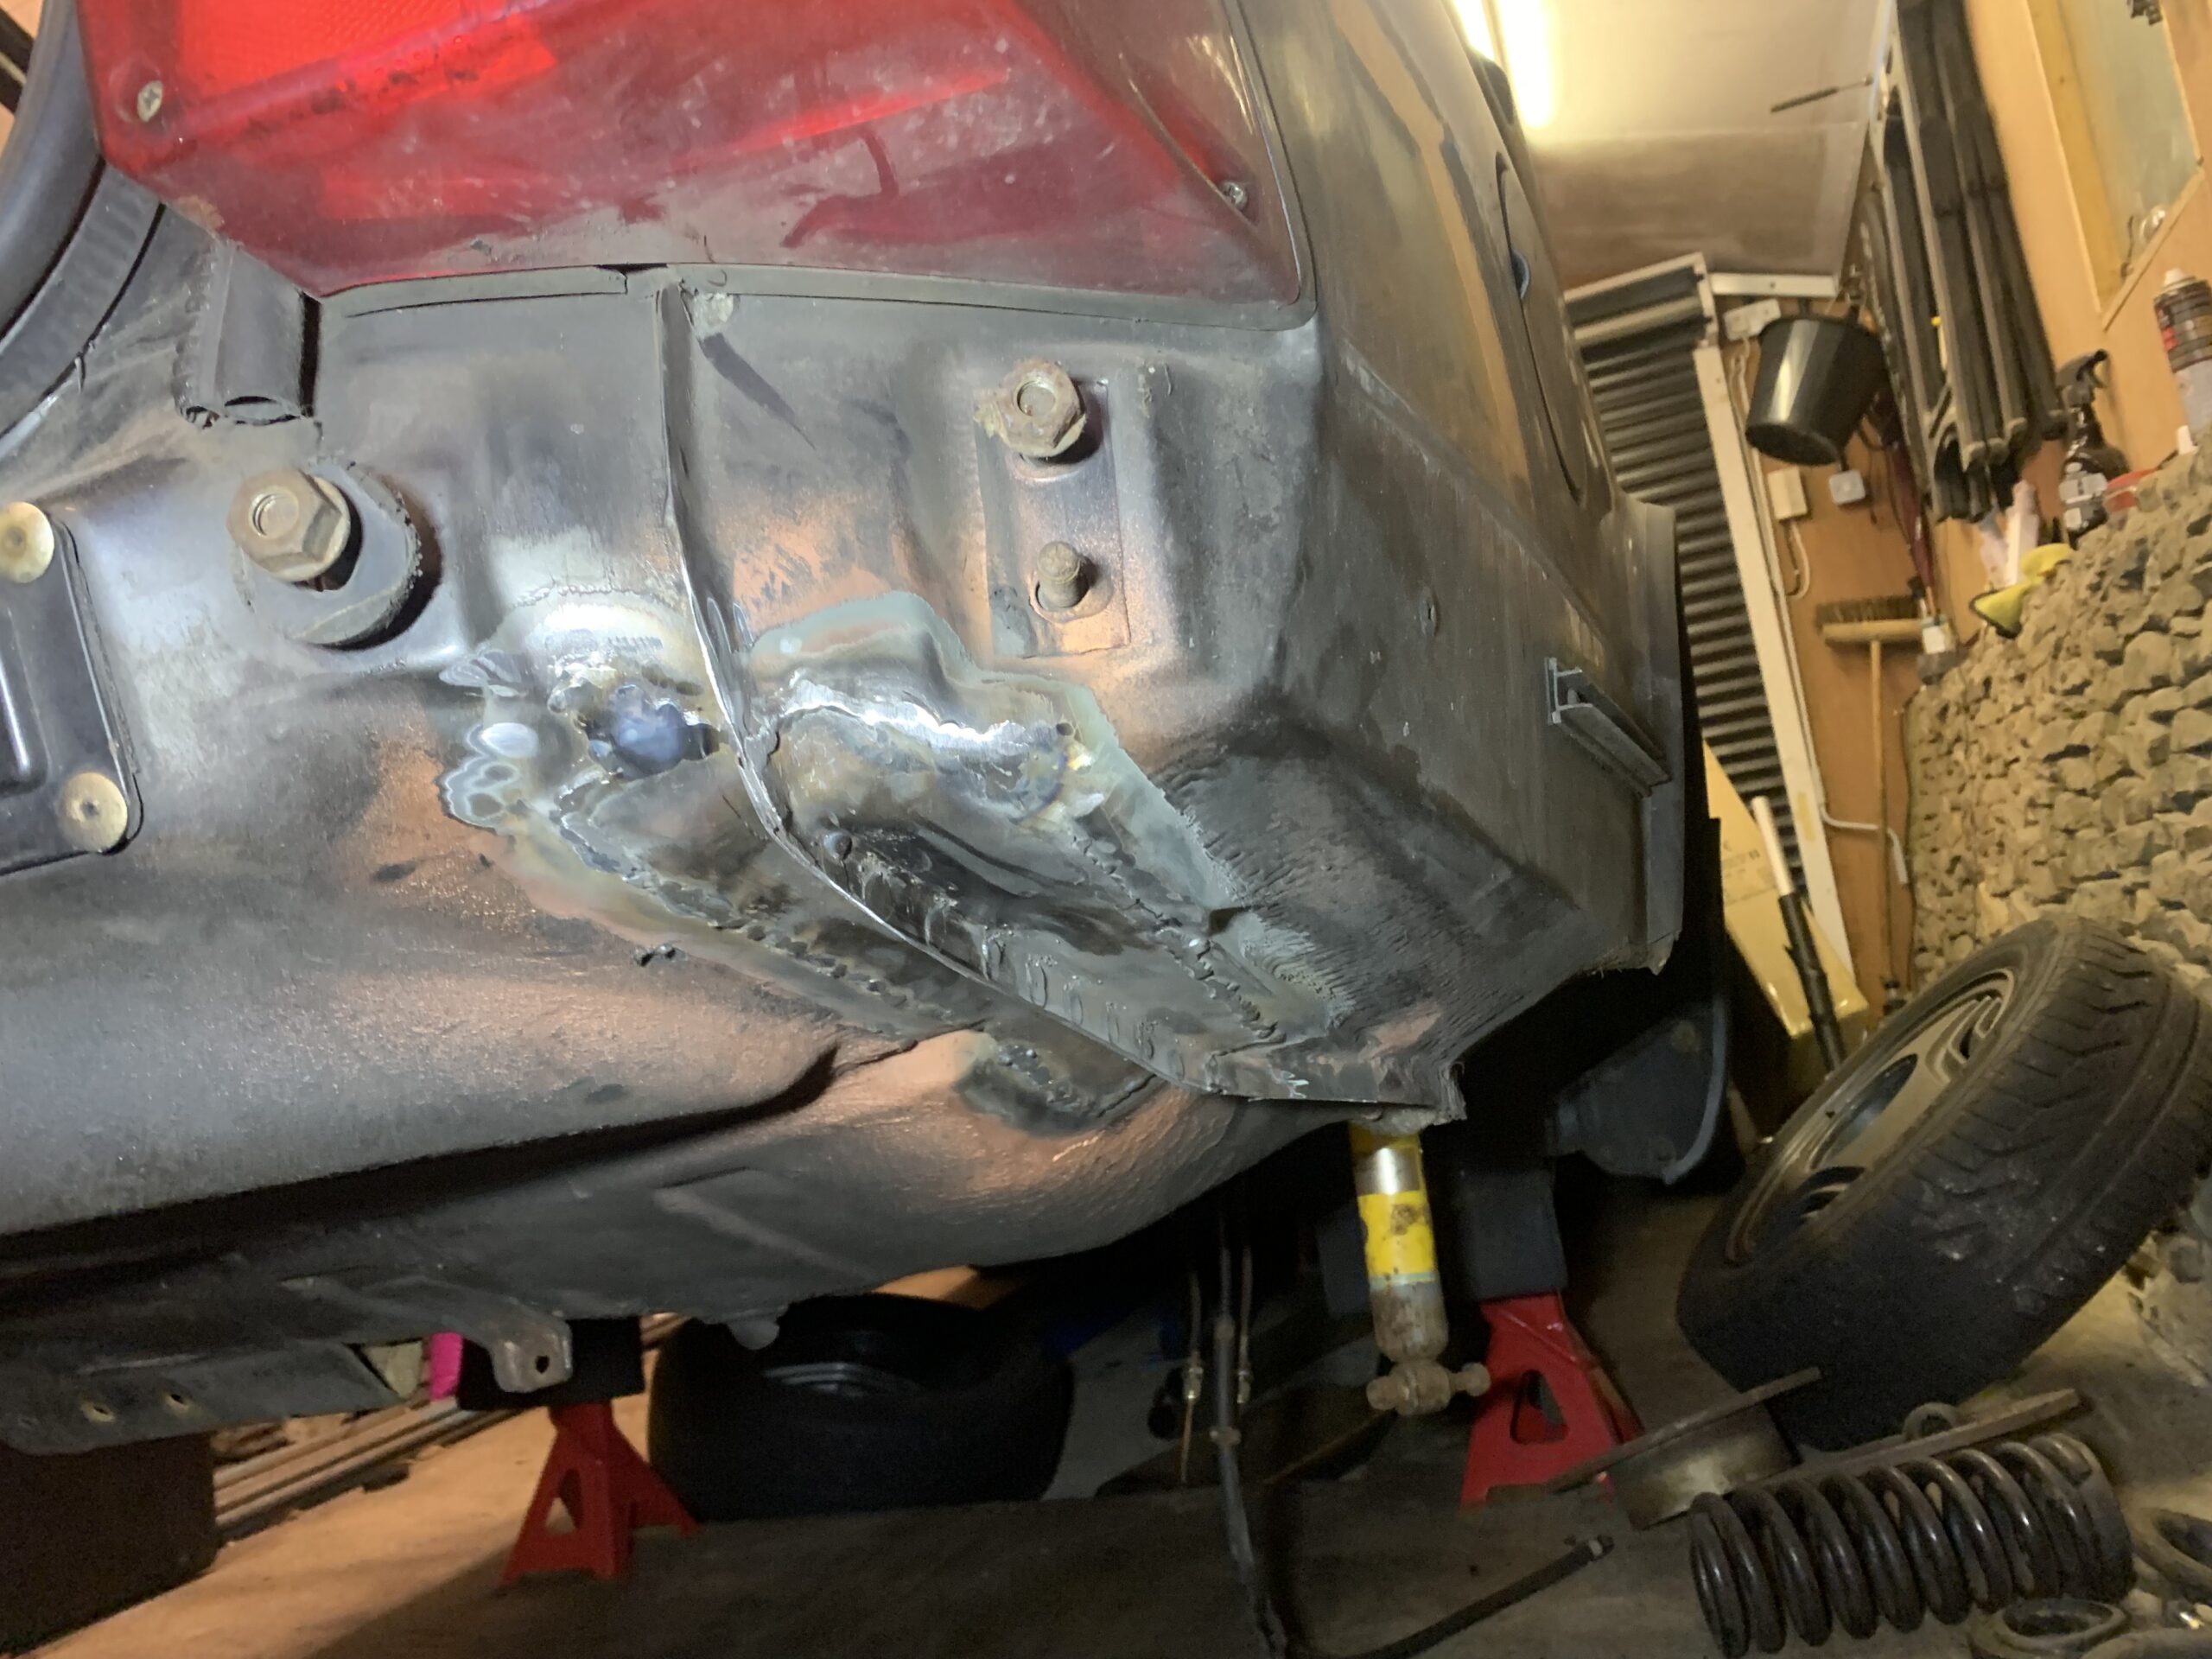
Then a bunch of simple patches all around the boot floor and above the fuel tank…

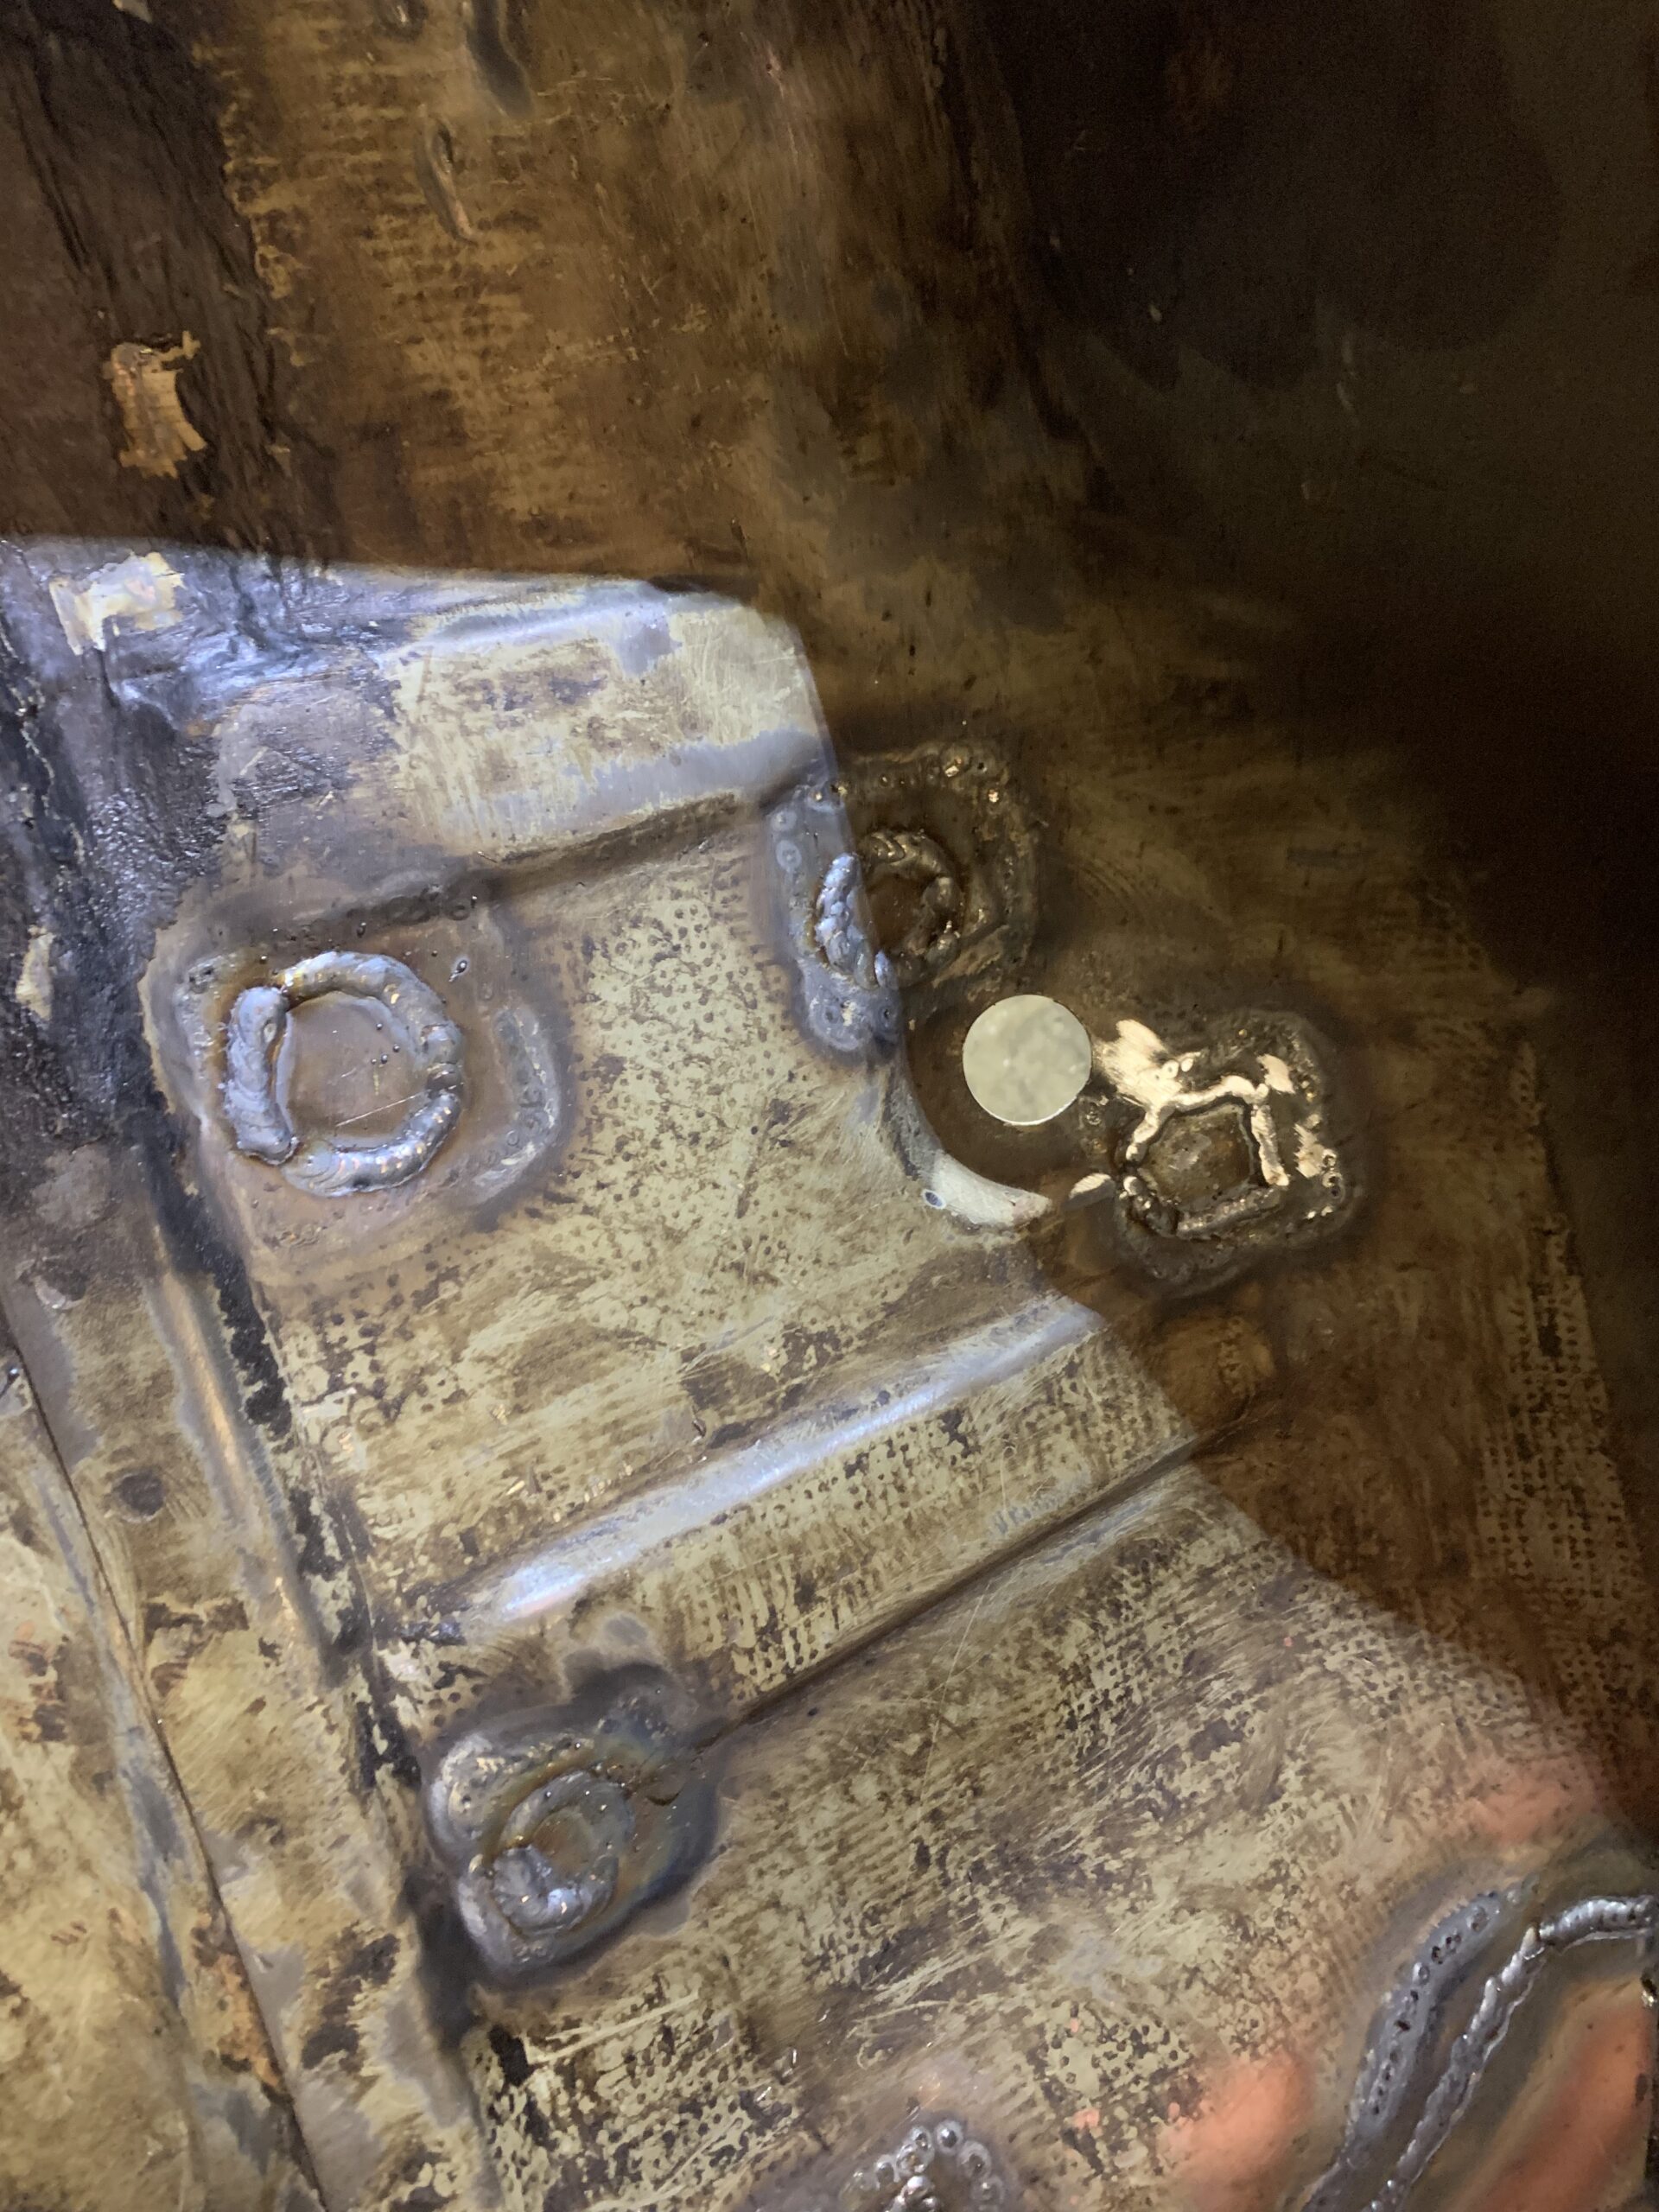
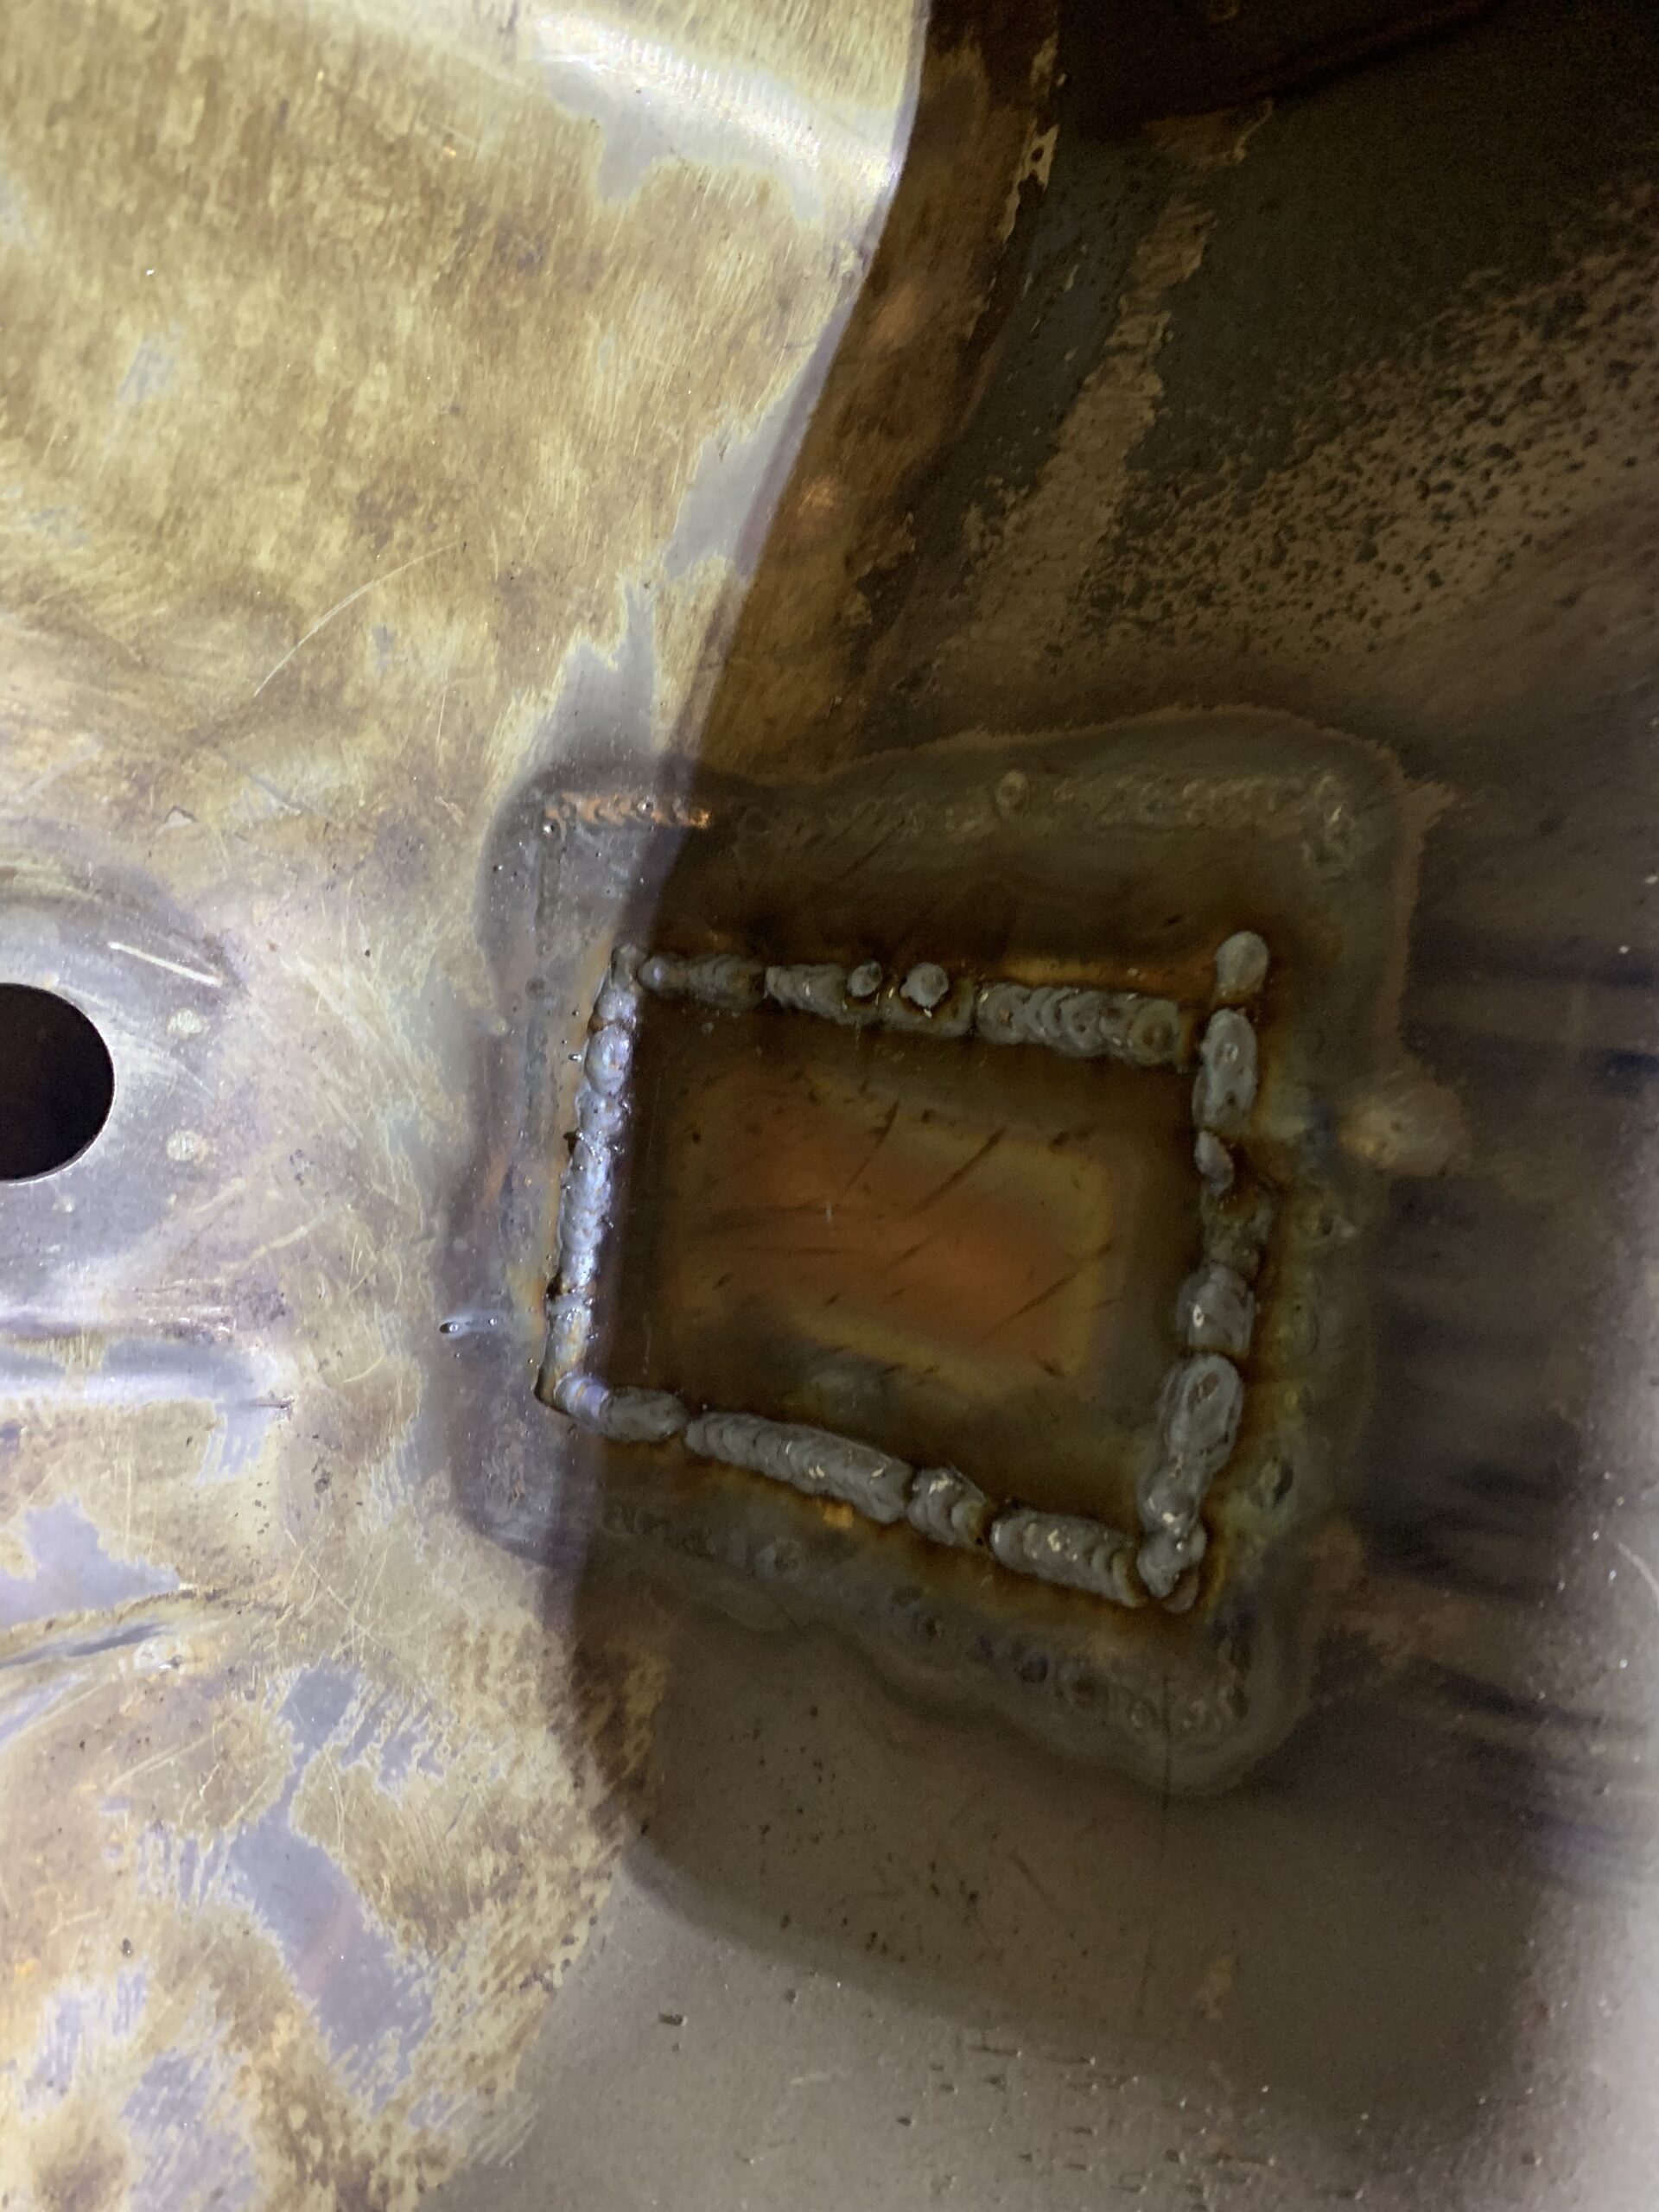

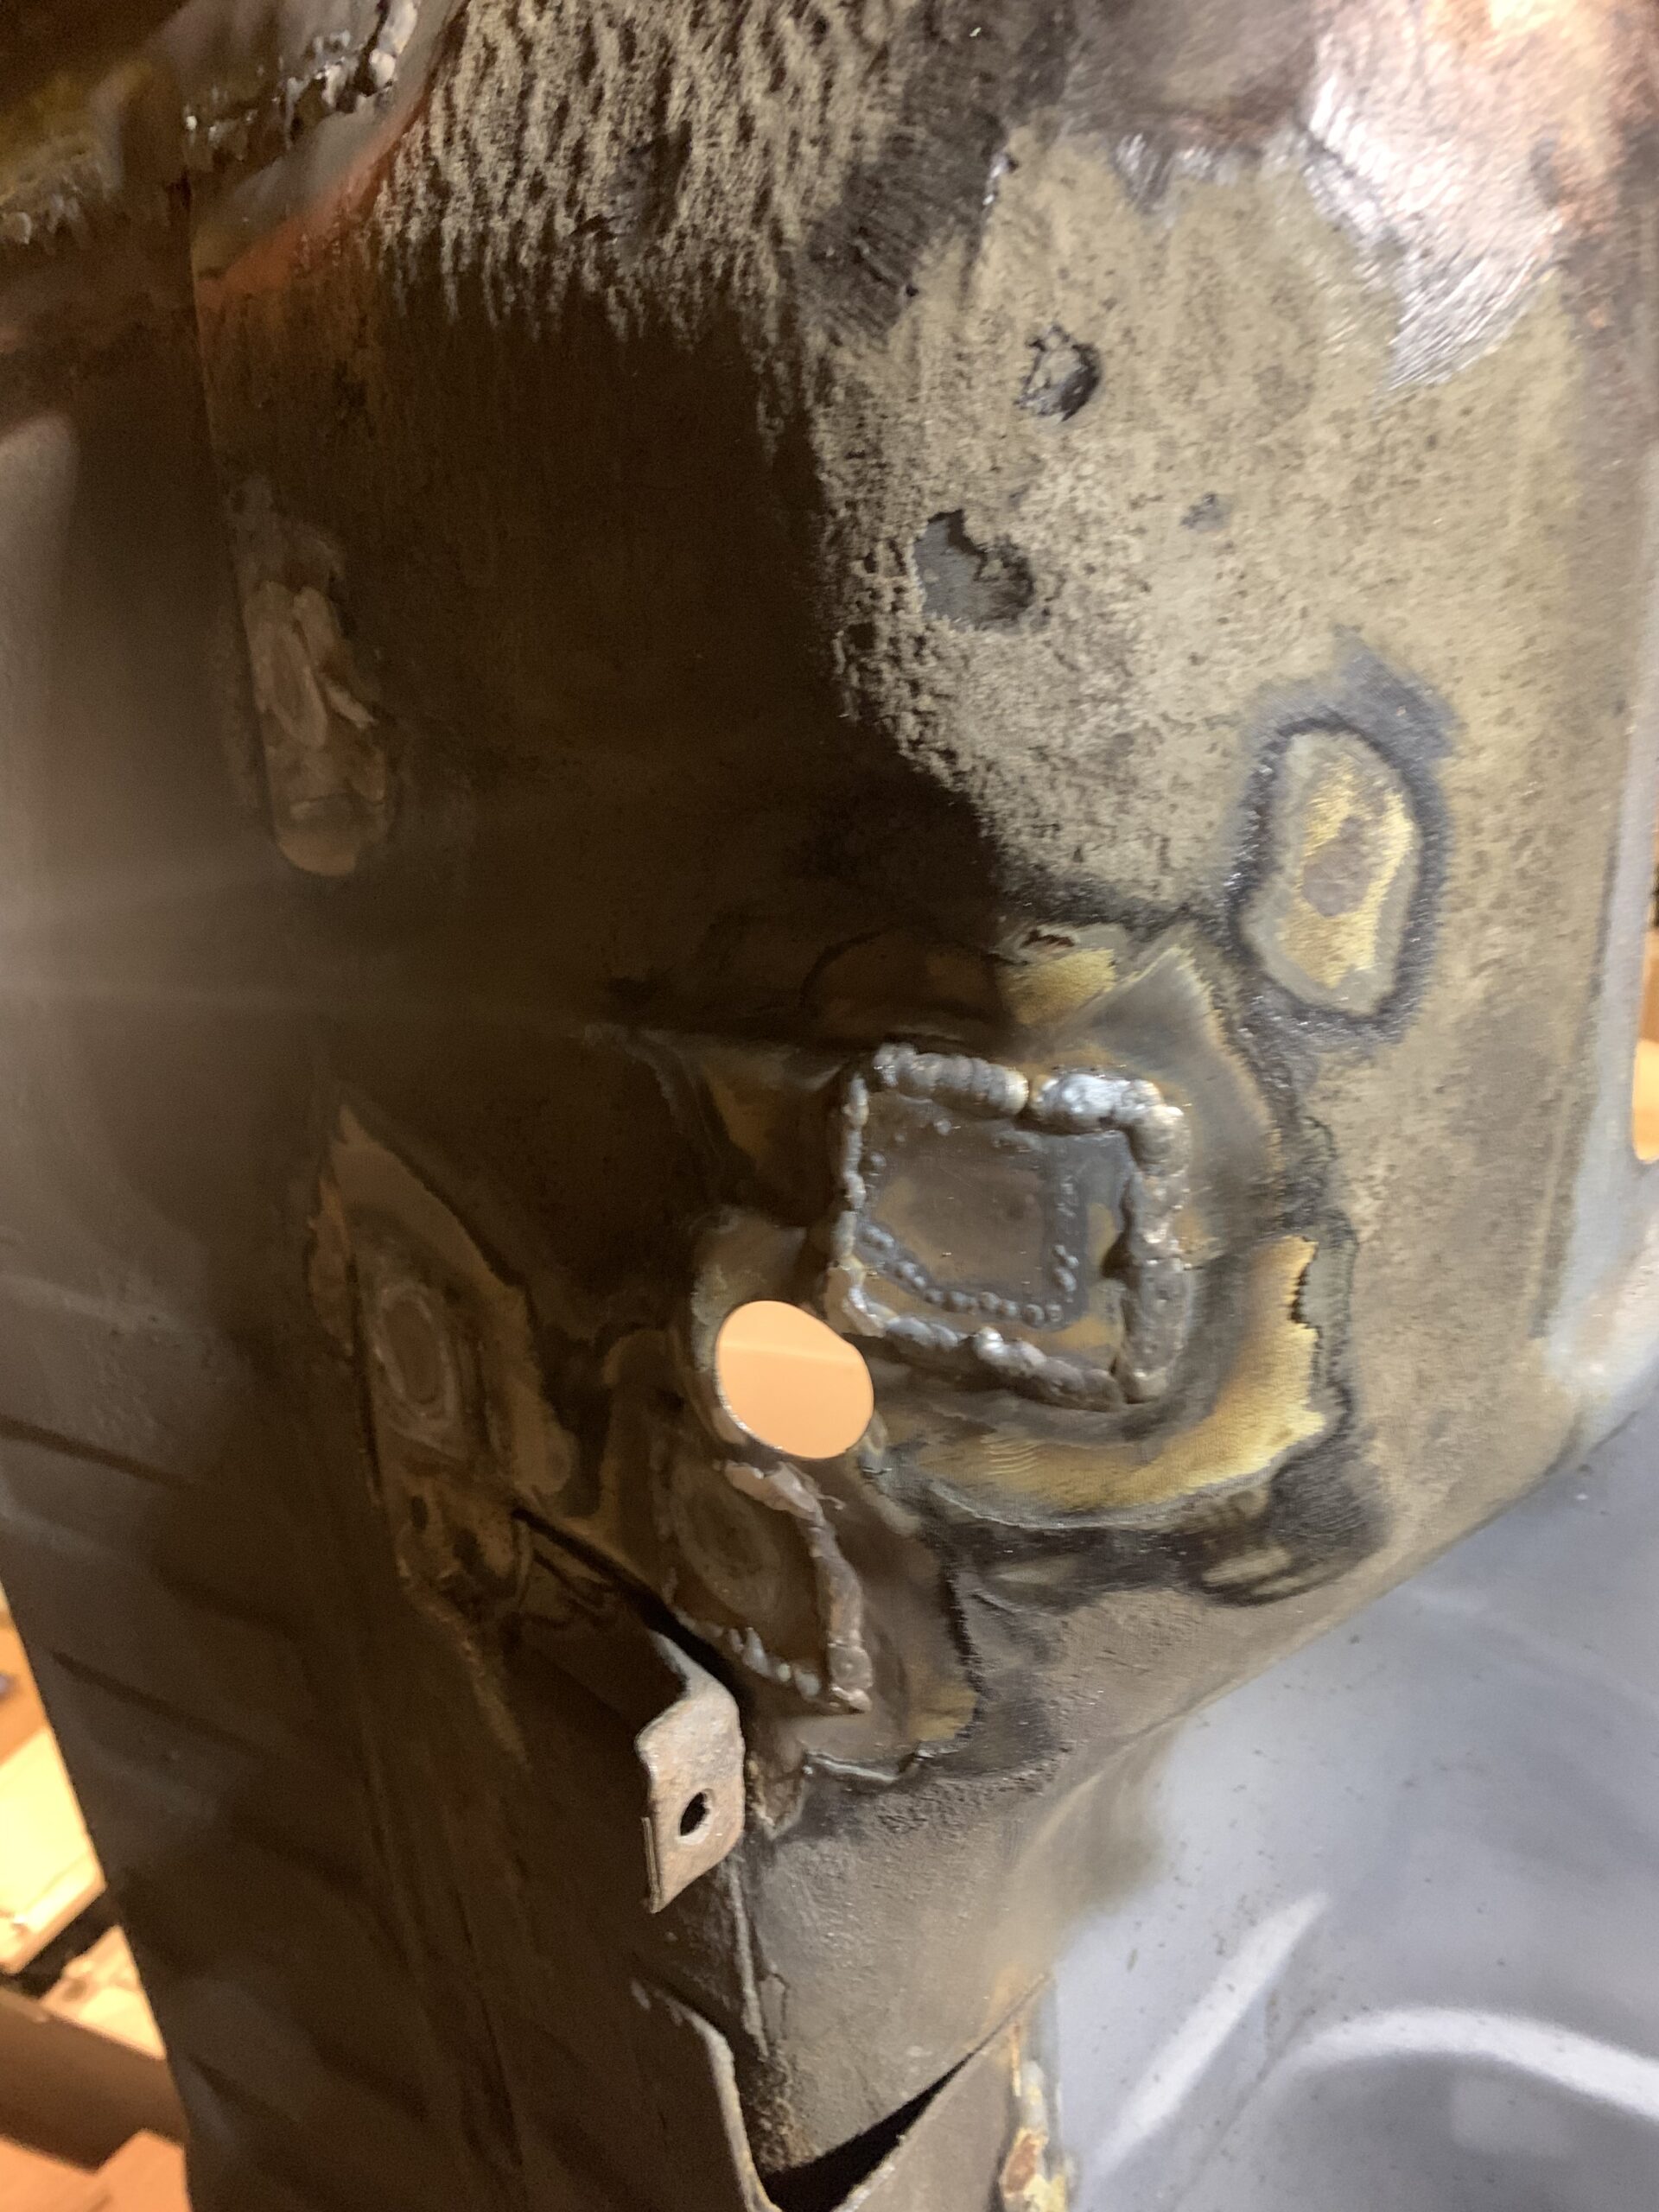
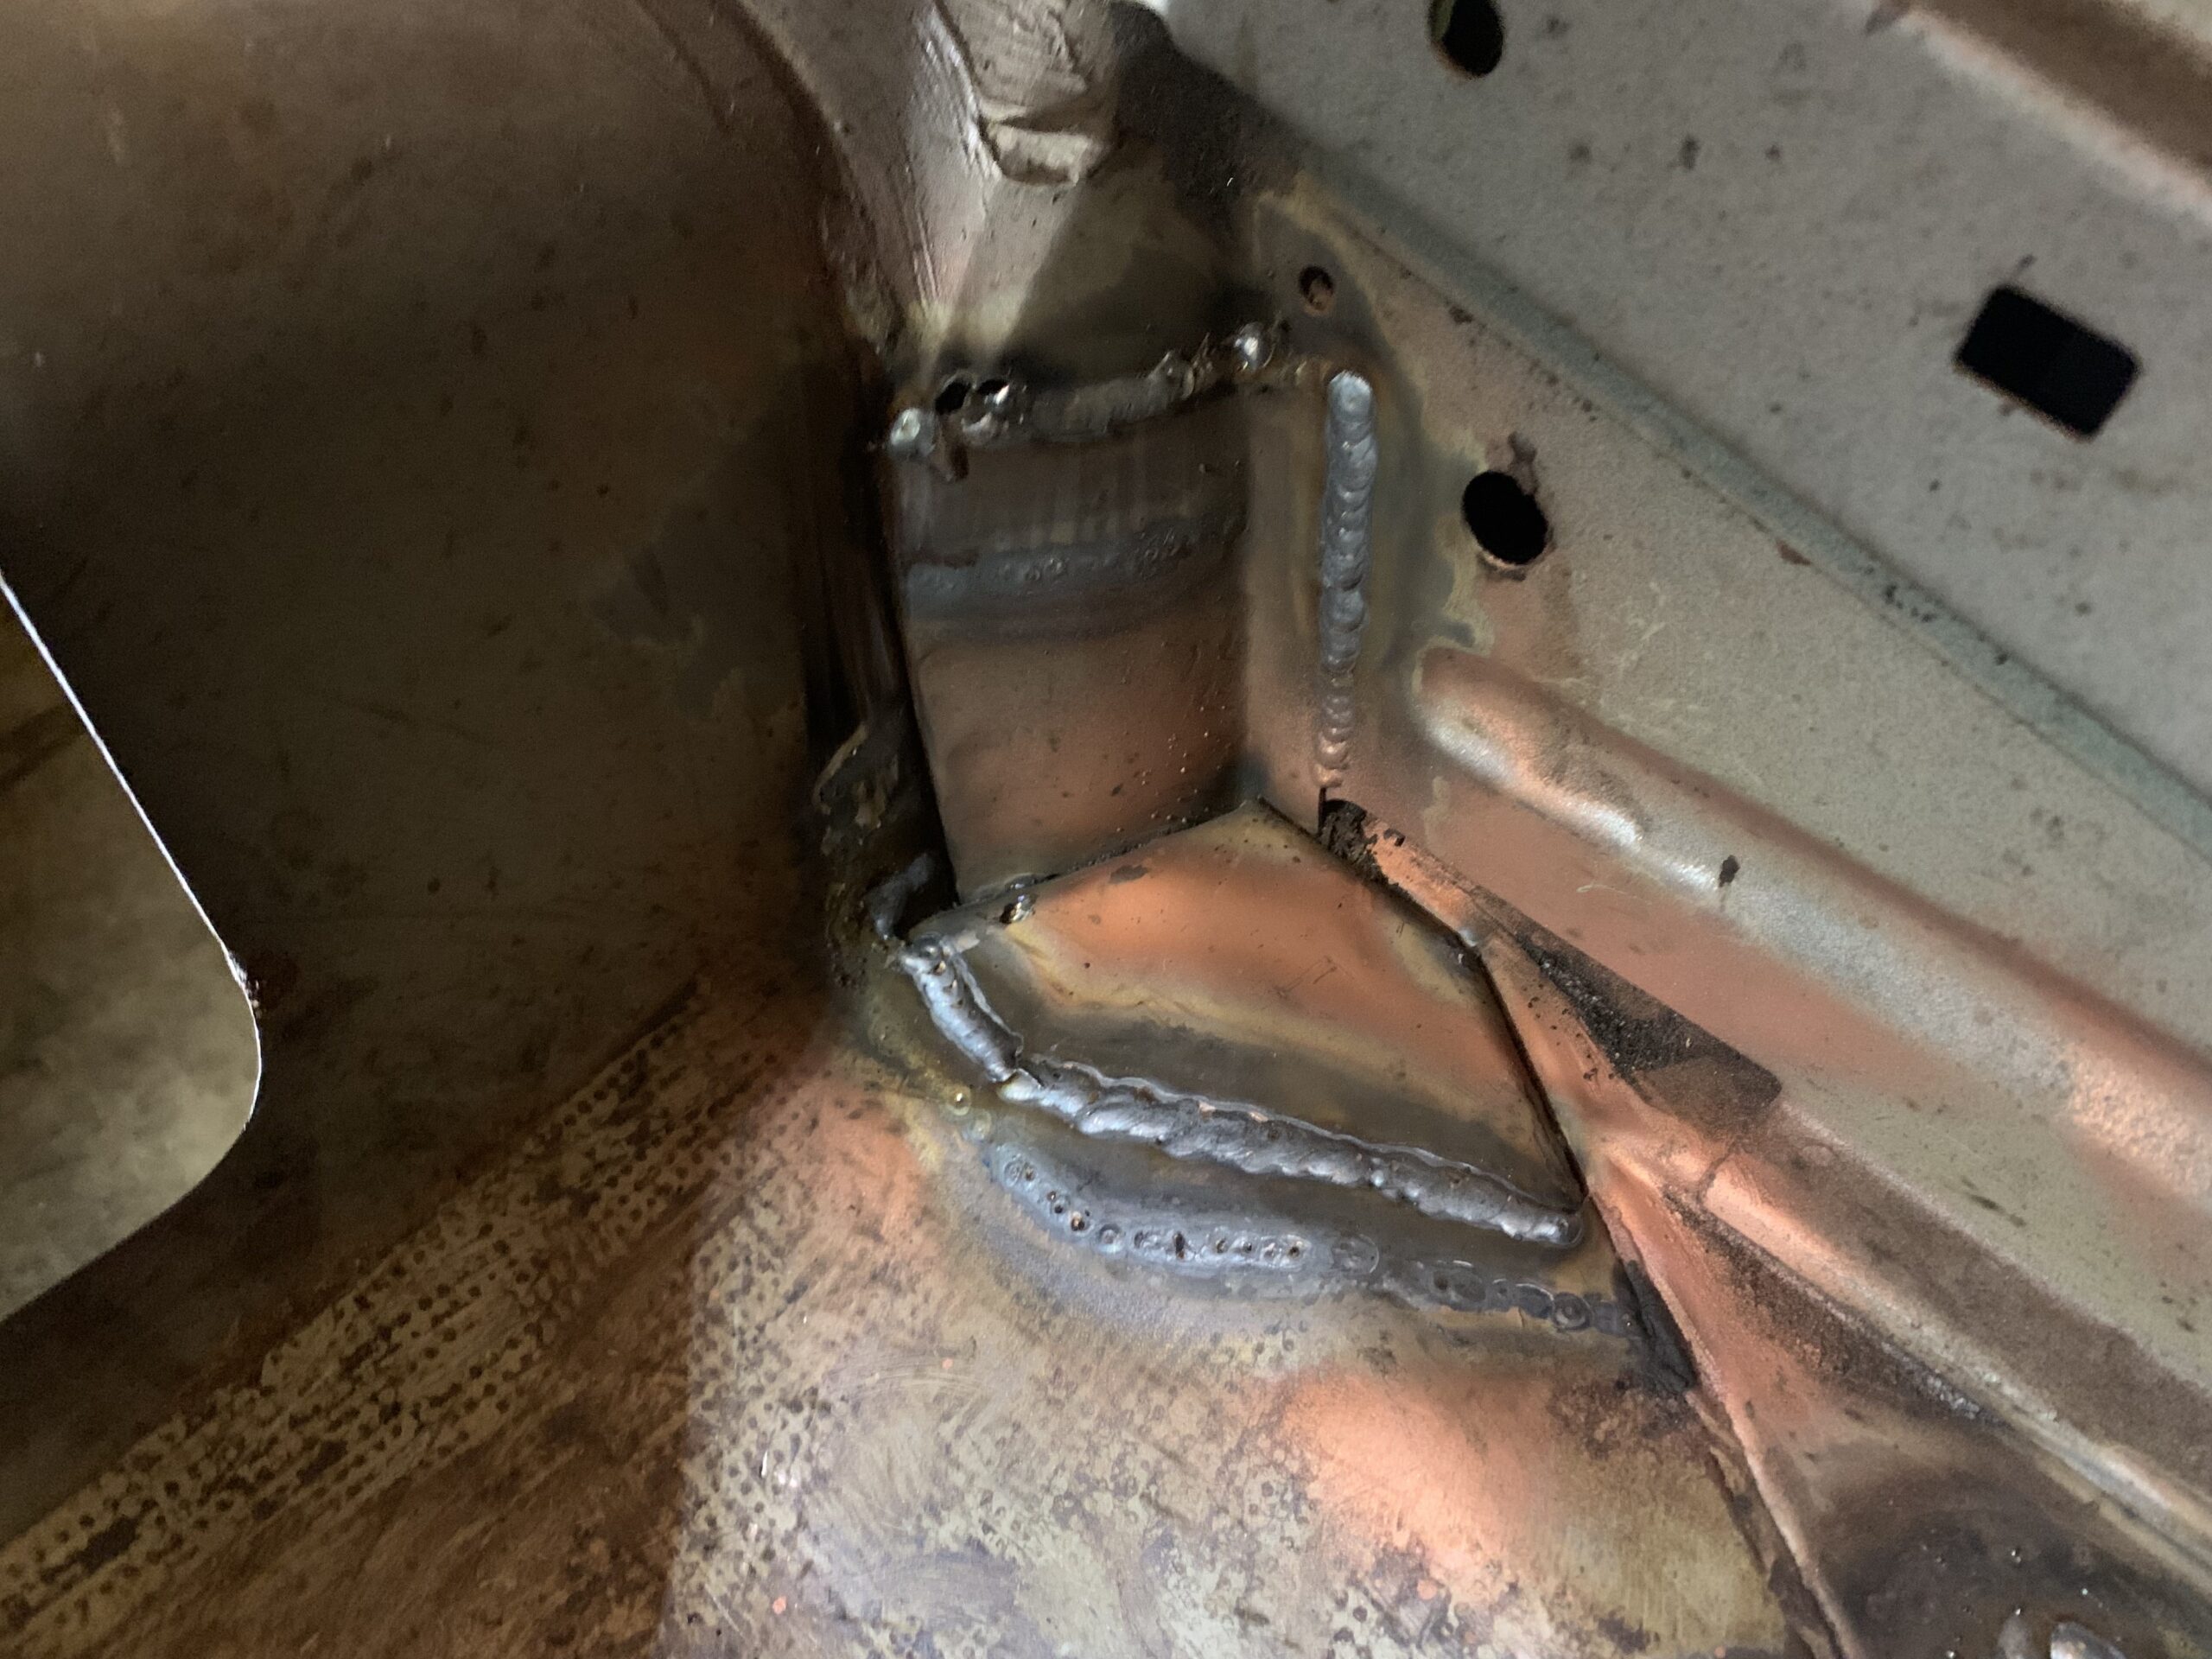
Before tackling a tricky corner spot in the back corner of the boot/rear arch which had to be tackled as three pieces…
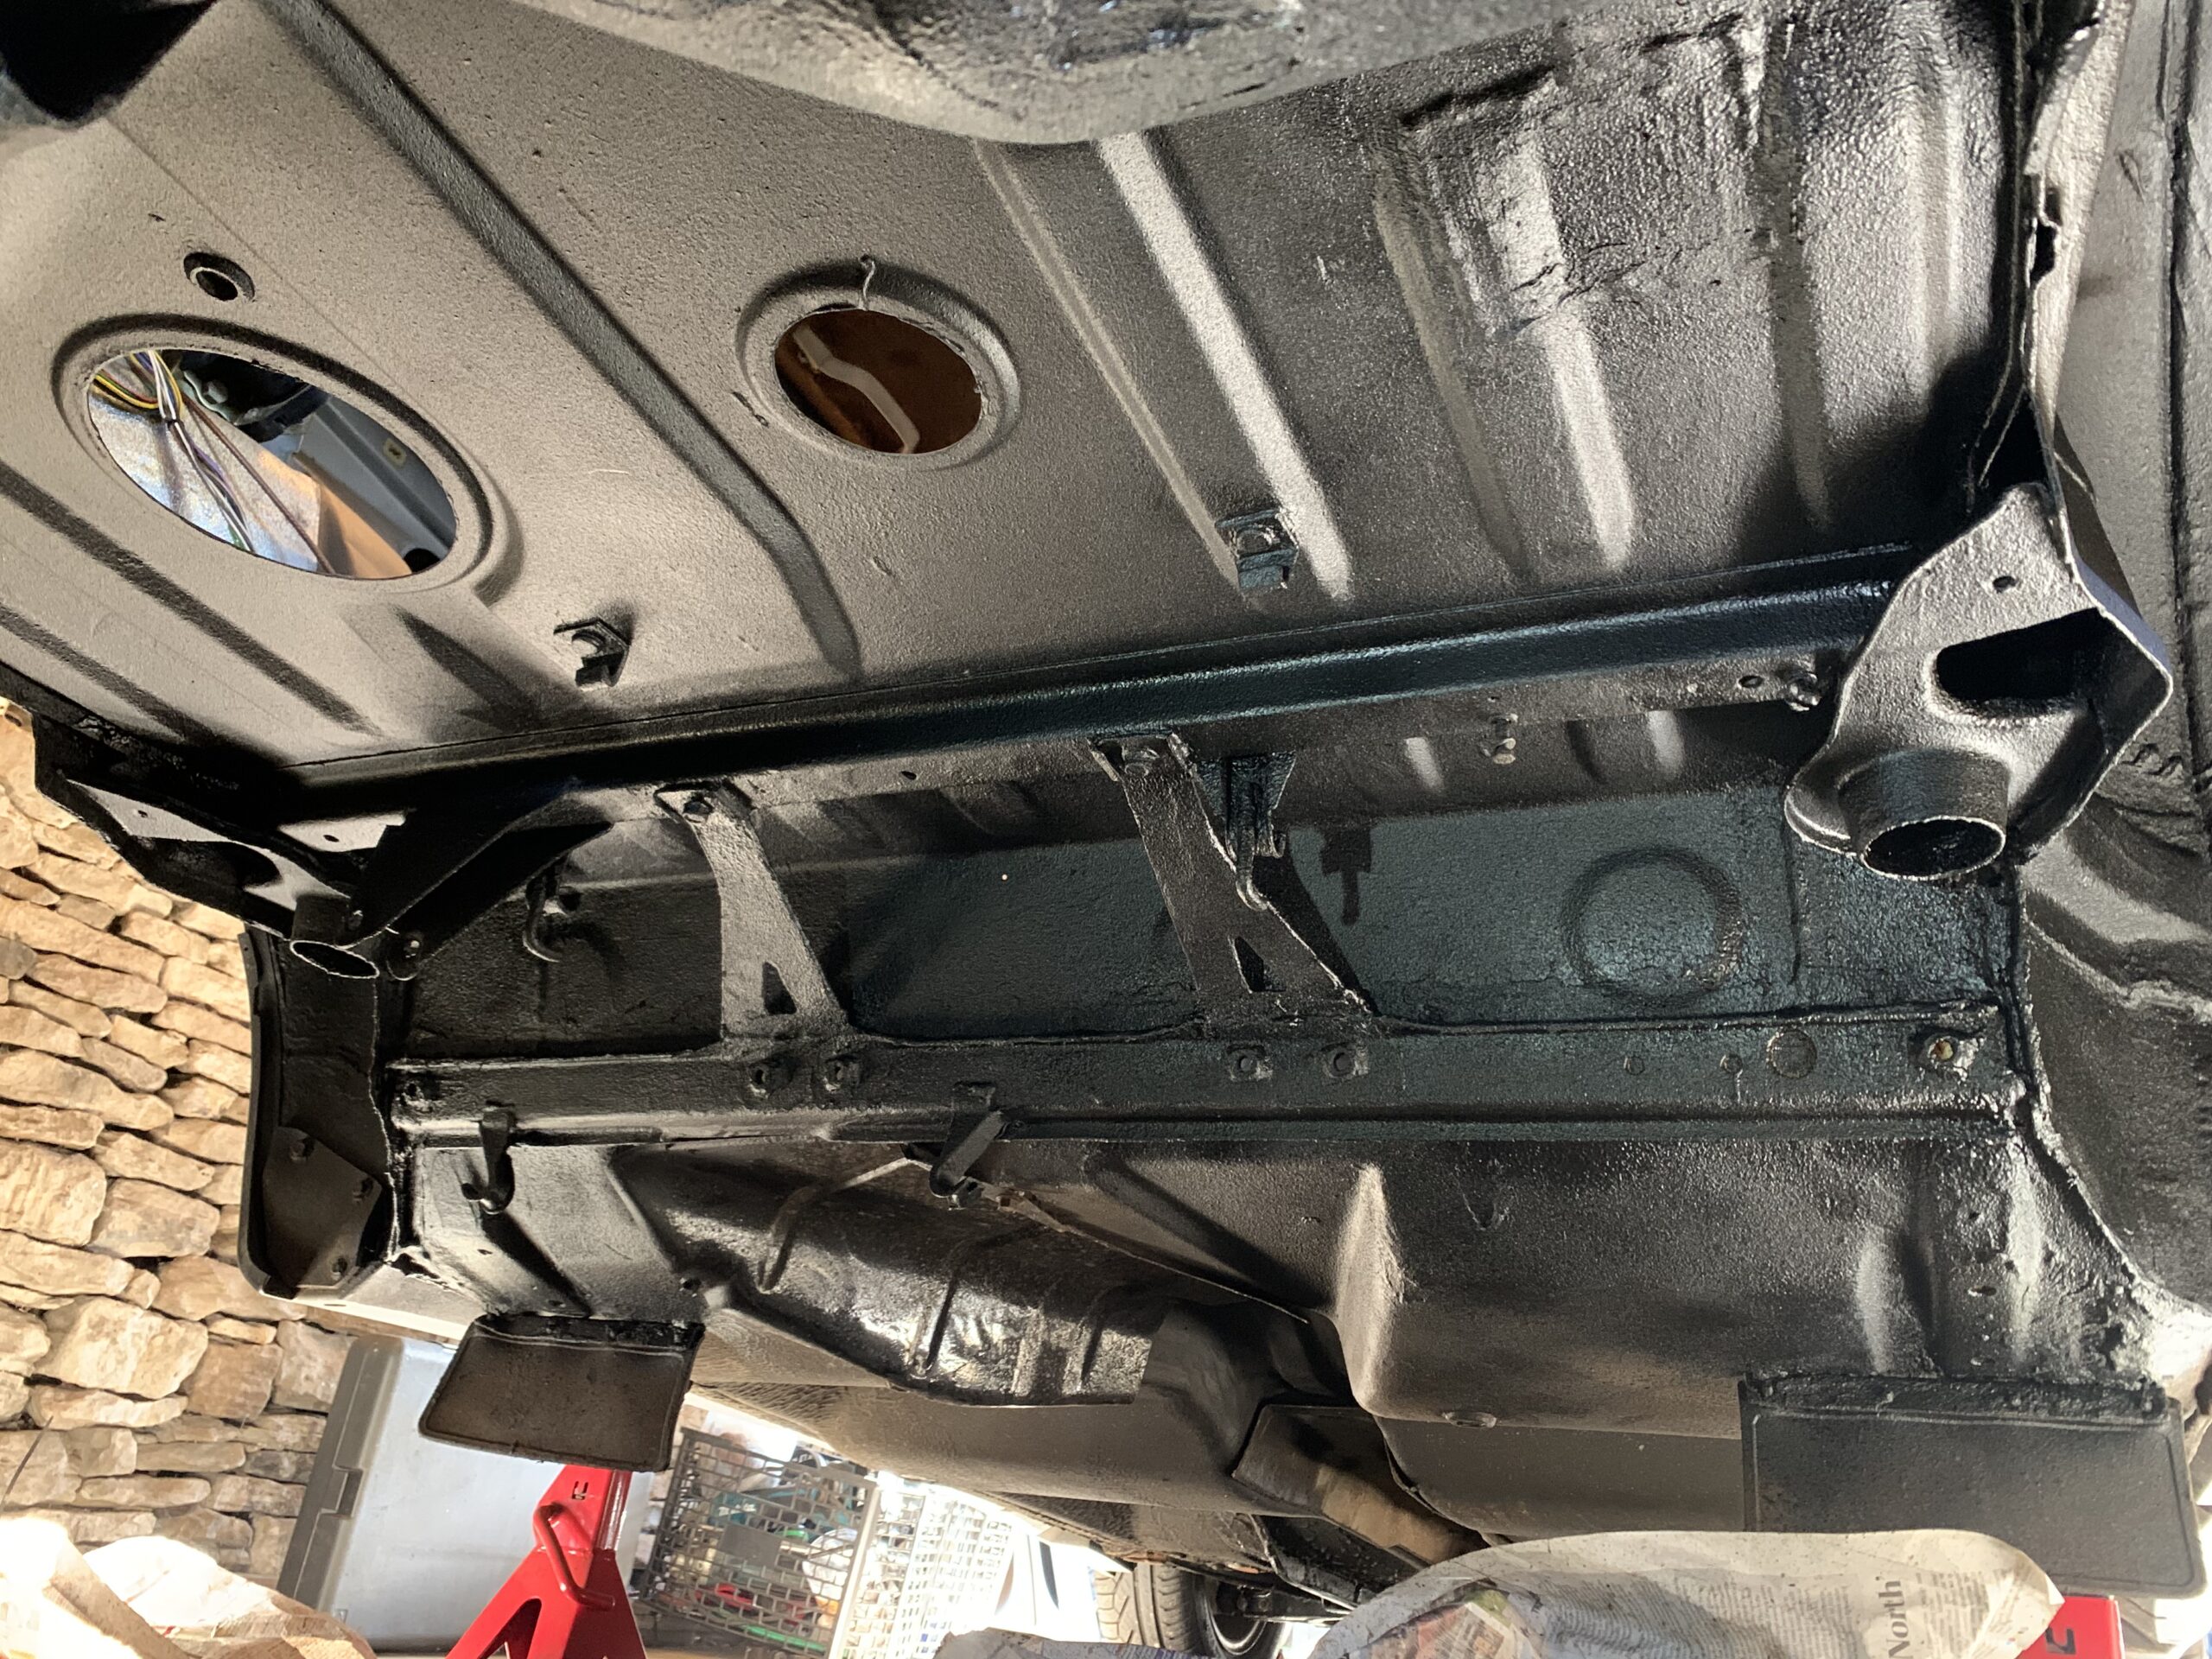
All of the noise deadening and underseal was chiselled off by hand (very near the end I realised a knife attachment in a multitool takes it off like butter). Finally any remaining surface rust was treated with Bilt Hamber Hydrate 80, before paint, seam sealer, and Bilt Hamber underseal – Dynax UB on the underside and Dynax S-50 in the cavities and insides of panels. I replaced the sound deadening mats too but I don’t have photos.

And back on the road, covered in grinding dust! Now Helga has every single bush replaced with poly I was expecting terrible discomfort on the road, and it’s taught but not absolutely atrocious in the way Peggy was.